Quick Start Guide
Note: To make sure the tool is running the latest available software,
it is advisable to check for updates on a frequent basis. Refer to
Section 3 “Register & Update” for details.
1. Preparation
Turn the vehicle ignition on.
Vehicle battery voltage range should be 9-14Volts.
Throttle should be in a closed position.
2. Vehicle Connection
1. Locate vehicle's DLC socket: The DLC (Diagnostic Link
Connector) is typically a standard 16-pin connector where
diagnostic code readers interface with a vehicle's on-board
computer. It is usually located 12 inches from the center of
the steering wheel, under or around the driver's side for
most vehicles.
If the DLC cannot be found, refer to the vehicle's service
manual for the location.
2. Connect the diagnostic cable into the vehicle's DLC
socket.
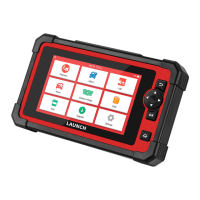
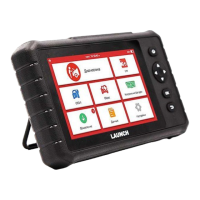
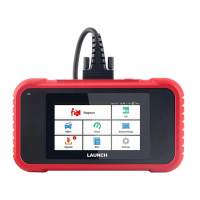
CR501/CR5001&CR601/CR6001
1. Preparation & Connections
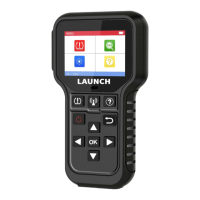
LAUN C H
DTC
F1 F2 F3 F 4
ER
I/ M
OK
?
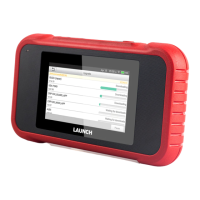
DLC Location
Diagnostic Cable
LCD Screen
OK Button
USB Port
(To update your tool via USB cable.)
CR501/CR601 Handset
Selection Button
ESC Button
(To return to the previous screen.)
DTC Button*
Erase Button*
I/M Button*
Help Button*
(To read the diagnostic
trouble codes.)
(To clear the diagnostic
trouble codes.)
(Quick access to I/M
readiness function.)
(Provides online tips
for diagnostics.)
Note: CR501/CR5001
features the same
styling as CR601/
CR6001. The pictures
shown here are only for
reference.
Note:
The buttons marked with * indicate the function hot keys(namely,
F1, F2, F3 and F4) and only apply to Diagnostics.
This Quick Start Guide is subject to change without written notice.
EN