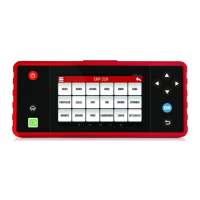
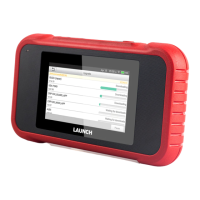
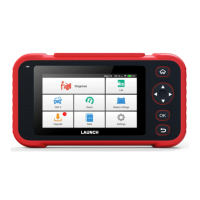
Connection & Diagnostics
1). Make sure that the vehicle battery voltage range is 11-
14Volts and the ignition is turned off.
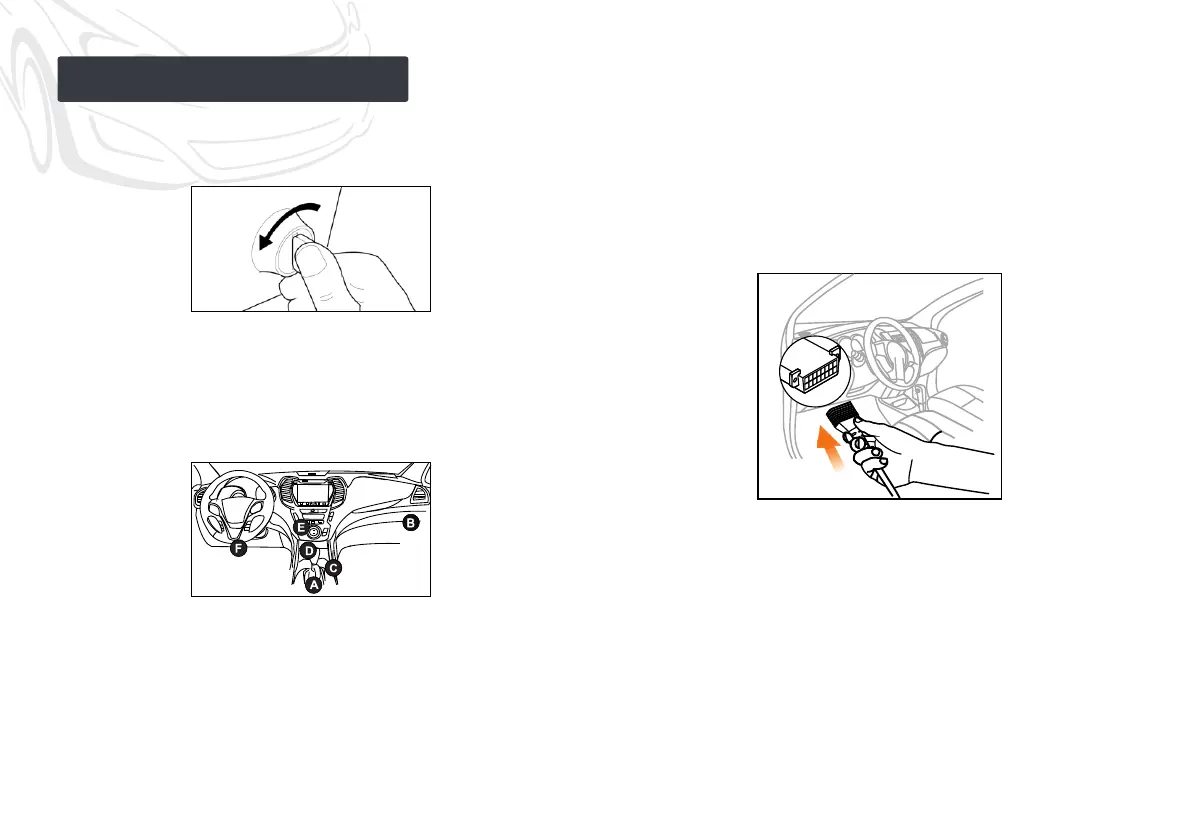
2). Locate the vehicle's DLC (Data Link Connector) port: the
DLC is usually located 12 inches away from the center of
the instrument panel, under or around the driver’s side for
most vehicles. For some vehicles with special designs, the
DLC may vary. Refer to the following figure for possible
DLC location.
3). Connect one end of the diagnostic cable to the DB15
diagnostic connector of the tool, and the other end to the
vehicle’s DLC (Data Link Connector) port.
If the DLC cannot be found, refer to the vehicle's service
manual for the location.
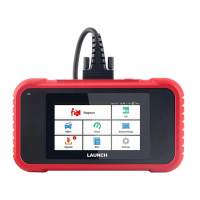
5). Now the vehicle diagnosis is ready. Choose either of the
desired diagnosis methods (Intelligent Detect or Manual
Diagnose) to start a diagnostic session.
4). Turn the ignition on. DO NOT start the engine.
Note: DEMO is the recommended program for new users to get
familiar with diagnostic procedures.
C. Volkswagen
D. Opel, Volkswagen, Citroen
E. Changan
B. Honda
F. Hyundai, Daewoo, Kia, Honda, Toyota, Nissan, Mitsubishi,
Renault, Opel, BMW, Mercedes-Benz, Mazda, Volkswagen,
Audi, GM, Chrysler, Peugeot, Regal, Beijing Jeep, Citroen
and most prevailing models
A. Opel, Volkswagen, Audi
 Loading...