3
ADJUSTMENTS
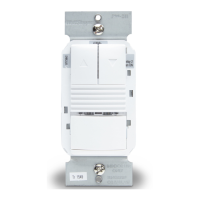
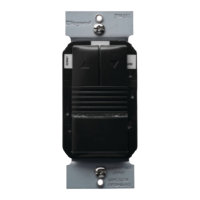
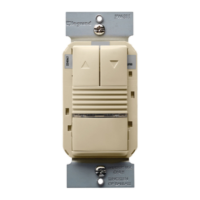
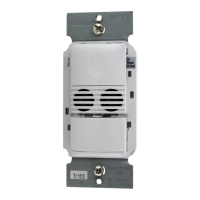
Sensor Adjustment
Remove the wall plate. Remove the button cap by firmly squeezing together the top sides of the button assembly. Gently pull it away
from the unit.
When the adjustments are completed, replace the button cap by inserting its hinges into the tabs on the main unit, and then squeeze
the top of the button while pressing it into the unit. Reinstall the cover plate.
Light Level Adjustment
The light level can be set with loads ON or OFF. To enable light level control and set the threshold:
1. Make sure the room is lit appropriately.
2. Put the sensor into TEST Mode (see Time Delay switches). You have 10 minutes to complete the procedure.
3. Press and hold the ON/OFF button (Relay 1 button on the PW-302) for 3 seconds, until you hear a beep.
4. Step away from the sensor. After 10 seconds a beep sounds, indicating that the threshold level is set. This threshold is retained,
even if power is lost, until it is re-set or disabled. In the PW-302, light level control only affects Relay 2.
To disable light level control, press and hold the Relay 1 button for 7 seconds, until a double beep tone sounds.
Reset to Default
Use the DIP Switch Settings tables to return features to factory settings. To reset the PW, press and hold the Relay 1 button for 10
seconds, until a triple beep sounds. This resets the sensor and disables light level control (the brightest ambient light will not hold the
light OFF).
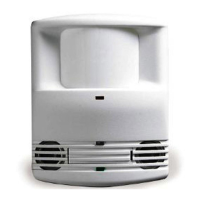
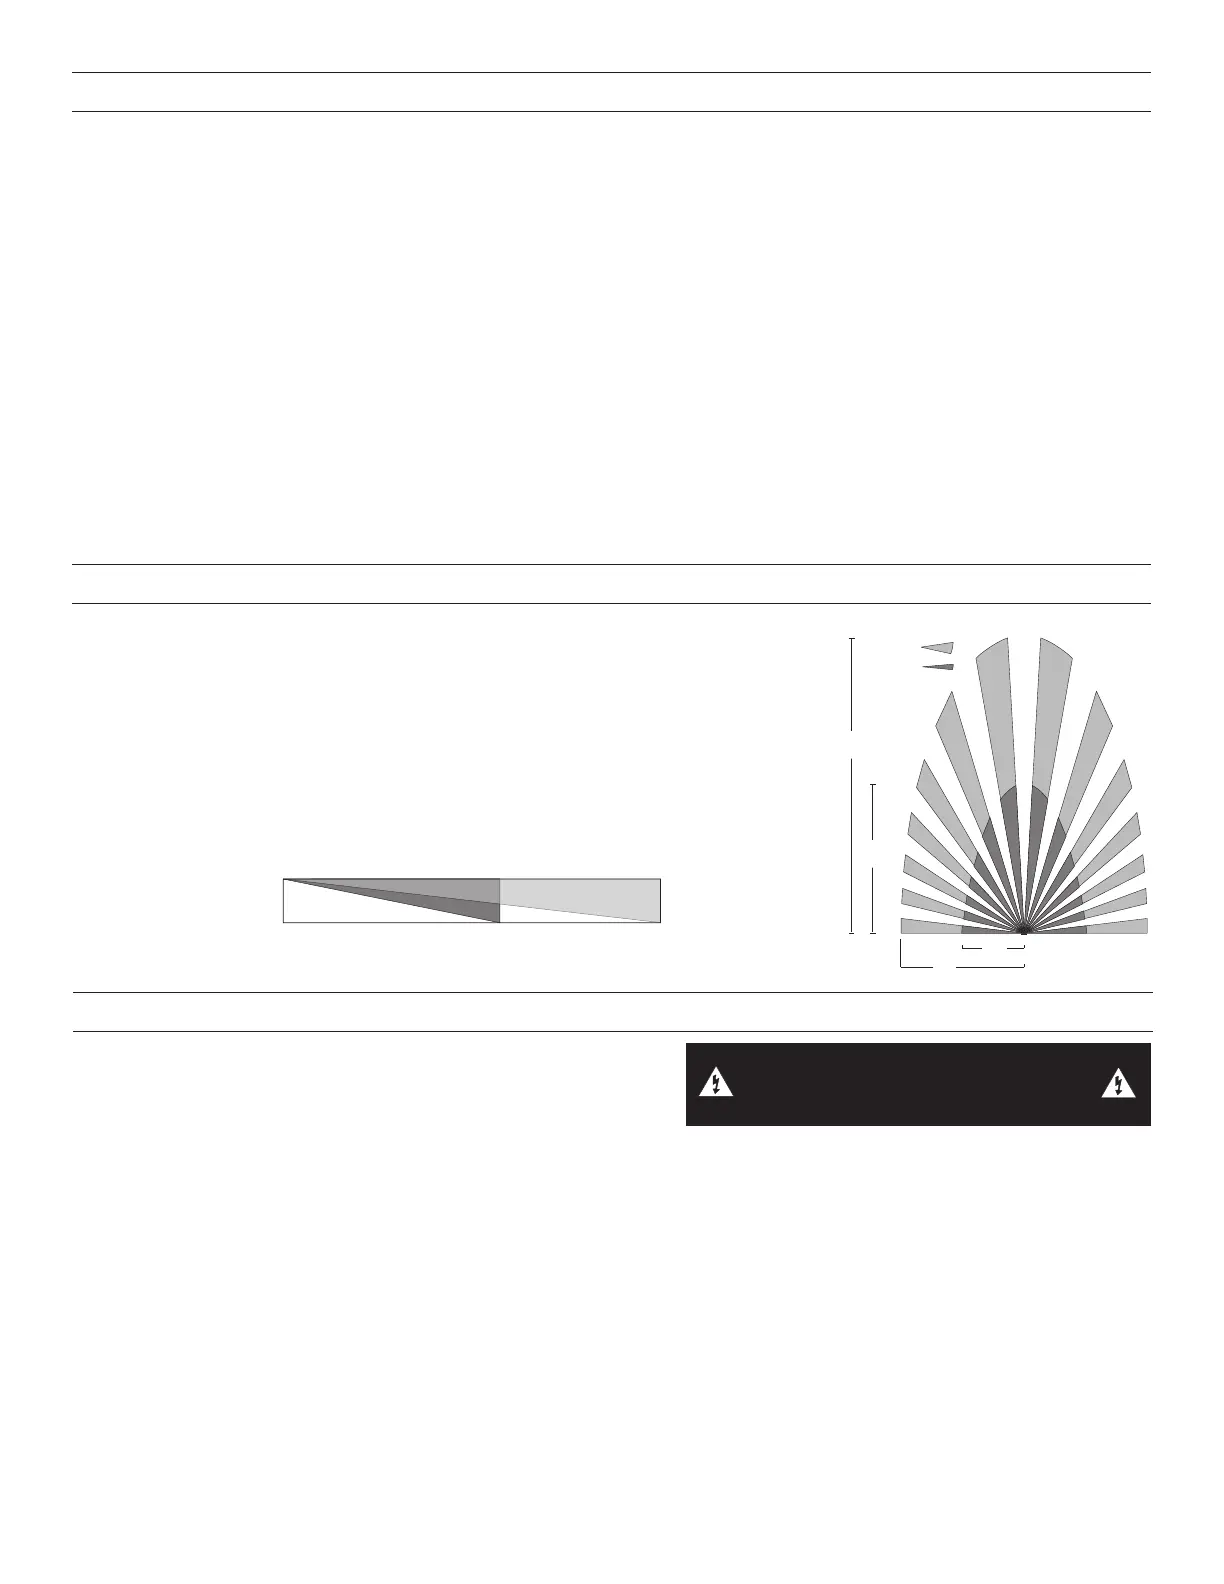
COVERAGE PATTERNS
Coverage testing has been performed according to the NEMA WD 7 guideline.
For best performance, use in spaces not larger than 15’ x 12’.
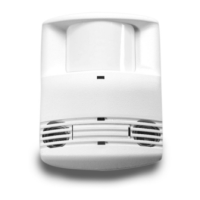
PIR Sensor
The sensor has a two-tiered, multi-cell viewing Fresnel lens with 180 degree field of view. The
red LED on the sensor flashes when the PIR detects motion.
Masking the lens
Opaque adhesive tape is supplied so that sections of the PIR sensor’s view can be masked.
This allows you to eliminate coverage in unwanted areas. Since masking removes bands of
coverage, remember to take this into account when troubleshooting coverage problems.
20’
(10.6m
0
PIR
Coverage
7.5’
(2.2m)
15’
(4.5m)
20’
(6.1m)
35’
Major motion
Minor motion
Top View
Side View
INSTALLATION
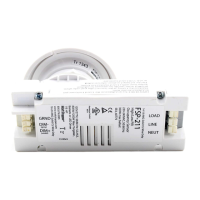
1. Make sure that the power has been turned OFF at the circuit breaker.
2. Connect wires to the PW flying leads as shown in the wiring diagram
that is appropriate to the PW model and electrical supply. The ground
wire (green) must be fastened to ground for the sensor to work
properly.
3. Attach the sensor to the wall box by inserting screws into the two wide holes on the top and bottom of the attached metal bracket.
Match them up with the holes in the wall box and tighten.
4. Turn the circuit breaker ON. Wait one minute, then push the Auto ON/OFF switch for each load and the lights will turn ON. There
is a delay due to initial power-up of the sensor that only occurs during installation.
5. Test and adjust the sensor if necessary.
6. Install industry standard decorator wall switch cover plate (not included).
WARNING: TURN THE POWER OFF AT THE
CIRCUIT BREAKER BEFORE WIRING.
 Loading...