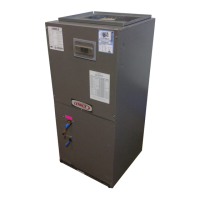
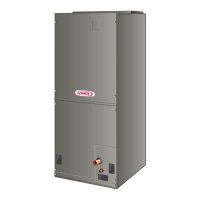
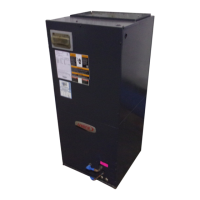
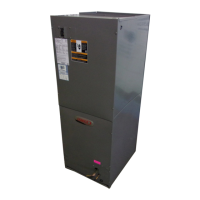
Refrigerantlines mustbe connectedby a qualified
technicianinaccordancewithestablishedprocedures.
`& IMPORTANT
1. Route the suction and liquid lines from the fittings on
the indoor coil to the fittings on the outdoor unit. Run
the lines in as direct a path as possible avoiding
unnecessary turns and bends.
2. Make sure that the suction line is insulated over the
entire exposed length and that neither suction nor
liquid lines are in direct contact with floors, walls, duct
system, floor joists, or other piping.
3. Connect the suction and liquid lines to the evaporator
coil.
4. To avoid damaging the rubber grommets in the cabinet
while brazing, slide the rubber grommets over the
refrigerant lines until they are away from the heat
source.
5. Braze using an alloy of silver or copper and
phosphorus with a melting point above 1,100°R
NOTE - Do not use soft solder.
6. Reinstall the rubber grommets after brazing is
finished.
7. Make sure outdoor unit has been put in place
according to the Installation Instructions and is
connected to the refrigerant lines.
Seal the unit so that warm air is not allowed into the
cabinet. Warm air introduces moisture, which results in
water blow-off problems. This is especially important when
the unit is installed in an unconditioned area.
`& IMPORTANT
Make sure the liquid line and suction line entry points are
sealed with either Armafiex material or with Permagum.
Permagum may also be used to seal around the main and
auxiliary drains and around open areas of electrical inlets.
,&WARNING
• All field wiring must be done in accordance with
National Electrical Code, applicable requirements of
UL and local codes, where applicable.
• Electrical wiring, disconnect means and over-current
protection are to be supplied by the installer. Refer to
the air handler rating plate for maximum over-current
protection, minimum circuit ampacity, as well as
operating voltage.
• The power supply must be sized and protected
according to the specifications supplied on the
product.
• This air handler is factory-configured for 240 volt,
single phase, 60 cycles. For 208-volt applications, see
"208 Volt Conversion" later in this section.
• For optional field-installed electric heat applications,
refer to the instructions provided with the accessory
for proper installation.
WARNING
1. Disconnect all power supplies.
2. Remove the air handler access panel.
3. Route the field supply wires to the air handler electrical
connection box.
,&WARNING
4. Use UL-listed wire nuts to connect the field supply
conductors to the unit black and yellow leads, and the
ground wire to ground terminal marked "GND."
Page 9
CB(X)26UH SERIES
 Loading...

