10
plate to better secure wall plate. Field-provided
anchors/xings may be required depending on wall
construction. Use the appropriate type of anchors
for the application.
3. The wall mounting plate must be installed ush against
the wall so that the indoor unit will be ush after
installation. Any space between the wall and unit will
cause noise and vibration.
4. The wall mounting plate must be installed horizontally
level on the wall.
Installation of Wall Sleeve
The utility bundle may be routed out of the back of the unit
or out either side. If the bundle is to be routed out the back
through an external wall, use a eld-provided wall sleeve
to protect the utility bundle.
NOTE: If the utility bundle will be routed out the side of the
indoor unit and up the wall above a false ceiling,
continue to the next section.
1. Prior to making the hole and installing the wall sleeve
for the utility bundle, check to ensure that there are
no other utilities located in the wall behind the hole
location.
2. Cut a hole in the wall using a suitable hole saw. Hole
should be at a slight downward slant - 3/16” to 3/8”
toward the outdoor side.
3. Measure the thickness of the wall from the inside edge
to the outside edge and cut the eld-provided wall
sleeve at a slight angle 1/4” (6 mm) shorter than the
thickness of the wall.
INSIDE
OUTSIDE
Typical
installation
procedure
shown.
Figure 5. Boring Hole for Wall Sleeve
USE SUITABLE TOOL TO CUT PVC FOR WALL
SLEEVE AT SLIGHT ANGLE AS SHOWN.
Figure 6. PVC Wall Sleeve Installation
NOTE: When passing bundled services through an
exterior brick or concrete wall, protect the
copper pipes and wiring from the effects of these
construction materials by using a sleeve made
of suitable material. The integrity of copper pipe
and wiring can deteriorate when exposed to these
construction materials.
Installation of Indoor Unit on Wall Mounting Plate
1. A length of eld-provided exible condensate piping
should be connected to the drain prior to securing the
unit to the wall mounting plate.
2. If the factory-provided refrigerant piping connections
and eld-provided exible condensate piping are long
enough to enable nal eld connections after unit is
installed on wall mounting plate, use eld-provided
tape to bundle them together.
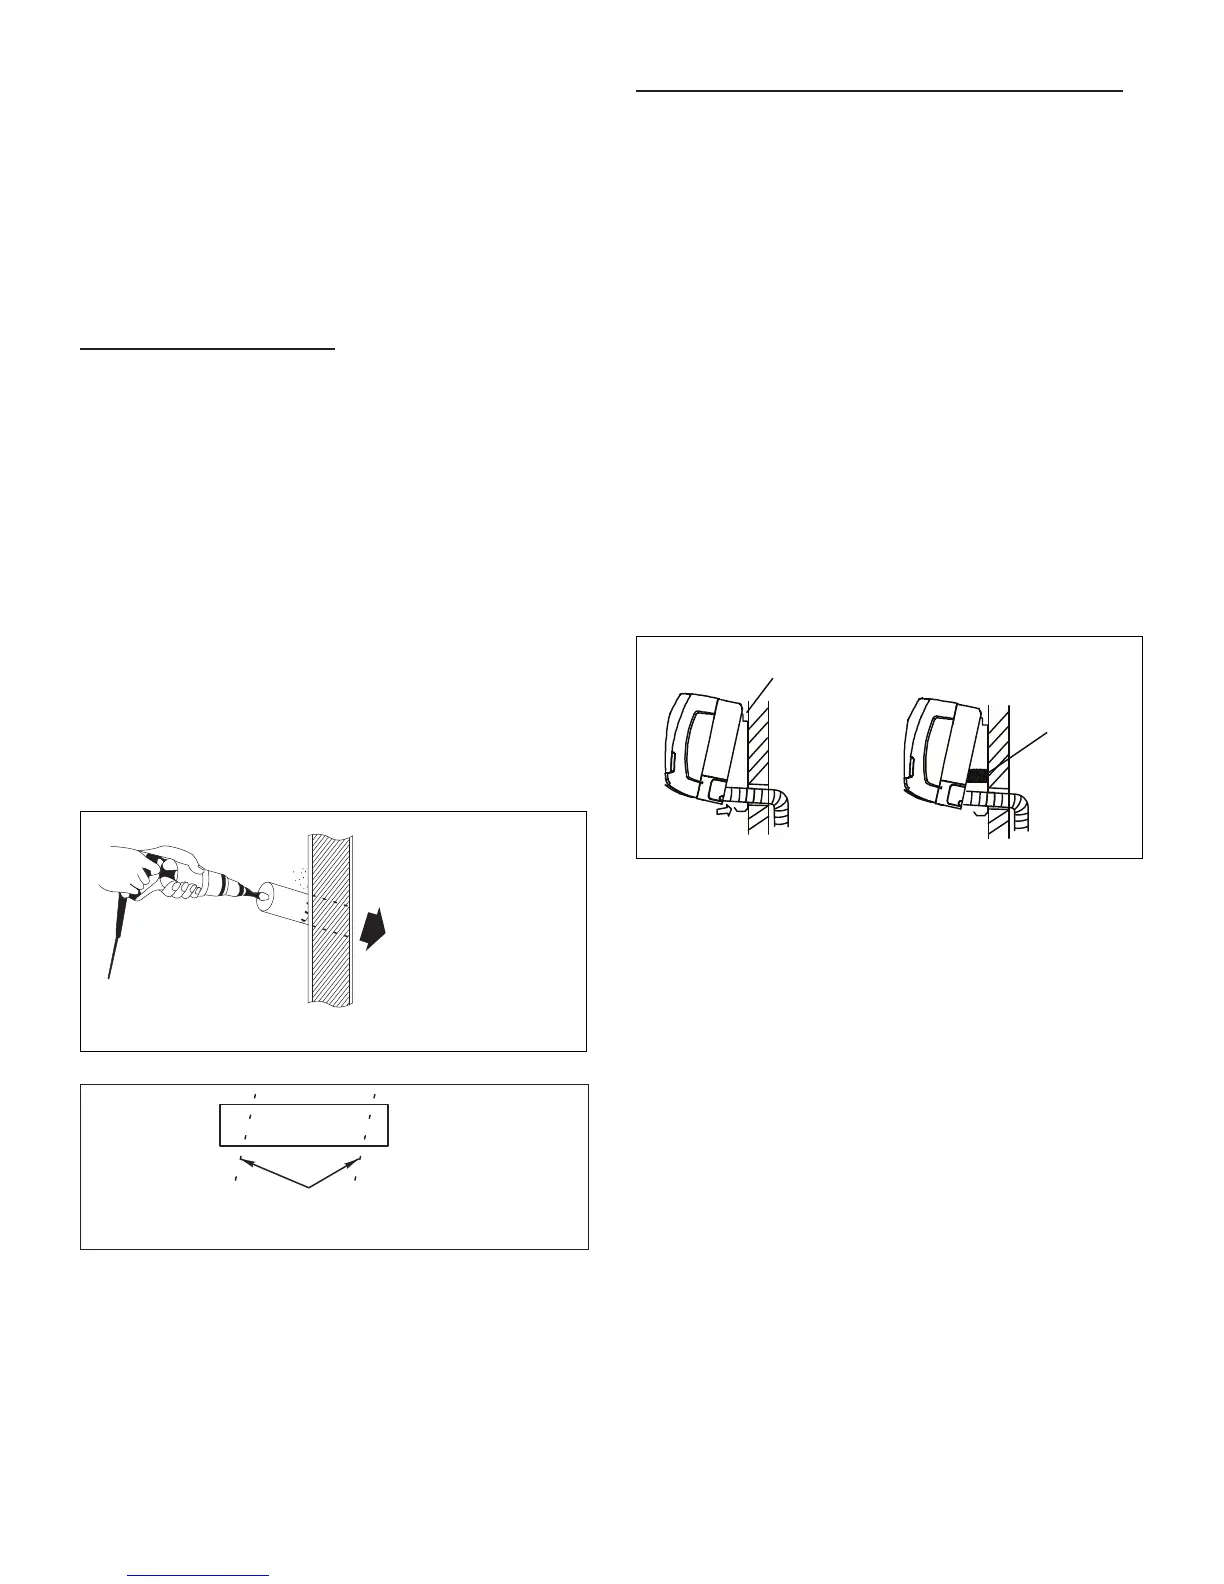
3. The utility bundle may be routed out of the back of the
unit or out either side. If the bundle is to be routed
out the back through an external wall, feed the utility
bundle through the wall sleeve. If the utility bundle is
to be routed out of the side of the indoor unit and up
an inside wall, carefully form the utility bundle so that
it makes a gentle 90° turn.
4. Align the back of the indoor unit with the hooks at the
top of the wall mounting plate. Move the unit from side
to side to make sure that it settles securely.
5. The bottom of the unit can be lifted to facilitate
refrigerant piping and condensate drain connections,
if necessary.
TEMPORARY
SPACER
(To facilitate
connections)
HOOKS AT TOP
OF MOUNTING
BRACKET
Figure 7. Secure Unit to Wall Mounting Plate
 Loading...