18 INSTALLATION
• Do not, under any circumstances, cut or remove
the third (ground) prong from the power cord.
• The customer should have the wall receptacle
and circuit checked by a qualified electrician to
make sure the receptacle is properly grounded.
• The power cord of this appliance is equipped
with a 3-prong (grounding) plug which mates
with a standard 3-prong grounding wall
receptacle to minimize the possibility of electric
shock hazard from this appliance.
• Where a standard two-prong wall receptacle is
encountered, it is the personal responsibility and
obligation of the customer to have it replaced
with a properly grounded three-prong wall
receptacle.
• Ensure proper ground
a exists before use.
• Do not use an adapter plug. Disconnecting of
the power cord places undue strain on the
adapter and leads to eventual failure of the
adapter ground terminal.
• Installation must conform with local codes or, in
the absence of local codes, with the National
Fuel Gas Code, ANSI Z223.1/NFPA 54 or, in
Canada, the Natural Gas and Propane
Installation Code, CSA B149.1.
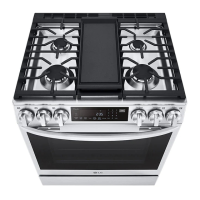
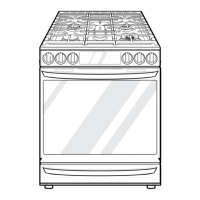
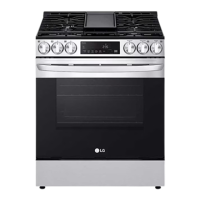
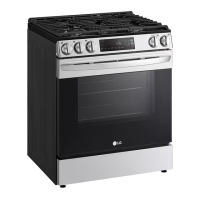
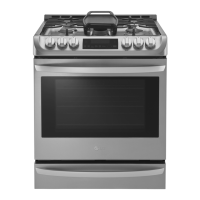
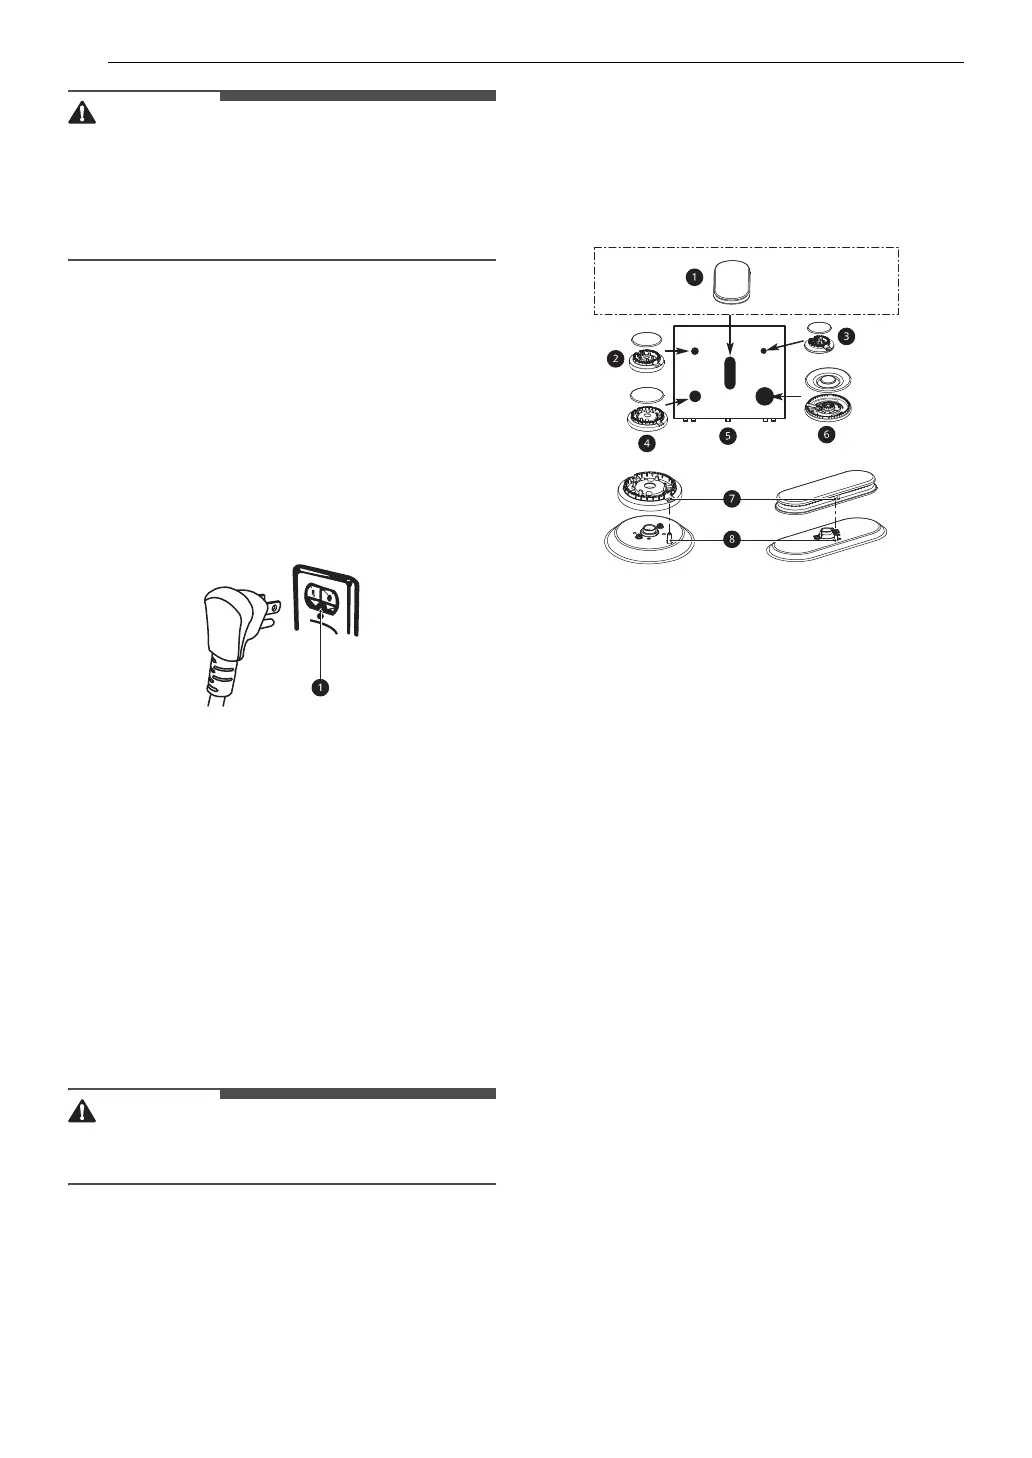
Surface Burners
Assembling the Surface Burners
• Do not operate the burners without all parts in
place.
1 Place the burner caps and heads on the
cooktop.
• There are one small, one medium, one
large, one oval(center), and one extra large
burner head and cap.
2 Make sure that the caps and heads are placed
in the correct locations.
3 Make sure the hole in the burner head is
positioned over the electrode.
a Oval (Center) burner head/cap assembly
b Medium burner head and cap
c Small burner head and cap
d Large burner head and cap
e Front of range
f Dual burner head and cap
• LSGL6337* model only
Extra Large burner head and cap
• LSGL6335* model only
g Hole
h Electrode
Checking Ignition of the Surface
Burners
Electric Ignition
Select a surface burner knob and simultaneously
push in and turn to the Lite position. You will hear
a clicking sound indicating proper operation of the
spark module.
Once the air has been purged from the supply
lines the burner should ignite within 4 seconds.
After the burner ignites, rotate the knob out of the
Lite position. Try each burner in succession until
all burners have been checked.
 Loading...