4-1. DISASSEMBLY INSTRUCTION
21
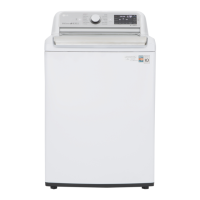
▶ Be sure to unplug the power to repair and replace
electric parts.
ESD (ElectroStatic DIscharge) WARNING
Be sure to follow proper ESD and grounding
precautions for diagnosis and repair. If this is not
possible, touch the ground wire on a regular basis to
remove any static charge built up on your person.
If PCB and Front panel are not correctly assembled,
the light can be spread.
When assembling the PCB and Front panel by pushing
the PCB to the upper and check the Segment seated.
After assembly check the light spread.
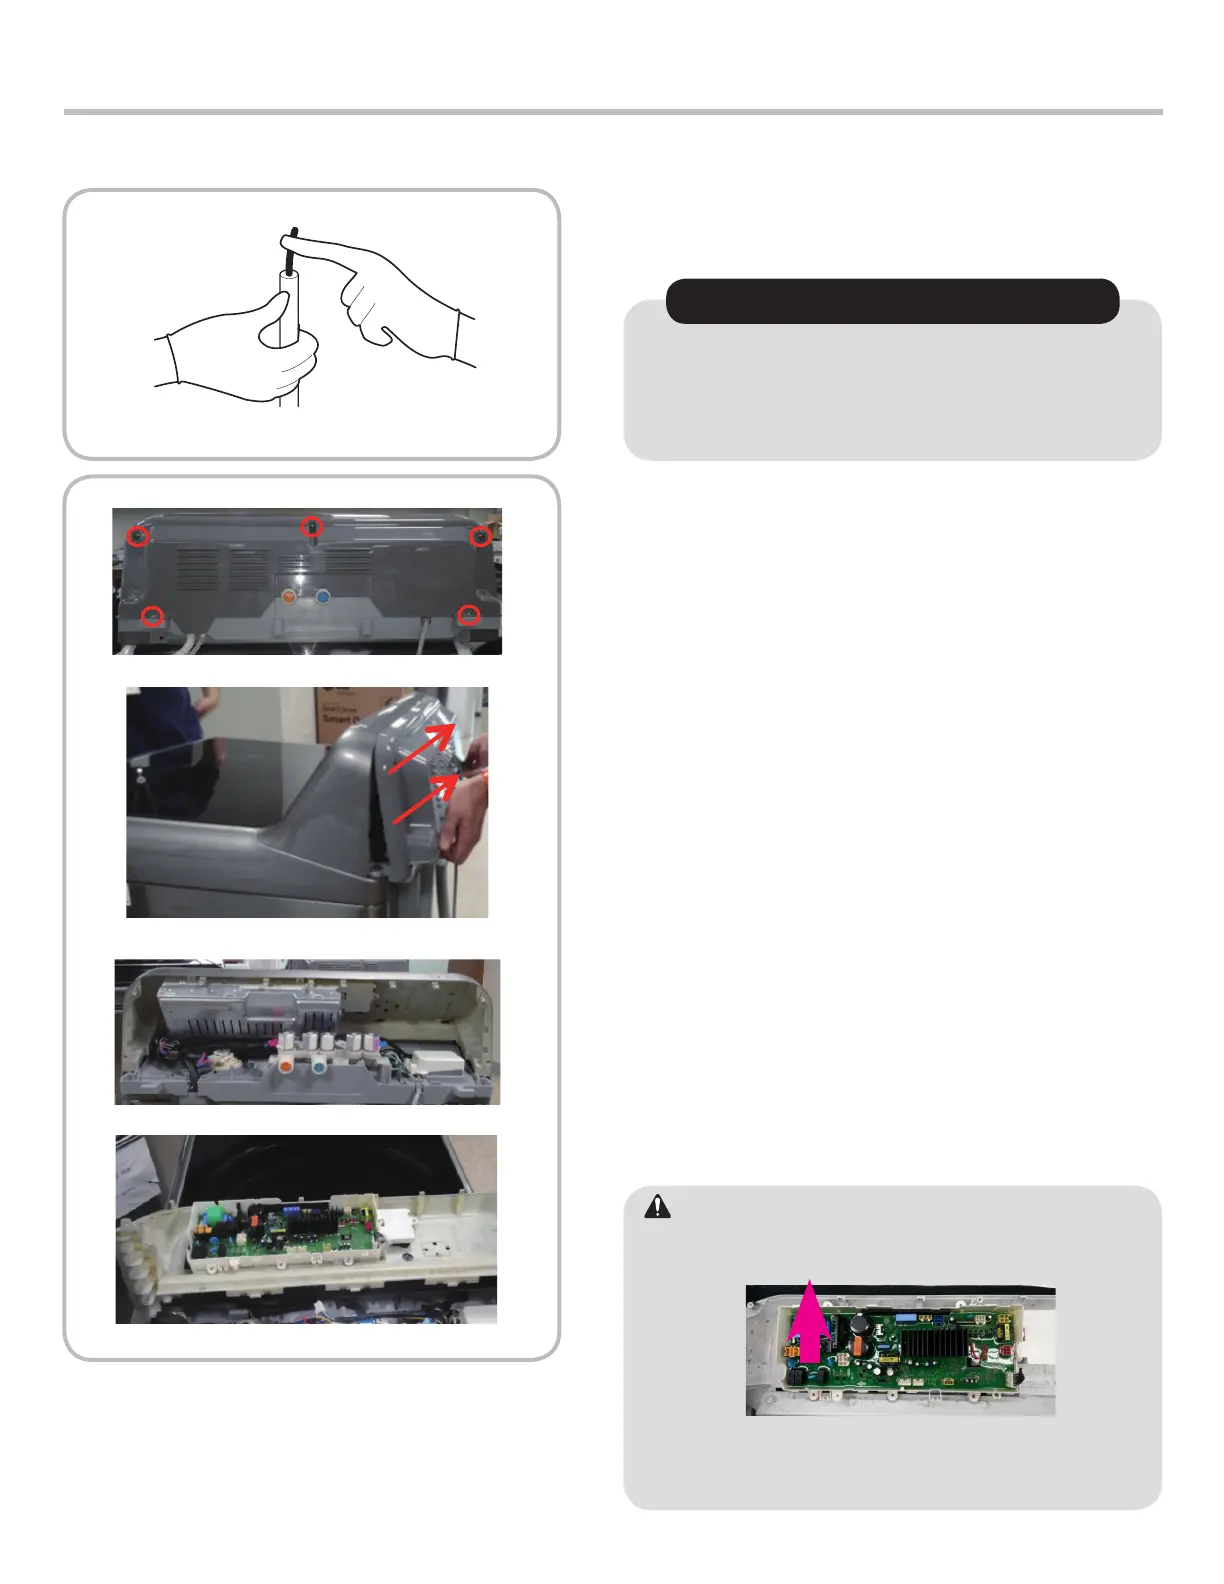
1) Remove front panel and main PCB
assembly
① Remove 5 panel screws attaching the panel on the
back.
② Disassemble rear panel.
③ Pull the front panel back.
Remove 1 screw on the protect cover.
④ Disassemble the protective cover.
⑤ Disconnect the leads from the controller.
⑥ Remove 7 screws on the PCB assembly.
⑦ Remove the PCB assembly.
4. SERVICE INFORMATION
Caution
 Loading...