Do you have a question about the Logitech Alert 750n and is the answer not in the manual?
| Maximum resolution | - pixels |
|---|---|
| Supported video modes | - |
| Minimum illumination | - lx |
| Optical zoom | - x |
| Video motion detection | Yes |
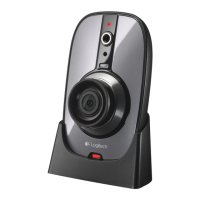
| Built-in HDD | No |
| Night vision distance | 15 m |
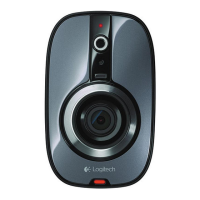
| Placement supported | Indoor |
| Connectivity technology | Wired |
| Form factor | Box |
| Mounting type | Ceiling/wall |
| Product color | Black, Grey |
| Cables included | LAN (RJ-45) |
| Interface | RJ-45 |
| Compatible operating systems | Microsoft Windows XP, Windows Vista, Windows 7 |
| Minimum RAM | 1024 MB |
| Minimum processor | 2GHz |