IMPORTANT: Be sure no end limits are set on the motor. If one or both limits are set, you cannot change the motor direction.
See Appendix A for instructions to clear limits.
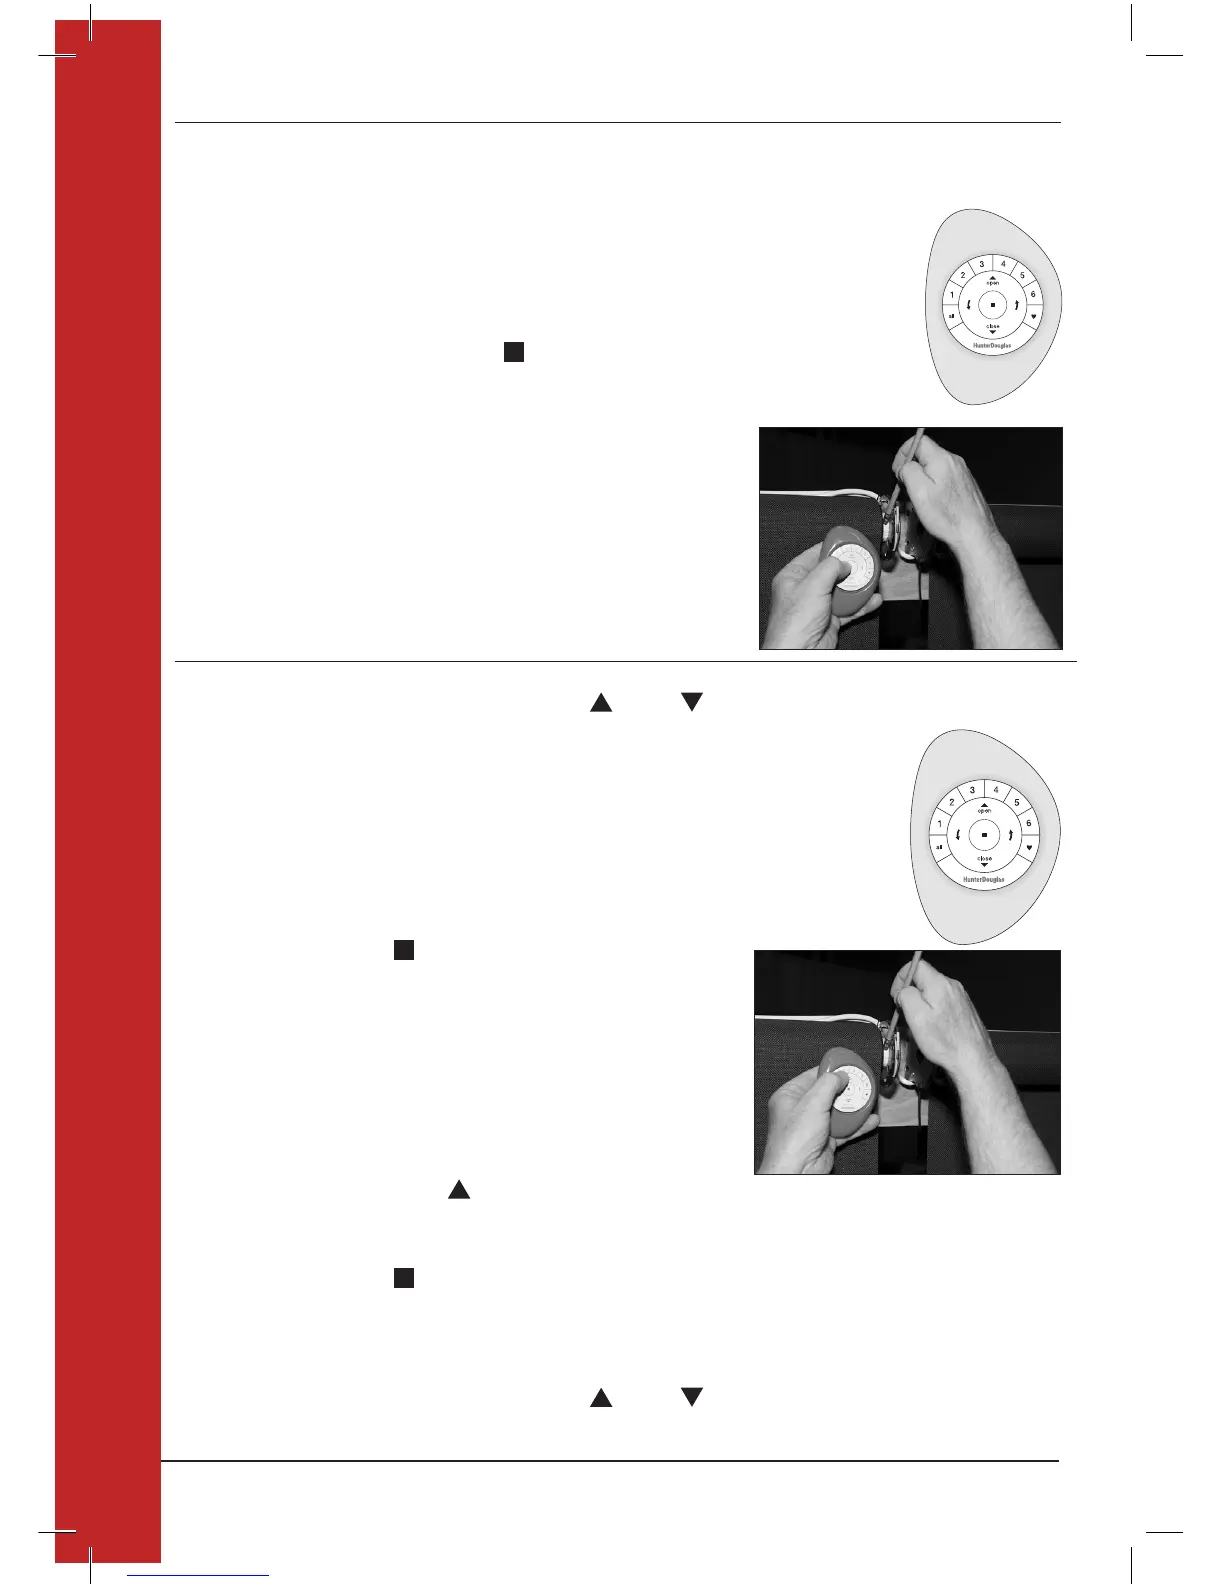
1. Remote: deselect all GROUP numbers
2. Motor: press and hold the manual control button
located on the motor head.
3. Remote: while continuing to press the
manual control button, press and release STOP
on the remote.
4. The shade will move twice to indicate it has
reversed motor direction.
NOTE: If end limits were already set, the motor will not
move, indicating the motor direction did not change.
NOTE: Verify that all GROUP lights are turned off on the
remote, clear both limits, and try again.
5. Motor: release the manual control button.
3. SET THE MOTOR UPPER LIMIT
NOTE: When end limits are not set, the motor responds to OPEN or CLOSE on the remote with single, small
movements.
1. Move the shade to the desired upper limit.
On the remote, use the OPEN, CLOSE, or LEFT
or RIGHT ARROW buttons to fine tune desired
position.
On the motor, use the manual control button or dry
contact input (M40 Series only).
2. Remote: press and hold STOP for 6 seconds
to put the remote into program mode.
The backlit buttons on the remote will flash to
indicate it is in program mode.
3. Remote: deselect all GROUP numbers.
4. Motor: press and hold the manual control button
located on the motor head.
5. Remote: while continuing to press the manual
control button, press and release OPEN on the remote.
The shade will move twice to indicate the upper limit is set.
6. Motor: release the manual control button.
7. Remote: press and hold STOP for 6 seconds to exit program mode.
The lights will stop flashing.
IMPORTANT: Verify that the upper limit is set. If not, deselect all GROUP numbers and
repeat Step 3.
NOTE: When end limits are not set, the motor responds to OPEN or CLOSE on the remote with single, small
movements.
 Loading...