EasyManua.ls Logo

Makita 2705 User Manual

Makita 2705
60 pages
To Next Page IconTo Next Page
To Previous Page IconTo Previous Page
Page #16 background imageLoading...
Page #16 background image
16 ENGLISH
Feed the workpiece by hand until the end is
about 25 mm (1") from the front edge of the
table. Continue to feed using the push block
on the top of the auxiliary fence until the cut
is complete.
1
1. Push block
Cross cutting
CAUTION:
When making a crosscut, remove the rip fence
from the table.
When cutting long or large workpieces, always
provide adequate support to the sides of the
table. The support should be at the same height
as the table.
Always keep hands away from path of blade.
Miter gauge
12
34
1. Cross cutting 2. Mitering 3. Bevel cutting
4. Compound mitering (angles)
Use the miter gauge for the 4 types of cutting shown in
the gure.
CAUTION:
Secure the knob on the miter gauge carefully.
Avoid movement of the workpiece and gauge by
rmly securing the workpiece and gauge, espe-
cially when cutting at an angle.
NEVER hold or grasp the intended "cut-off"
portion of the workpiece.
Miter gauge positive stop
1
3
2
1. Knob 2. Small plate 3. Screw for positive stop
Miter gauge is provided with positive stops at 90°,
45°right and left miter angles for quick setting of miter
angles.
To set the miter angle, loosen the knob on the miter
gauge.
Raise the small plate on the miter gauge for free setting.
Turn the miter gauge to the desired miter angle. Return
the small plate on the miter gauge to the original posi-
tion and tighten the knob clockwise securely.
Use of miter gauge
1
2
3
1. Groove 2. Knob 3. Miter gauge
Slide the miter gauge into the thick grooves in the table.
Loosen the knob on the gauge and align to desired
angle (0° to 60°). Bring stock ush up against fence and
feed gently forward into the blade.
Question and Answer IconNeed help?

Do you have a question about the Makita 2705 and is the answer not in the manual?
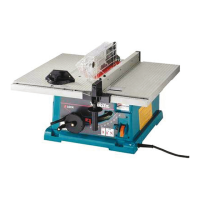
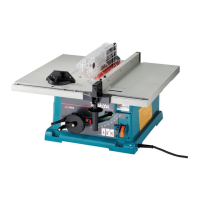
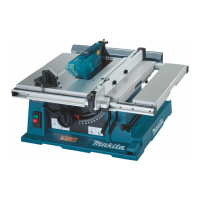
Makita 2705 Specifications

General IconGeneral
Blade Diameter10 inches
Arbor Size5/8 inches
Max Cutting Capacity at 45°2-1/2 inches
No Load Speed4, 800 RPM
Amperage15 A
Electric BrakeNo
Dust Extraction PortYes
Max Cutting Capacity at 90°3-5/8 inches

Summary

General Safety Precautions

General Safety Precautions

Covers tool knowledge, guards, work area, personal apparel, eye protection, securing work, and tool maintenance for safe operation.

Additional Safety Rules

Additional Safety Rules

Provides further safety instructions including blade checks, cord care, dust precautions, and handling workpieces.

Installation

Positioning Table Saw

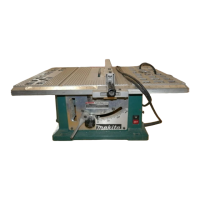
Guides on locating and securing the table saw for stable operation, ensuring adequate workspace and proper setup.

Functional Description

Adjusting Depth of Cut

Instructions on adjusting the blade's cutting depth using the handle for optimal results.

Adjusting Bevel Angle

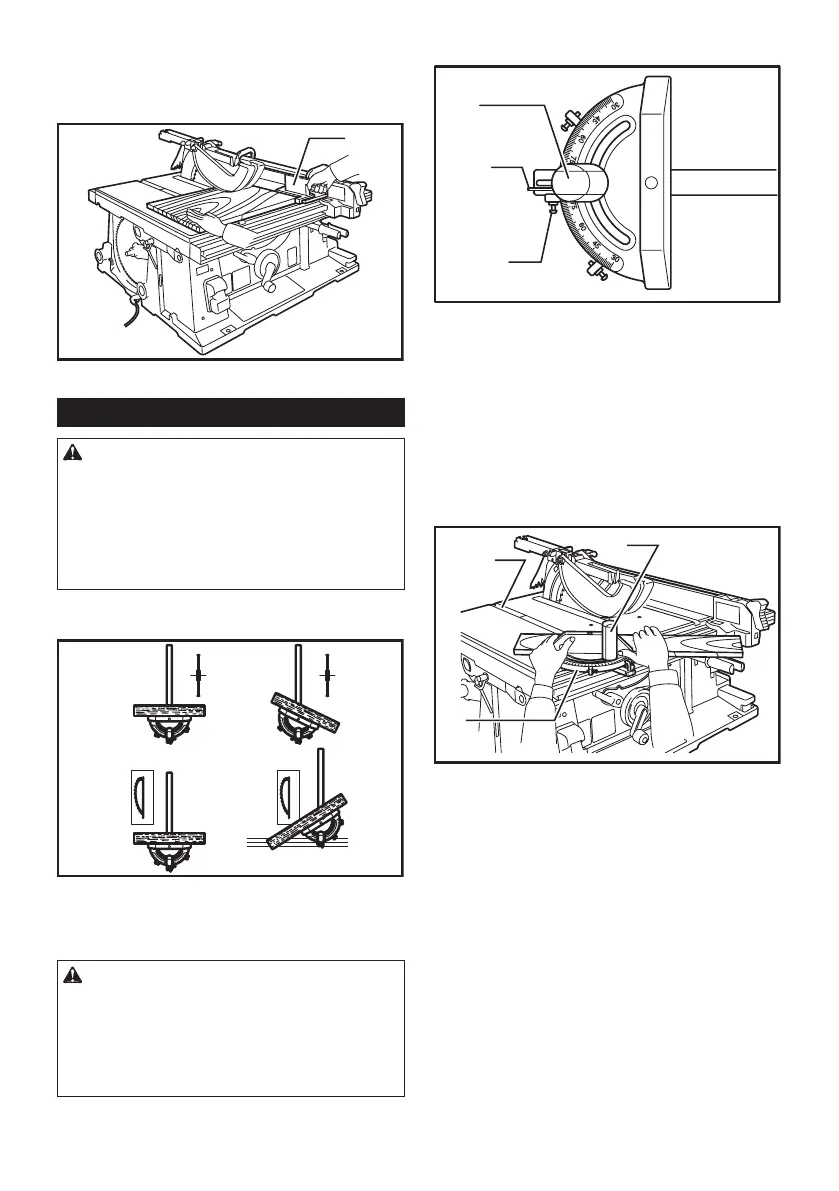
Details on setting the blade's bevel angle from 0° to 45° using the handwheel and securing it with the lock lever.

Adjusting Positive Stops

Guidance on checking and adjusting the 90° and 45° positive stops for precise angle settings of the blade.

Controls and Features

Switch Action

Explains how to operate the power switch, including starting, stopping, and locking the switch lever for safety.

Auxiliary Tables

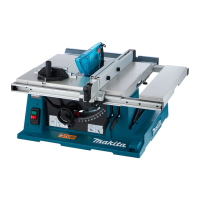
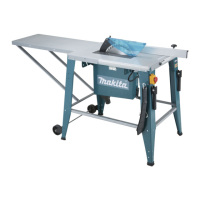
Instructions for installing and using optional right, back, and left auxiliary tables to extend the work surface.

Assembly and Safety Components

Blade Guard and Blade Installation

Guidance on the blade guard system overview and the process for safely installing or removing the saw blade.

Riving Knife/Spreader Setup and Alignment

Instructions for positioning the riving knife/spreader for different cuts and aligning it with the blade for safety.

Antikickback Pawl Operation

Explains the function and use of antikickback pawls to prevent material from being pushed back towards the operator during kickback.

Rip Fence Installation and Adjustment

Step-by-step guide for fitting, adjusting, and ensuring the rip fence is parallel to the blade for accurate cuts.

Operation

Work Helpers for Safe Cutting

Introduces work helpers like push sticks, blocks, and auxiliary fences for safe cutting and preventing blade contact.

Ripping Operations

Safety precautions and procedures for ripping, including workpiece support, blade binding, and kickback prevention.

Cross Cutting Operations

Safety guidelines for cross cutting, including removing the rip fence, providing workpiece support, and keeping hands clear of the blade.

Miter Gauge Usage

Instructions on using the miter gauge for various cuts (cross, mitering, bevel, compound) and setting angles.

Maintenance

Cleaning and Lubrication

Advice on cleaning sawdust and chips, and recommendations for lubricating moving parts to maintain optimal tool condition.

Replacing Carbon Brushes

Detailed steps for checking, replacing, and breaking in carbon brushes to ensure proper tool function.

Optional Accessories and Special Operations

Table Insert for Dado Sets

Information on the required table insert for dado head sets and its installation procedure.

How to Perform Rabbeting

Instructions for performing rabbeting cuts, including adjusting the riving knife/spreader and using auxiliary fences.

Related product manuals