Operation
1)
To
drive a nail, you may place the contact element
2)
Pull the trigger first and then place the contact element
No.
1
method is
for
intermittent nailing, when
you
wish
to
drive a nail carefully and very accurately.
No.
2
method
is
for continuous nailing.
against the workpiece and pull the trigger, or
against the workpiece.
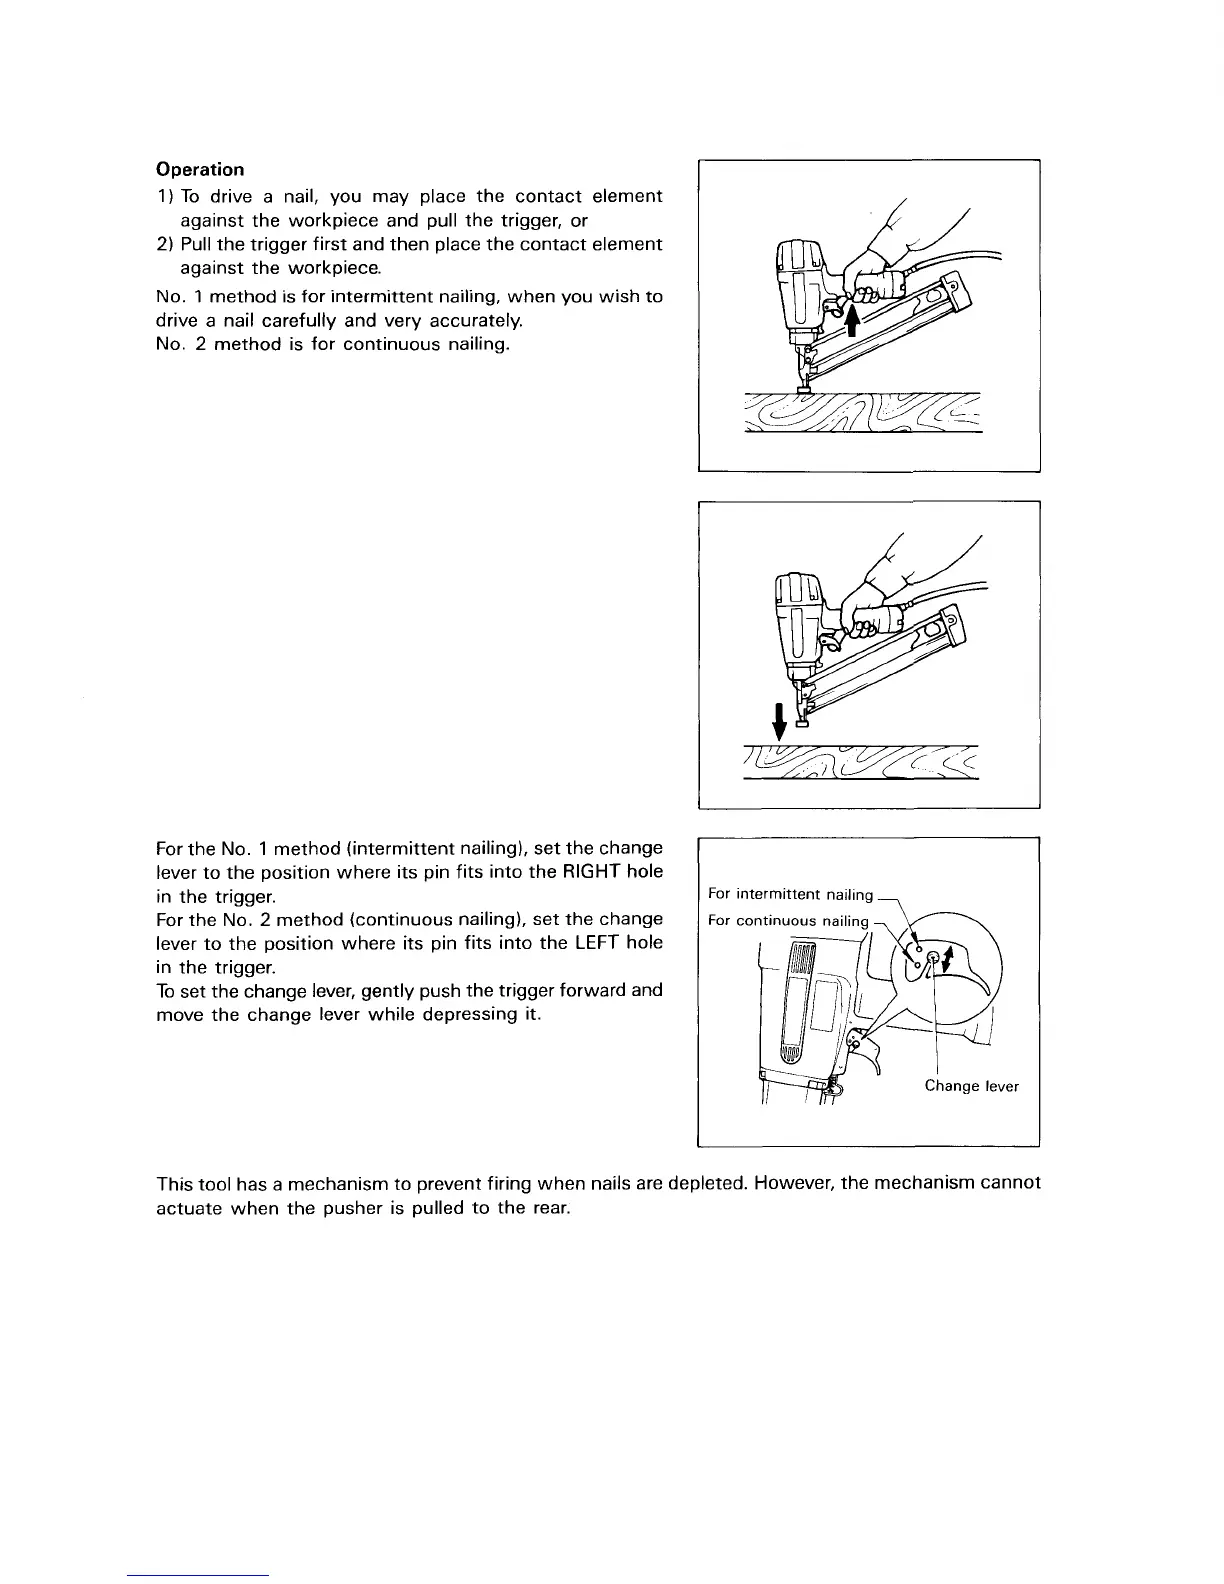
For the
No.
1
method (intermittent nailing), set the change
lever to the position where its pin fits into the
RIGHT
hole
in the trigger.
For the
No.
2
method (continuous nailing), set the change
lever to the position where its pin fits into the LEFT hole
in the trigger.
To set the change lever, gently push the trigger forward and
move the change lever while depressing
it.
For intermittent nailing
-
This tool has a mechanism to prevent firing when nails are depleted. However, the mechanism cannot
actuate when the pusher is pulled to the rear.
 Loading...