5
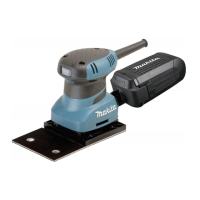
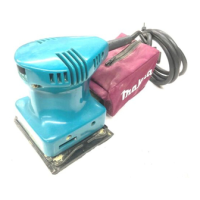
The use of the dust bag makes sanding operations clean
and dust collection easy. To attach the dust bag, fit the
bag's entry port onto the dust spout on the tool. Make
sure that the hole in the bag's entry port is just over the
pimple-like protrusion on the dust spout.
For the best results, empty the dust bag when it
becomes approximately half full, tapping it lightly to
remove as much dust as possible.
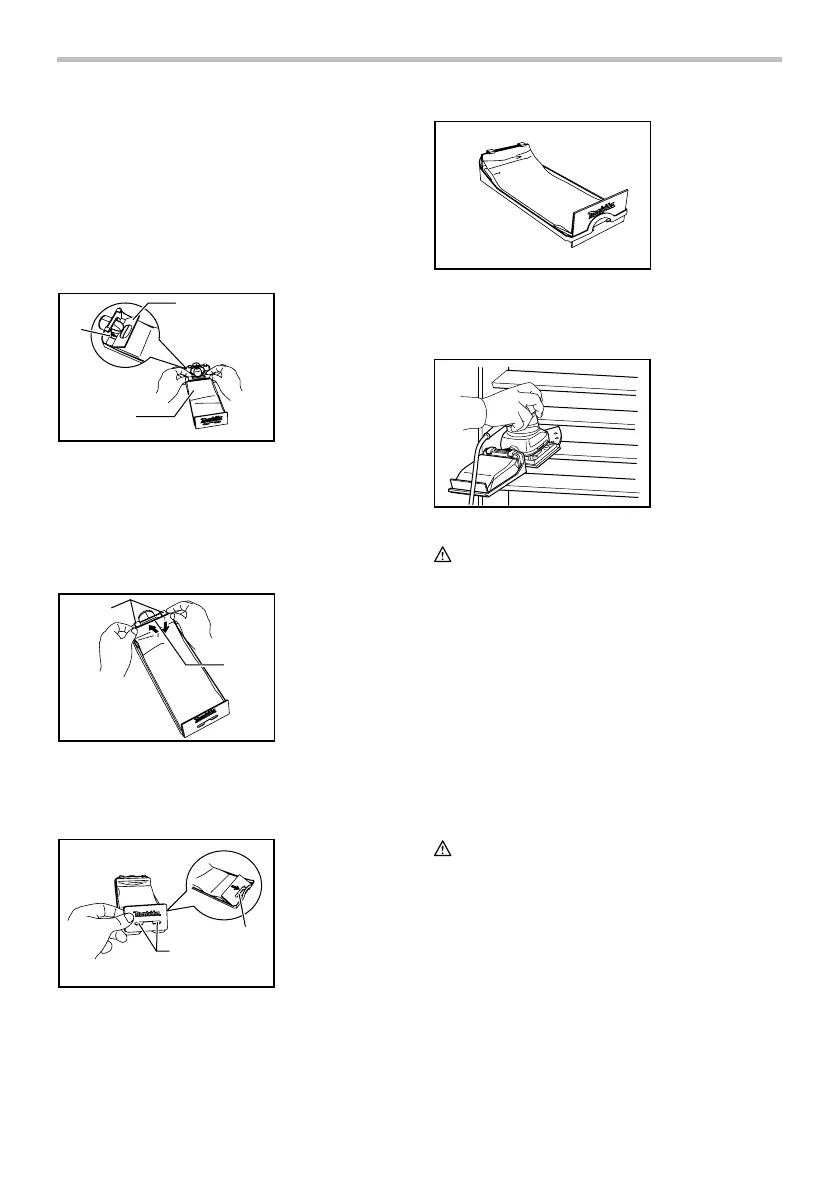
Installing paper dust bag (accessory)
1
2
3
003742
Place the paper dust bag on the paper dust bag holder
with its front side upward. Insert the front fixing
cardboard of the paper dust bag into the groove of the
paper dust bag holder.
Then press the upper part of the front fixing cardboard in
arrow direction to hook it onto the claws.
1
2
003743
Insert the notch of the paper dust bag into the guide of
the paper dust bag holder. Then install the paper dust
bag holder set on the tool.
1
2
003744
003745
OPERATION
Sanding operation
008307
CAUTION:
• Never run the tool without the abrasive paper. You
may seriously damage the pad.
• Never force the tool. Excessive pressure may
decrease the sanding efficiency, damage the
abrasive paper and/or shorten tool life.
Hold the tool firmly. Turn the tool on and wait until it
attains full speed. Then gently place the tool on the
workpiece surface. A finishing sander is generally used
to remove only a small amount of material at a time.
Since the quality of the surface is more important than
the amount of stock removed, do not bear down on the
tool. Keep the base flush with the workpiece at all times.
MAINTENANCE
CAUTION:
• Always be sure that the tool is switched off and
unplugged before attempting to perform inspection
or maintenance.
To maintain product SAFETY and RELIABILITY, repairs,
carbon brush inspection and replacement, any other
maintenance or adjustment should be performed by
Makita Authorized Service Centers, always using Makita
replacement parts.
1. Notch
2. Guide
1. Claws
2. Upper part
1. Groove
2. Front fixing
cardboard
3. Front side of
paper dust bag
 Loading...