EasyManua.ls Logo

Makita DJV184 User Manual

Makita DJV184
16 pages
To Next Page IconTo Next Page
To Previous Page IconTo Previous Page
Page #14 background imageLoading...
Page #14 background image
14 ENGLISH
To install, insert the rip fence into the rectangular hole
on the side of the base with the fence guide facing
down. Slide the rip fence to the desired cutting width
position, then tighten the bolt to secure it.
1
2
4
3
Fig.25
►1. Hex wrench 2. Bolt 3. Fence guide 4. Rip fence
(Guiderule)
Circular cuts
Whencuttingcirclesorarcsof170mmorlessinradius,
install the rip fence as follows.
1
Fig.26
►1.Ripfence(Guiderule)
1. Insert the rip fence into the rectangular hole on the
side of the base with the fence guide facing up.
2. Insert the circular guide pin through either of the
two holes on the fence guide. Screw the threaded knob
onto the circular guide pin to secure the circular guide
pin.
2
6
5
4
1
3
Fig.27
►1. Threaded knob 2. Fence guide 3. Rip fence
(Guiderule)4. Circular guide pin 5. Bolt 6. Hex
wrench
3. Slide the rip fence to the desired cutting radius,
and tighten the bolt to secure it in place. Then move the
base all the way forward.
NOTE:AlwaysusejigsawbladesNo.B-17,B-18,
B-26orB-27whencuttingcirclesorarcs.
Anti-splintering device
Optional accessory
CAUTION: The anti-splintering device cannot
be used when making bevel cuts.
1
2
Fig.28
►1. Base 2. Anti-splintering device
For splinter-free cuts, the anti-splintering device can
be used. To install the anti-splintering device, move the
toolbaseallthewayforwardandtitfromthebackof
tool base.
When you use the cover plate, install the anti-splintering
device onto the cover plate.
Cover plate
1
2
Fig.29
►1. Cover plate 2. Base
Use the cover plate when cutting decorative veneers,
plastics, etc. It protects sensitive or delicate surfaces
from damage. Fit it on the back of the tool base.
Question and Answer IconNeed help?

Do you have a question about the Makita DJV184 and is the answer not in the manual?

Makita DJV184 Specifications

General IconGeneral
Voltage18V
Strokes Per Minute0 - 3, 000 SPM
Power SourceBattery
Max Cutting Depth135 mm (Wood)
Battery TypeLithium-Ion
Bevel Capacity45°
Cutting Capacity (Wood)135 mm
Cutting Capacity (Steel)10 mm
Cutting Capacity (Aluminum)20 mm
No Load Speed0 - 3, 000 SPM
Net Weight2.1 kg (without battery)

Summary

Specifications and Usage

Applicable Battery Cartridge and Charger

Lists compatible battery cartridges and chargers for the tool.

Symbols Used in Manual

Explains the meaning of symbols found on the tool and in the manual.

Intended Use of the Tool

Details the primary applications and purposes of the jig saw.

Noise Emission Levels

Provides information on sound pressure and sound power levels.

Safety Warnings and Precautions

General Power Tool Safety

Essential safety precautions applicable to all power tool operations.

Work Area Safety Guidelines

Guidelines for maintaining a safe and hazard-free work environment.

Electrical Safety Measures

Precautions to prevent electric shock and ensure safe electrical connections.

Personal Safety Precautions

Measures to protect the operator from injury during tool use.

Vibration Information

Details declared vibration emission values for different work modes.

EC Declaration of Conformity

States compliance with European Union directives for products sold in the EU.

Tool Use, Care, and Battery Management

Power Tool Usage and Care

Guidelines for proper use, maintenance, and handling of the power tool.

Battery Tool Use and Care

Instructions for safe and effective use and maintenance of battery packs.

Battery Pack Service and Maintenance

Guidelines for servicing and maintaining battery packs.

Cordless Jig Saw Safety Warnings

Specific safety instructions for operating the cordless jig saw.

Tool Functions and Operation

Maintaining Maximum Battery Life

Tips and procedures to maximize the lifespan of the battery cartridge.

Functional Description

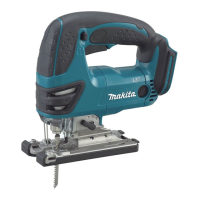
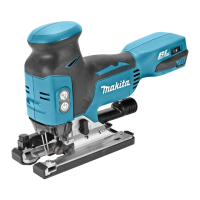
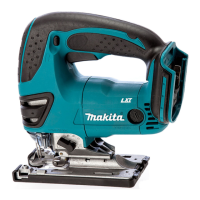
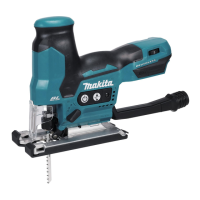
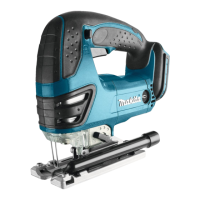
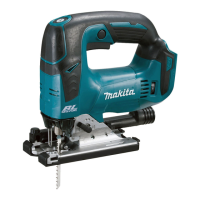
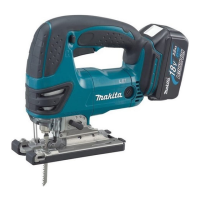
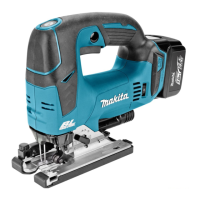
Overview of the tool's main functional components and systems.

Installing or Removing Battery Cartridge

Step-by-step guide for inserting and removing the battery.

Tool and Battery Protection System

Explanation of the system that protects the tool and battery from damage.

Indicating Remaining Battery Capacity

How to check the remaining charge level of the battery.

Selecting Cutting Action

Guidance on choosing the appropriate cutting action for different materials.

Switch Action and Speed Control

Instructions on operating the switch, lock-on function, and speed adjustment.

Lighting Up the Front Lamp

How to turn the tool's work light on and off.

Speed Adjusting Dial Usage

Guidance on setting the appropriate speed for various workpieces.

Electronic Functions

Explanation of electronic features like soft start and constant speed control.

Soft No-Load Rotation Function

Details on the function that reduces vibration when idle.

Electric Brake Function

Information about the electric brake and when to seek service.

Assembly and Operation

Installing or Removing Jig Saw Blade

Step-by-step instructions for blade installation and removal.

Hex Wrench Storage

Guidance on storing the hex wrench to prevent loss.

General Operation of the Tool

Basic procedures for operating the jig saw safely and effectively.

Bevel Cutting Procedure

Instructions on how to make angled cuts using the tilting base.

Front Flush Cuts

Technique for making cuts flush against a surface.

Cutouts and Starting Holes

Methods for creating internal cutouts by boring starting holes.

Plunge Cutting Technique

How to perform plunge cuts without a lead-in cut.

Finishing Edges

Trimming edges or making dimensional adjustments to cuts.

Metal Cutting Recommendations

Advice on using coolant for cutting metal to reduce blade wear.

Dust Extraction System

Instructions for installing and using the dust cover and nozzle.

Connecting to Vacuum Cleaner

Procedure for attaching the tool to a vacuum cleaner for dust collection.

Rip Fence for Straight Cuts

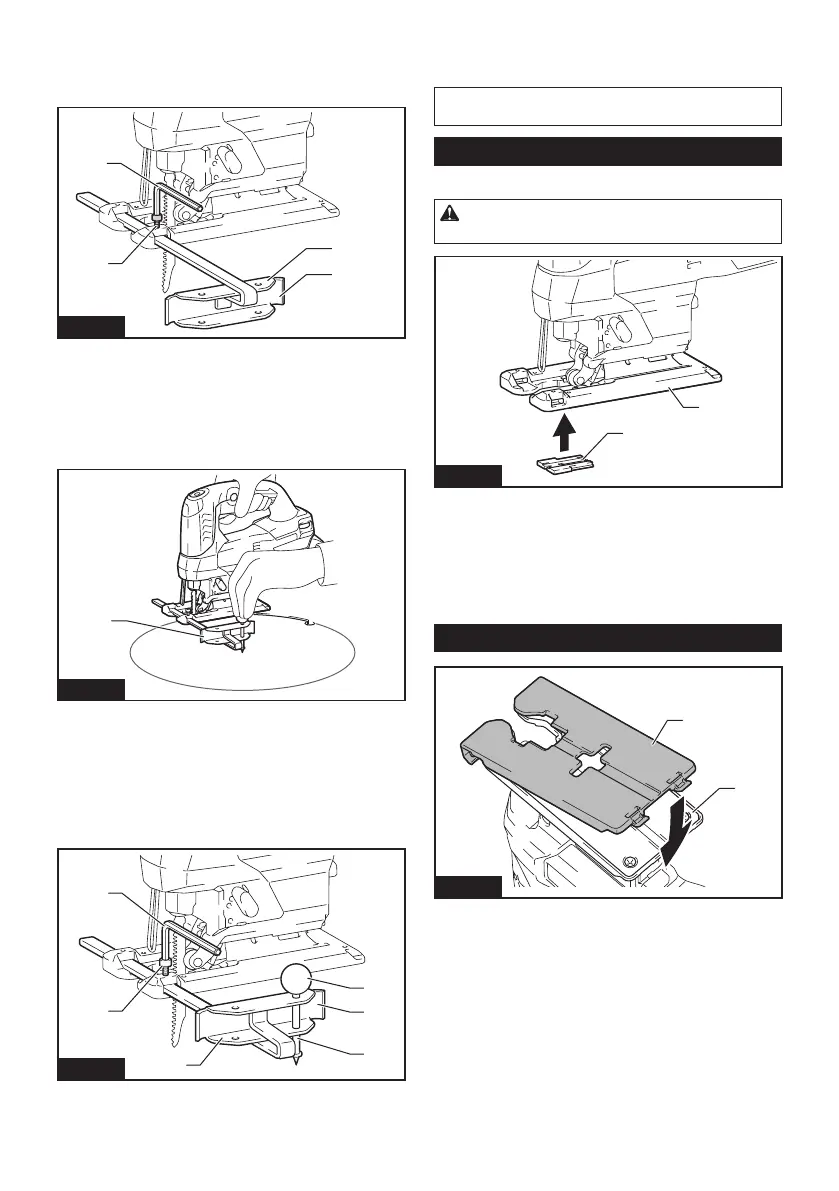
Using the rip fence to ensure fast, clean, straight cuts.

Circular Cuts with Rip Fence

How to install and use the rip fence for cutting circles or arcs.

Anti-Splintering Device

Using the device for splinter-free cuts on sensitive materials.

Cover Plate Usage

Using the cover plate to protect delicate surfaces during cutting.

Guide Rail Adapter Set

Installing the adapter for parallel and uniform width straight cuts.

Maintenance and Accessories

Maintenance and Repair

Guidance on performing inspection, maintenance, and repairs.

Optional Accessories

List of recommended accessories and attachments for the tool.

Related product manuals