4
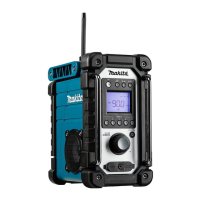
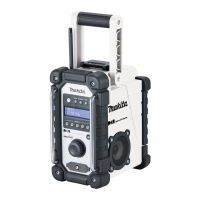
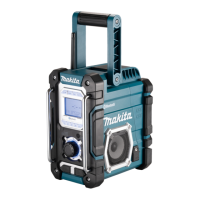
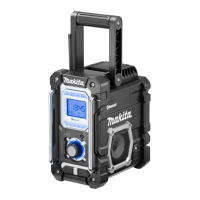
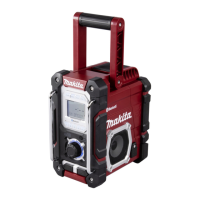
Controls:
1. Power and Sleep timer
2. Band and Mono button
3. Radio alarm set
4. Buzzer alarm set
5. Preset stations
6. Scan tuning and Time set
7. Tuning/Volume control knob
8. DC IN socket
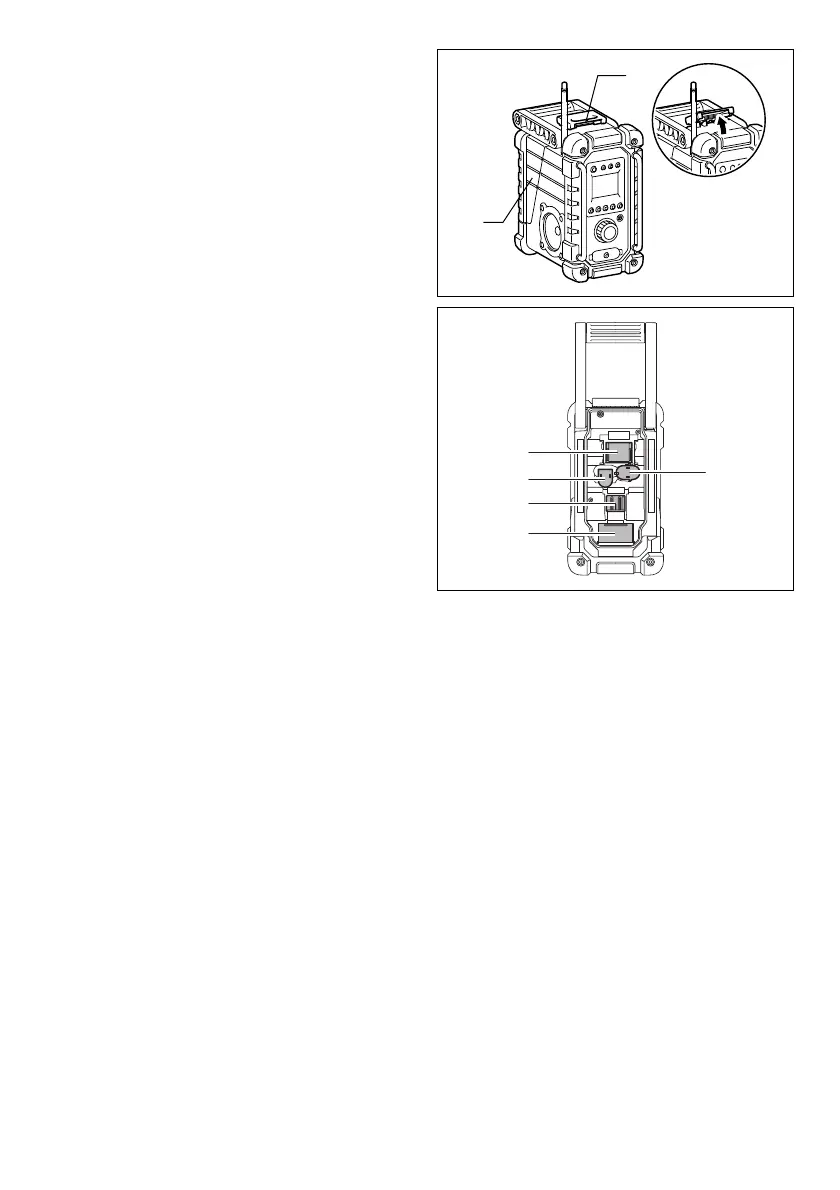
9. Input terminal (AUX IN1)
10. Soft bended rod antenna
11. Battery compartment (covering main battery pack and
back up batteries)
12. Handle
13. Speaker
14. Battery compartment locker
15. Main battery compartment
16. Back up battery compartment
17. Red indicator
18. Button
19. Battery cartridge
20. Input terminal (AUX IN2)
21. Front
22. Right
23. Back; Battery cover closed
24. Back; Battery cover opened
25. Indicator lamps
26. Check button
LCD display:
A. Radio alarm
B. HWS buzzer alarm
C. Scan tuning
D. Band Indicator
E. Low battery indicator
F. Preset stations
G. Sleep and Snooze status
H. Frequency
I. Stereo symbol and Volume
J. Clock
K. Time set
L. PM for clock
Battery installation
Note:
Keeping back up batteries inside the compartment
prevent stored data in preset memories from being lost.
Back up battery installation
1. Pull out the battery compartment locker to release
battery compartment. There are main battery pack
compartment and back up battery compartment.
2. Remove back up battery compartment cover and
insert 2 fresh UM-3 (AA sizes). Make sure the
batteries are with correct polarity as shown inside the
compartment. Replace the battery cover.
3. After back up batteries are inserted, insert the main
battery pack to power radio. The suitable battery
packs for this radio listed as the following table.
The following tables indicate the operating time on a
single charge.

 Loading...