 Loading...
Do you have a question about the Makita DTD154Z and is the answer not in the manual?
| Reverse | Yes |
|---|---|
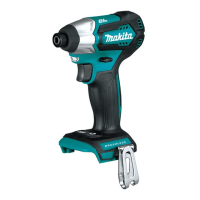
| Motor type | Brushless |
| Handle shape | Pistol handle |
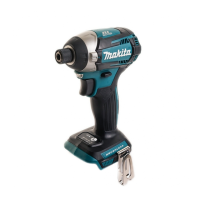
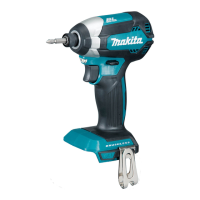
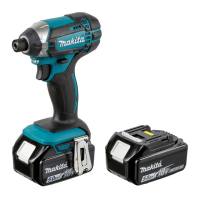
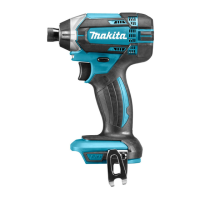
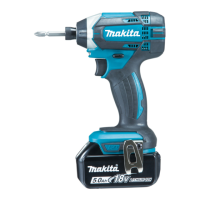
| Product type | Impact driver |
| Product color | Black, Blue |
| Chuck diameter | 1/4\ |
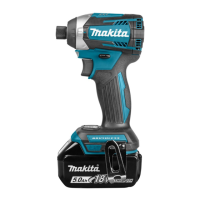
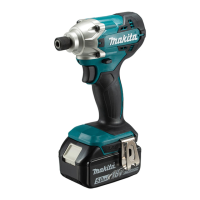
| Power source | Battery |
| Battery voltage | 18 V |
| Torque (max) | 175 N⋅m |
| Number of gears | 3 |
| Idle speed (max) | 3800 RPM |
| Impact rate (max) | 3800 IPM |
| Impact rate (min) | 1100 IPM |
| Sound power level | 107 dB |
| Sound pressure level | 96 dB |
| Idle speed (1st gear) | 1100 RPM |
| Idle speed (2nd gear) | 2100 RPM |
| Idle speed (3rd gear) | 3600 RPM |
| Sound level uncertainty | 3 dB |
| Weight | 1500 g |
|---|
Describes the tool's intended purpose for driving screws in wood, metal, and plastic.
Details A-weighted noise levels and vibration values (a), with warnings for protection.
General safety rules for all power tools, including reading instructions and avoiding electric shock.
Specific safety precautions for operating a cordless impact driver, including grip, footing, and hot parts.
Covers safe handling, charging, disposal, and tips for maximizing battery life.
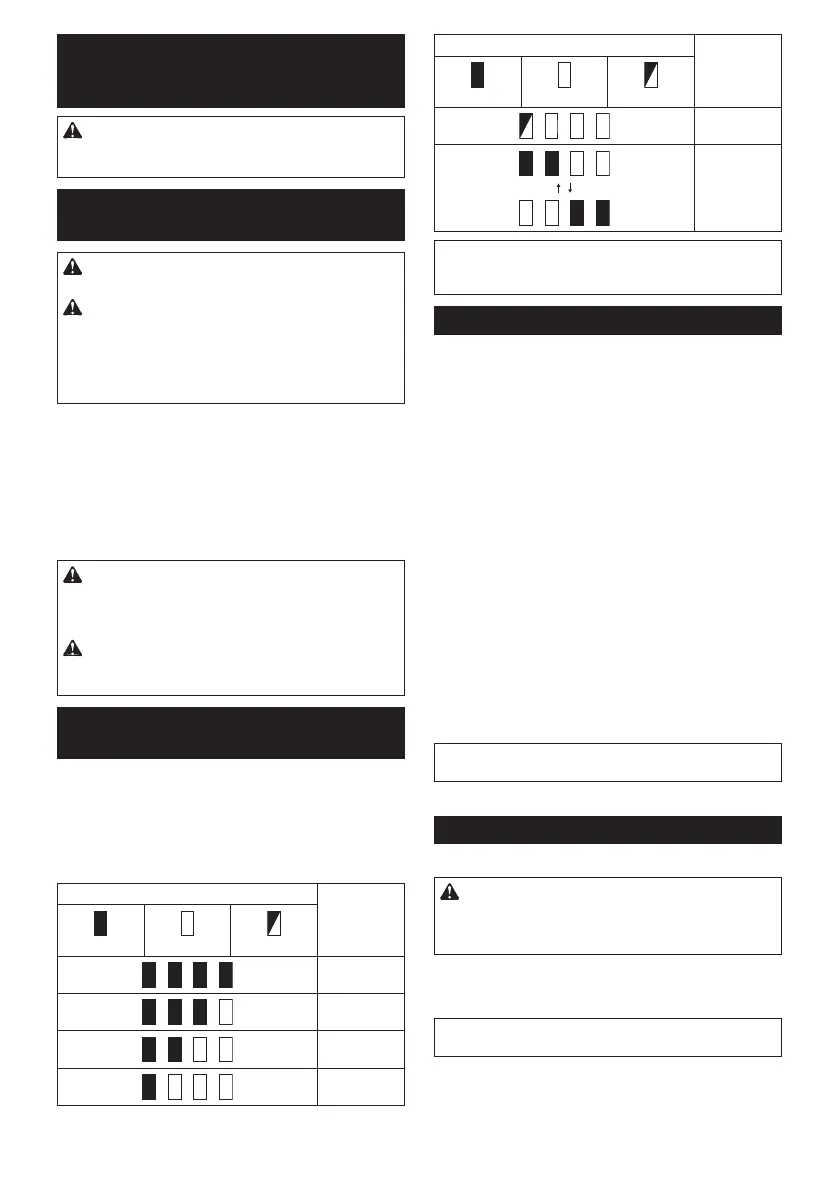
Covers battery installation/removal, indicator lamps, and capacity checks.
Describes the system that protects the tool and battery from overload, overheat, and overdischarge.
Details how to operate the switch trigger for starting, stopping, and controlling tool speed.
Explains how to turn the front lamp on/off and how to control its status.
Describes how to use the reversing switch lever to change the direction of rotation of the tool.
Explains how to change the impact force in four steps (Hard, Medium, Soft, T mode) for various applications.
Instructions for installing and removing driver bits and socket bits, including different bit hole types.
Details on how to install and remove the accessory hook for temporarily hanging the tool.
Explains how fastening torque relates to time and factors like bolt type, material, and tool usage.
Recommends repairs and adjustments be performed by authorized service centers using genuine parts.
Lists recommended accessories and attachments for use with the tool, advising on proper usage.