31 ENGLISH
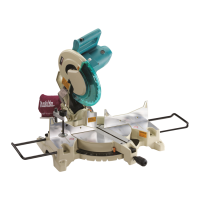
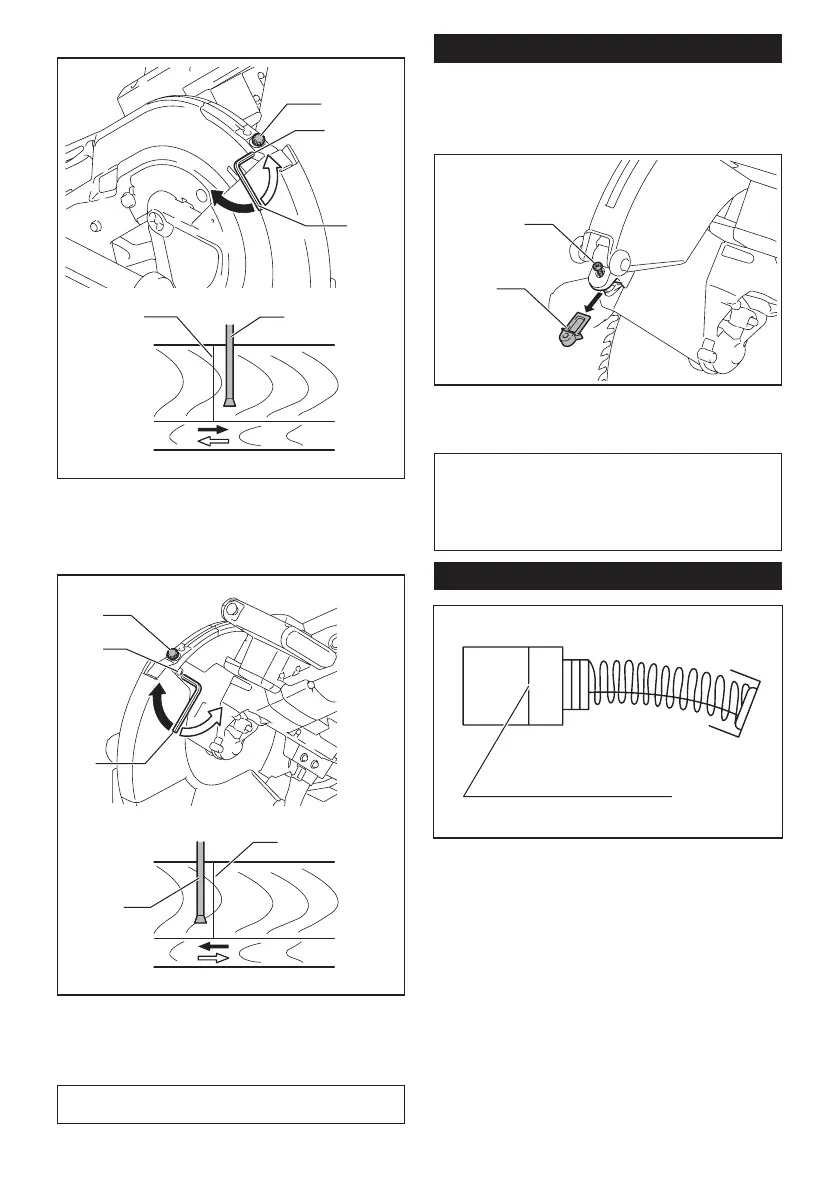
Adjusting the laser line on the left side of the blade
4
5
1
3
2
► 1. Adjusting screw 2. Range adjustment screw
3. Hex wrench 4. Laser line 5. Saw blade
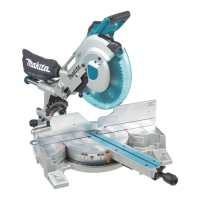
Adjusting the laser line on the right side of the
blade
1
4
2
3
5
► 1. Adjusting screw 2. Range adjustment screw
3. Hex wrench 4. Laser line 5. Saw blade
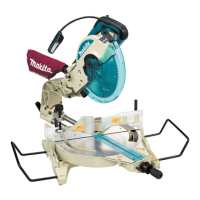
7. Slide the adjusting screw to the position that the
laser line comes onto the cutting line and then tighten.
NOTE: The movable range of laser line is factory
adjusted within 1 mm from the side surface of blade.
Cleaning the laser light lens
For model LS1219L only
The laser light becomes hard to see as the lens for
the laser light gets dirty. Clean the lens for laser light
periodically.
1
2
► 1. Screw 2. Lens
Unplug the tool. Loosen the screw and pull out the lens.
Clean the lens gently with a damp soft cloth.
NOTICE: Do not remove the screw which
secures the lens. If the lens does not come out,
loosen the screw further.
NOTICE: Do not use solvents or any petro-
leum-based cleaners on the lens.
Replacing carbon brushes
1
► 1. Limit mark
Remove and check the carbon brushes regularly.
Replace when they wear down to the limit mark. Keep
the carbon brushes clean and free to slip in the holders.
Both carbon brushes should be replaced at the same
time. Use only identical carbon brushes.
Use a screwdriver to remove the brush holder caps.
Take out the worn carbon brushes, insert the new ones
and secure the brush holder caps.
 Loading...