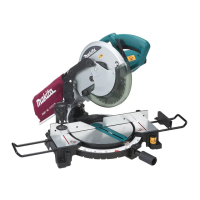
14 ENGLISH
Table (B)
– Molding
position in
the gure
Molding
edge against
guide fence
Finished
piece
For inside
corner
(a) Ceiling
contact edge
should be
against guide
fence.
Finished
piece will be
on the Left
side of blade.
(b) Wall contact
edge should
be against
guide fence.
For outside
corner
(c) Finished
piece will be
on the Right
side of blade.(d) Ceiling
contact edge
should be
against guide
fence.
Example:
In the case of cutting 52/38° type crown molding for
position (a) in the above gure:
• Tilt and secure bevel angle setting to 33.9° LEFT.
• Adjust and secure miter angle setting to 31.6°
RIGHT.
• Lay crown molding with its broad back (hidden)
surface down on the turn base with its CEILING
CONTACT EDGE against the guide fence on the
saw.
• The nished piece to be used will always be on
the LEFT side of the blade after the cut has been
made.
Cutting aluminum extrusion
1
2
3
4
5
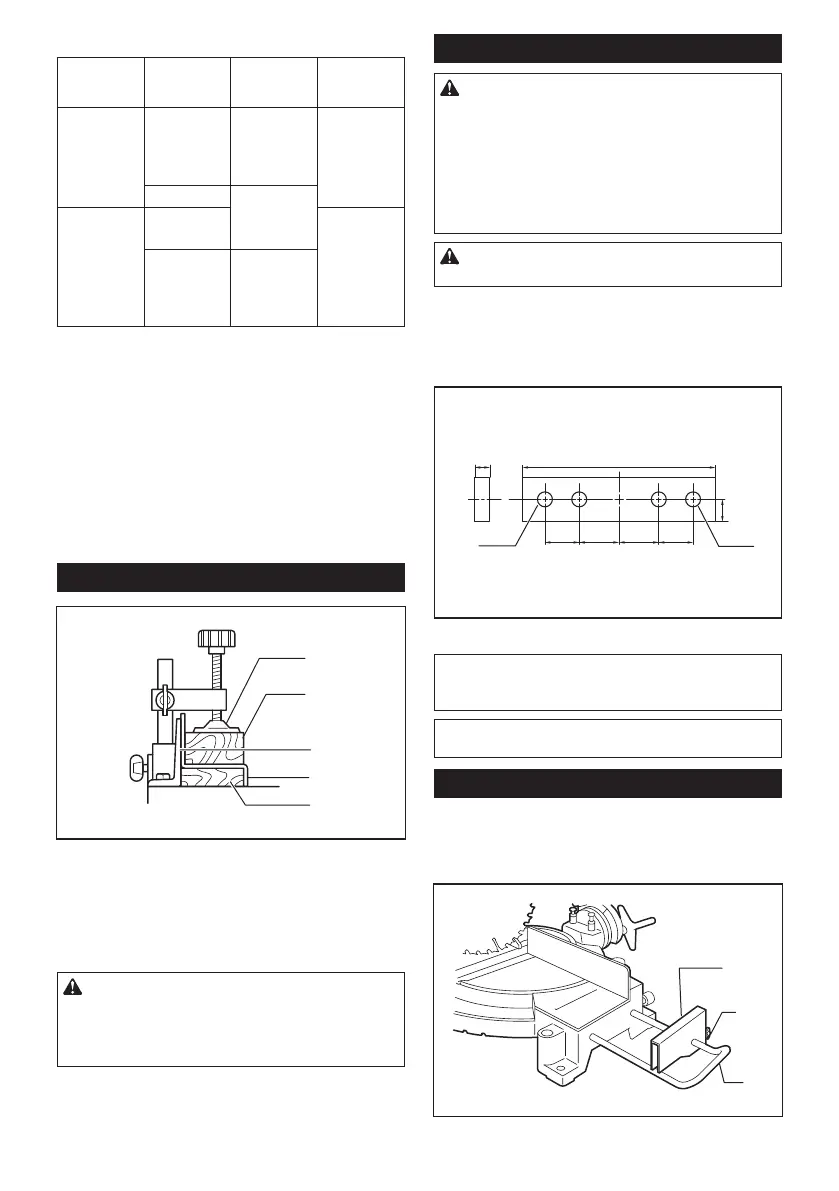
► 1. Vise 2. Spacer block 3. Guide fence 4. Aluminum
extrusion 5. Spacer block
When securing aluminum extrusions, use spacer blocks
or pieces of scrap as shown in the gure to prevent
deformation of the aluminum. Use a cutting lubricant
when cutting the aluminum extrusion to prevent build-up
of the aluminum material on the blade.
CAUTION: Never attempt to cut thick or round
aluminum extrusions. Thick aluminum extrusions
may come loose during operation and round alumi-
num extrusions cannot be secured rmly with this
tool.
Wood facing
WARNING: Use screws to attach the wood
facing to the guide fence. The screws should be
installed so that the screw heads are below the
surface of the wood facing so that they will not
interfere with the positioning of the material being
cut. Misalignment of the material being cut can case
unexpected movement during the cutting operation
which may result in a loss of control and serious
personal injury.
CAUTION: Use the straight wood of even
thickness as the wood facing.
Use of wood facing helps to assure splinter-free cuts
in workpieces. Attach a wood facing to the guide fence
using the holes in the guide fence.
See the gure concerning the dimensions for a sug-
gested wood facing.
≥ 10mm(3/8") ≥ 460mm(18-1/8")
25mm
100mm115mm 100mm115mm
(1")
(4") (4")(4-1/2") (4-1/2")
► 1. Holes
NOTICE: When the wood facing is attached, do
not turn the turn base with the handle lowered.
The blade and/or the wood facing will be damaged.
NOTE: The maximum cutting width will be smaller by
the width of wood facing.
Cutting repetitive lengths
When cutting several pieces of stock to the same length,
ranging from 240 mm (9-29/64") to 380 mm (15"), use the
set plate (optional accessory). Install the set plate on the
holder (optional accessory) as shown in the gure.
1
2
3
► 1. Set plate 2. Holder 3. Screw
 Loading...