7 ENGLISH
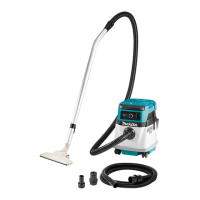
Installing dust bag
1
2
3
4
► 1. Dust outlet 2. Dust bag joint 3. Pins 4. Dust bag
Hold the square section of the dust bag joint and t the
pins inside the dust bag joint to the notches in the dust
outlet of the cleaner and then insert and turn it clock-
wise all the way until it stops.
1
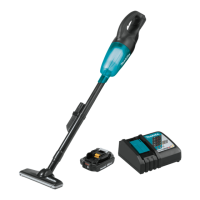
► 1. Hook
At this time, make sure that the fastener part on the dust
bag faces upward.
NOTE:
• When the dust bag joint and the ring inside the
dust bag come off, install as follows.
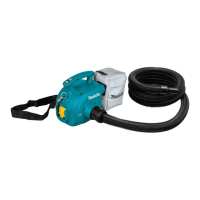
(1) Align the dust bag joint with the seam of the
dust bag and install it so that its protrusion faces
upward.
1
► 1. Protrusion
(2) Tighten the ring inside the dust bag rmly so
that the pins and the ring are positioned as shown
in the gure.
1
2
► 1. Pins 2. Ring
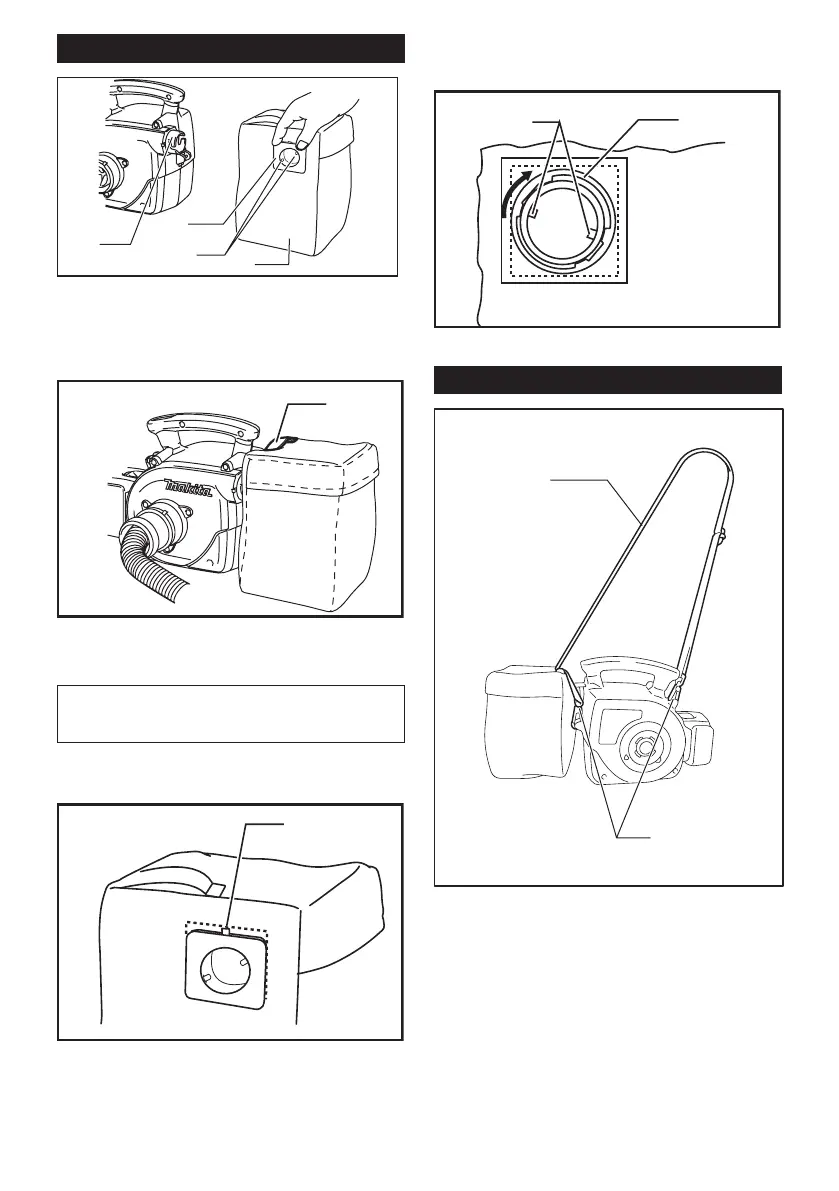
Installing the shoulder strap
1
2
► 1. Shoulder strap 2. Two hooks
Attach one end hook of the shoulder strap onto the ring
in the front of the cleaner and thrust the other end of the
strap through the band of the dust bag and then attach
the other end hook as shown in the gure.
 Loading...