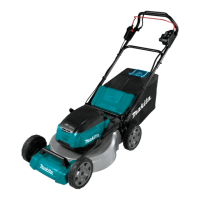
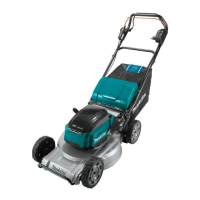
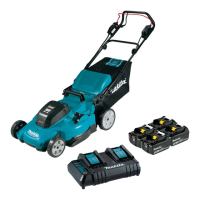
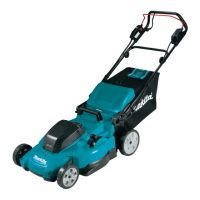
6 ENGLISH
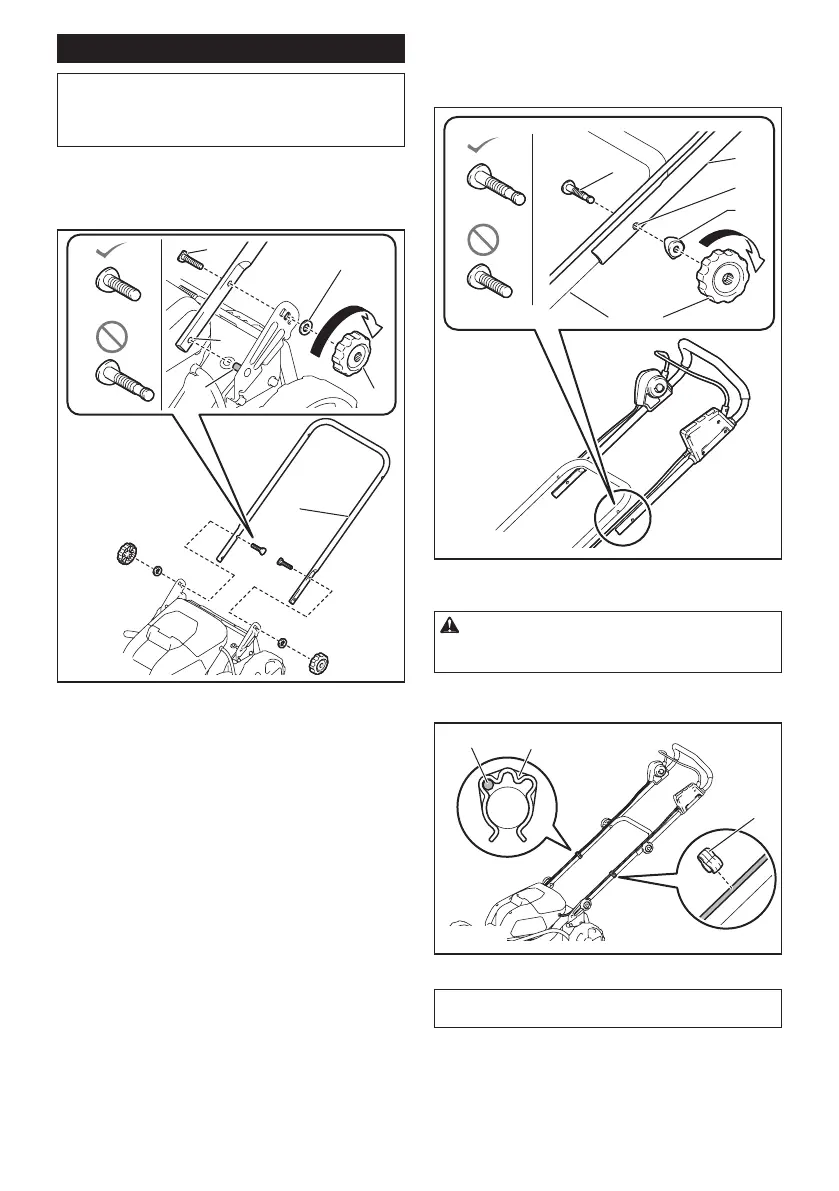
Installing the handle
NOTICE: When installing handles, position the
cords so that they are not caught by anything
between the handles. If the cord is damaged, the
mower switch may not work.
1. Attach the lower handle so that the holes in the
handle t in the protrusions on the mower body. Insert
the bolts from inside, then attach washer A from outside,
and then tighten the thumb nuts.
1
2
3
6
5
4
► 1. Lower handle 2. Washer A 3. Thumb nut
4. Protrusion 5. Hole 6. Bolt
2. Align the hole in the lower handle with the hole
in the upper handle, then insert the bolts from inside,
then attach washer B from outside, and then tighten the
thumb nuts.
1
2
3
6
45
► 1. Upper handle 2. Hole 3. Washer B 4. Thumb nut
5. Lower handle 6. Bolt
CAUTION: Hold the upper handle rmly so
that it does not drop off your hand. Otherwise, the
handle may fall and cause an injury.
3. Attach holder A and holder B to the handle.
Position the cords as shown in the gure.
12
3
► 1. Cord 2. Holder A 3. Holder B
NOTE: When attaching holder A, be sure to x the
cord with the holder as shown in the gure.

 Loading...