headline bars
continuation tabs
notes
warnings
model no. 054-8392-0 | contact us 1-800-689-9928
13
12
OPERATING INSTRUCTIONS
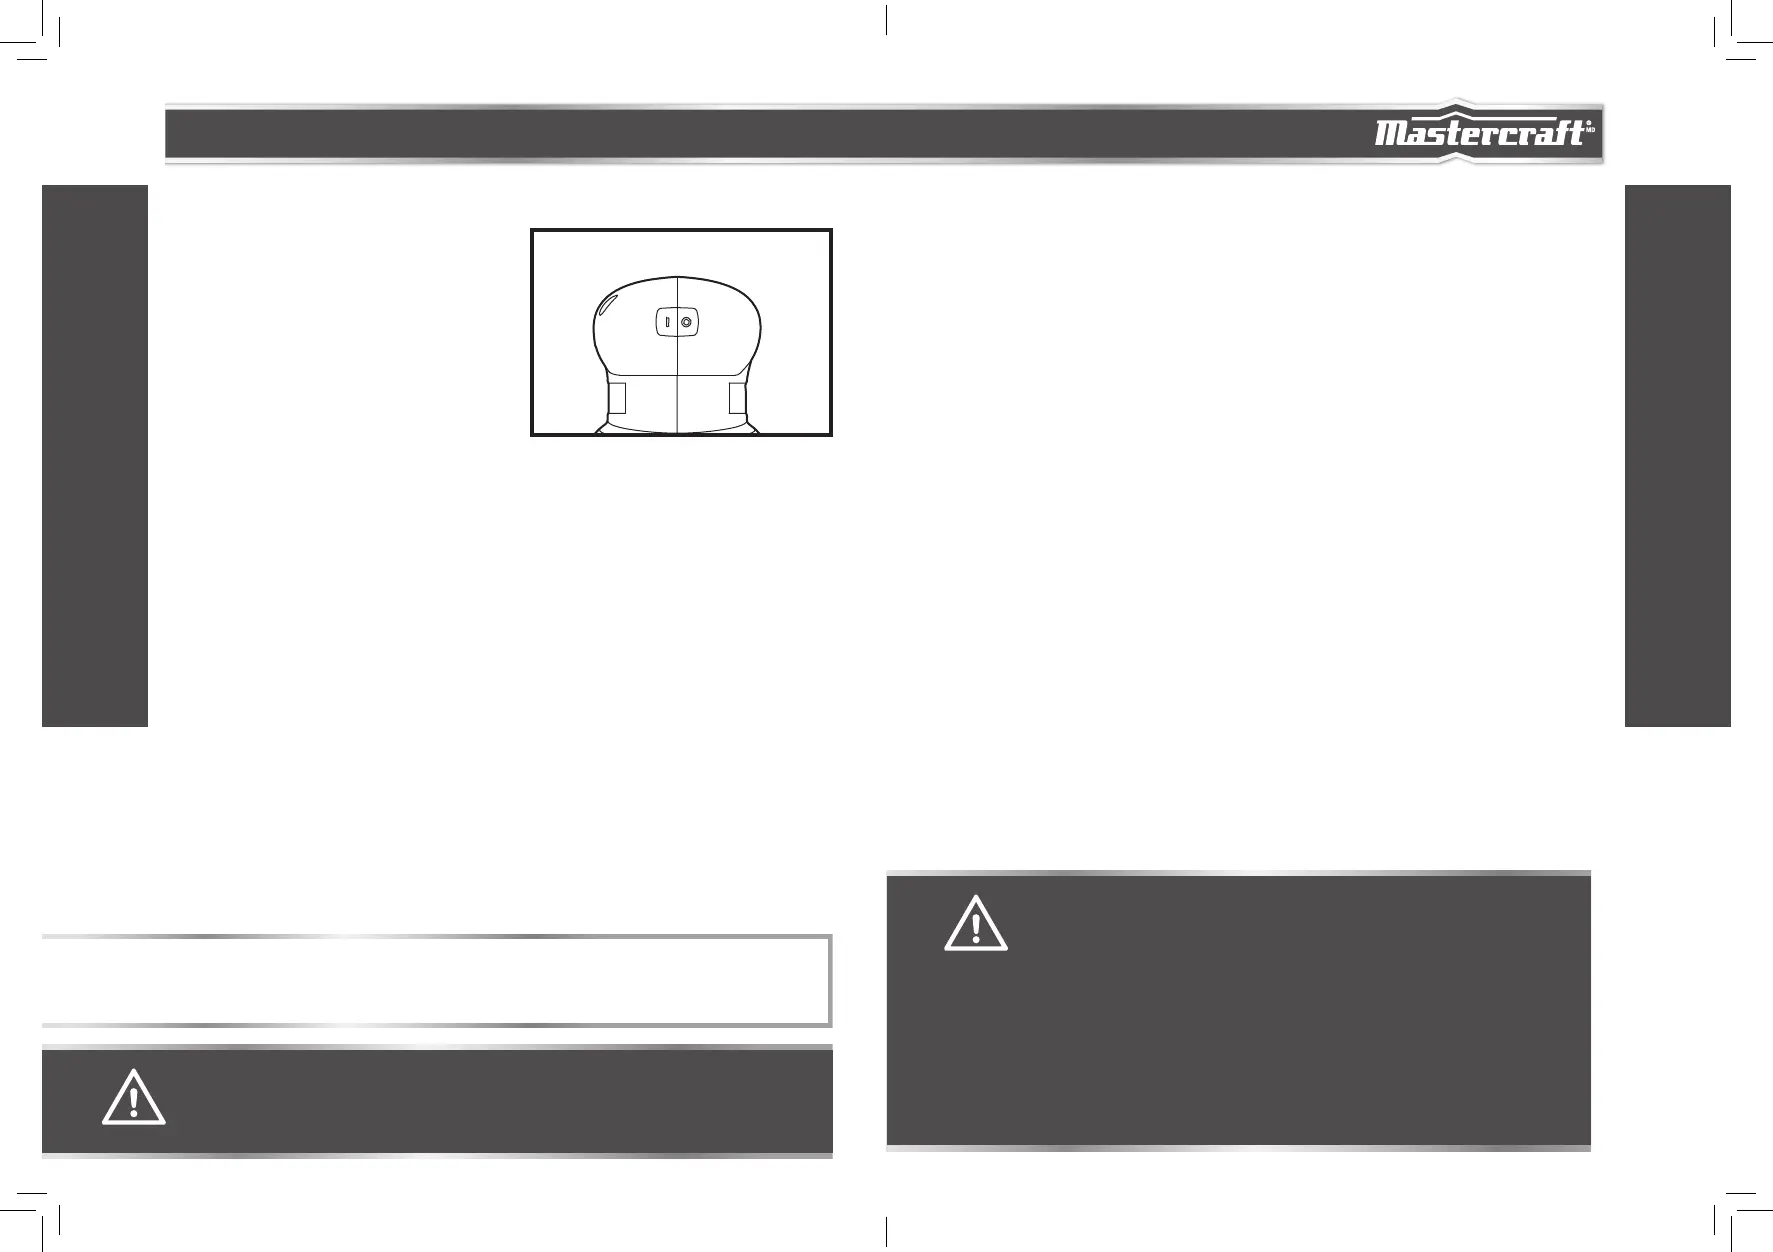
TURNING THE SANDER ON/OFF
(fig 3)
To turn on the sander, depress the side of the rocker
switch marked “I”.
To turn it off, depress the side of the rocker switch
marked “O”.
SANDING
This sander can be used for most sanding operations
on materials such as wood, plastic, metal and painted
surfaces. Do not use the sander for wet sanding.
1. Plug the sander to the power source.
2. Place the sander on the workpiece so that the sandpaper is fully in contact with the workpiece.
3. Start the sander.
4. For best sanding results, apply light pressure on the sander, but do not force the tool.
5. Move the sander slowly over the workpiece, making successive passes in parallel lines, circles, or
crosswise movements. The removal rate and the sanding pattern are determined by the choice of
sandpaper and the work surface.
6. Do not allow sanding on one spot too long, as the sander’s rapid action may remove too much
material and make the surface uneven.
7. Upon completion of the sanding operation, remove the sander from the workpiece, turn the sander
off and wait until it comes to a complete stop before putting it down.
MAINTENANCE
BEFORE EACH USE
1. Inspect the sander, the rocker switch, the cord and the accessories for damage.
2. Check for damaged, missing, or worn parts.
3. Check for loose screws, misalignment or binding of moving parts, or any other condition that may
affect the operation.
4. If abnormal vibration or noise occurs, turn the tool off immediately and have the problem corrected
before further use.
5. Unplug the tool from the power source before cleaning or performing any maintenance. Using
compressed air may be the most effective cleaning method. Always wear safety goggles when
cleaning tools using compressed air.
LUBRICATION
All of the bearings in this tool are lubricated with a sufficient amount of high-grade lubricant for the life
of the unit under normal conditions. Therefore, no further lubrication is required.
OPERATING INSTRUCTIONS
MAINTENANCE
WARNING!
• Do not let brake fluids, gasoline and petroleum-based products, penetrating oil, etc.
come into contact with plastic parts. These substances contain chemicals that can
damage, weaken, or destroy plastic.
• When servicing, use only identical replacement parts. The use of any other parts may
create a hazard or cause damage to the product.
• Use only accessories that are recommended for this sander by the manufacturer.
Accessories that may be suitable for one tool may become hazardous when used with
another tool.
• If the supply cord is damaged, it must be replaced by a specially-prepared cord
available through the service organization.
• To ensure safety and reliability, all repairs should be performed by a qualified service
technician.
fig 3
NOTE: Applying additional pressure only slows the motor, rapidly wears sandpaper, and greatly
reduces sander speed. Excessive pressure will overload the motor, possibly causing damage from motor
overheating and can result in inferior work.
WARNING!
• Before connecting the sander to a power source, always check to be sure that the switch is in the OFF
(O) position. Failure to do so could result in accidental starting of the sander, causing possible serious
injury.
 Loading...