7
Measuring Frequency See Figure -11-
1. Set the Function Switch to Hz.
2. If % is displayed, press the yellow button to display Hz.
3. If RANGE is displayed, press the RANGE button to enable autoranging.
4. Connect the Test Leads: Red to Hz, Black to COM
5. Connect the Test Probes to the signal source.
6. Read the display.
Measuring Dutycycle See Figure -12-
1. Set the Function Switch to %.
2. If Hz is displayed, press the yellow button to display %.
3. Connect the Test Leads: Red to %, Black to COM
4. Connect the Test Probes to the signal source.
5. Read the display.
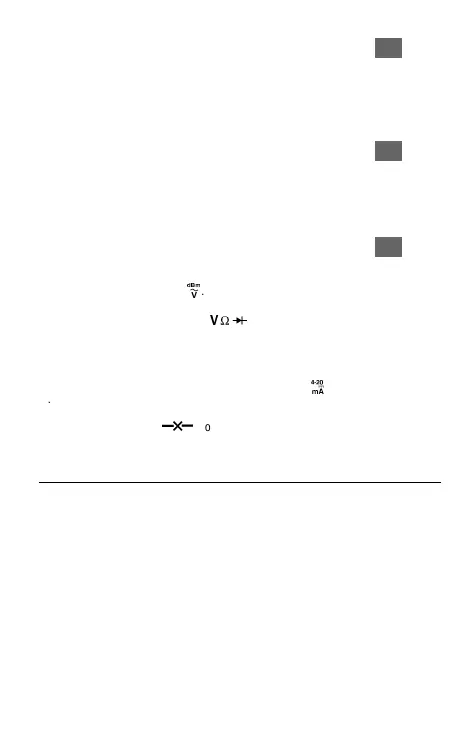
Measuring dBm See Figure -13-
The 38XR measures dBm relative to 1 mW referenced to 50 Ω. That is,
10 dBm = 10 mW, 0 dBm = 1 mW, -10 dBm = 0.1 mW, etc.
1. Set the Function Switch to
k
.
2. Press the yellow button. The display shows dBm to verify the selection.
3. Connect the Test Leads: Red to
E
, Black to COM
4. Connect the Test Probes to the signal source.
5. Read the display.
Measuring 4-20 mA Loop Current
1. Set the Function Switch to the loop-current function,
W
.
2. Connect the Test Leads: Red to mA, Black to COM.
3. Turn off power to the circuit being measured.
4. Open the test circuit (
X
) to establish measurement points.
5. Connect the Test Probes in series with the load (to the measurement points).
6. Turn on power to the circuit being measured.
7. Read the display. 0 % = 4 mA, 100 % = 20 mA.
Additional Features
Input Test Lead Warning
The meter emits a continuous tone when a test lead is placed in the mA or 10A
input jack and the Function/Range Switch is not set to a correct current position. (If
the meter is connected to a voltage source with leads connected for current, very
high current could result). All current ranges are protected by fast acting fuses.
 Loading...