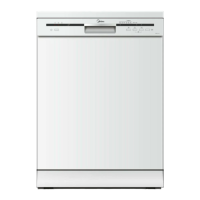
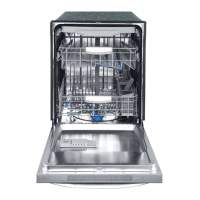
¡¾Í¼1¡¿
A
B
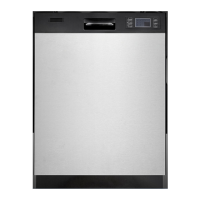
¡¾Í¼2¡¿ ¡¾Í¼3¡¿
C
C
D
3
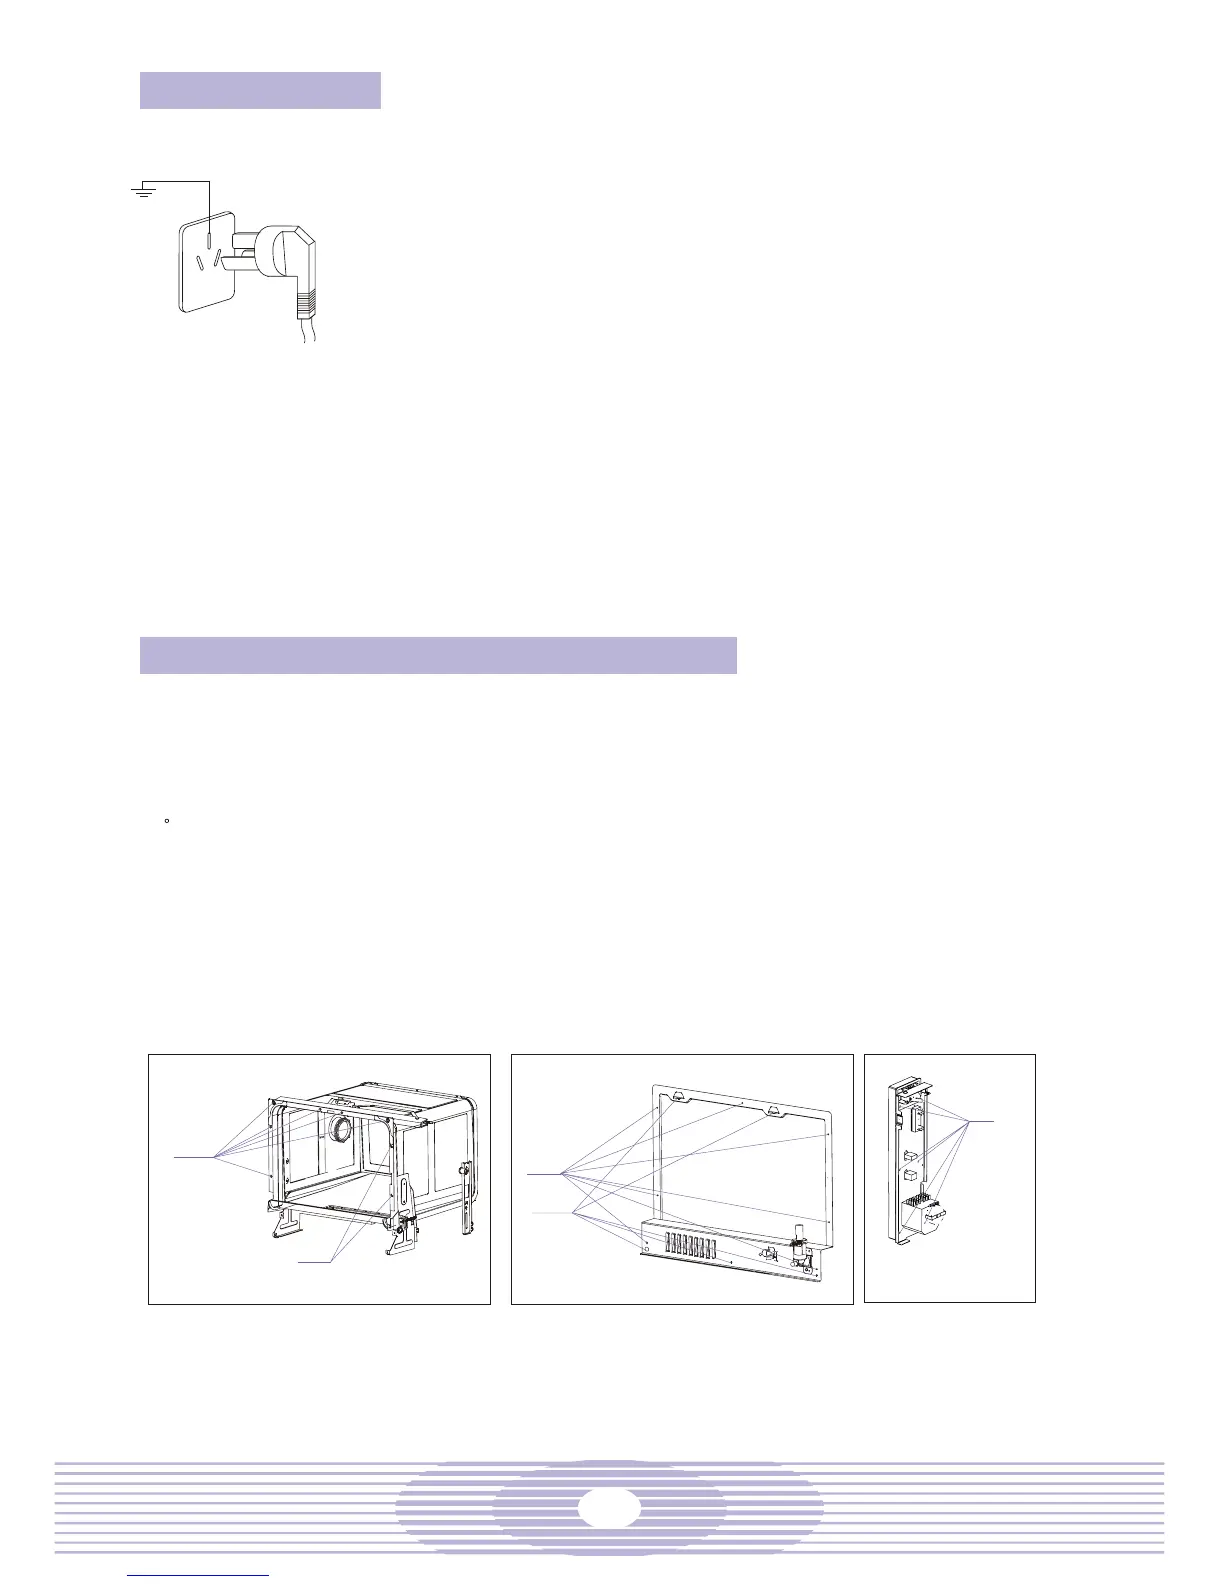
V. Power cord
The power cord of the dishwasher usually has a three-pin plug. Connect
the power supply as instructed in the user's manual.
If the dishwasher does not work, the power cord might be in the fault.
Most of the power cord troubles arise from damaged cord or loose
connection, and are visible.
Attention: to avoid electric shock, the power socket and power cord shall
be well grounded. Never use two-hole conversion connector that has no
ground terminals.
Steps for the check:
A. Disconnect the power prior to check.
b. Check the power plug. Improper connection may lead to bad contact.
c. Pull out the power plug in one stroke. Never pull at the power cord or use
a knife or other sharp tools that may cut the cord.
d. Check the power plug for overheat caused damage, corrosion or
looseness. In case of troubles, remove the outer casing (1) first, then the
rear panel (97) and replace the power cord (see Process 6).
e. Open the power cord clamp (96), remove the old power cord and replace
a new one with terminals. Secure the power terminals to the connection
terminals, and replace the power cord clamp.
f. Replace the rear panel and the outer casing.
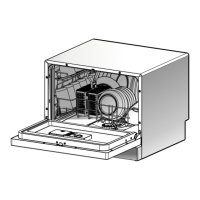
VI. Removal of Outer Casing, Control Panel, Rear
This dishwasher is completely sealed. In order to repair internal parts, you have to remove the
outer casing before you can check and repair the parts.
Steps for the check:
a. Remove the three screws on the sides of the outer casing.
b. Open the door, and remove the six screws in the front of the inner container (see fig. 1 below). Note: do
not mix these stainless steel screws with the other ordinary ones.
c. Remove the seven screws in the back of the outer casing (see fig. 2 below).
d. Remove the screws in position D in fig. 2 below and take away the rear panel.
e. Lift up and away the outer casing from the dishwasher, and check and repair the internal parts.
f. Remove the six screws from the control panel bracing bar (58) (see fig. 3 below) and the two stainless
steel screws in position C of the inner container (see fig. 1 below), and pull out the control panel.
g. Remove the timer knob (see 1 in the appending diagram).
h. Turn the dishwasher upside down, remove all the screws in the bottom pan, open the cord clamp and
remove the bottom pan.
 Loading...