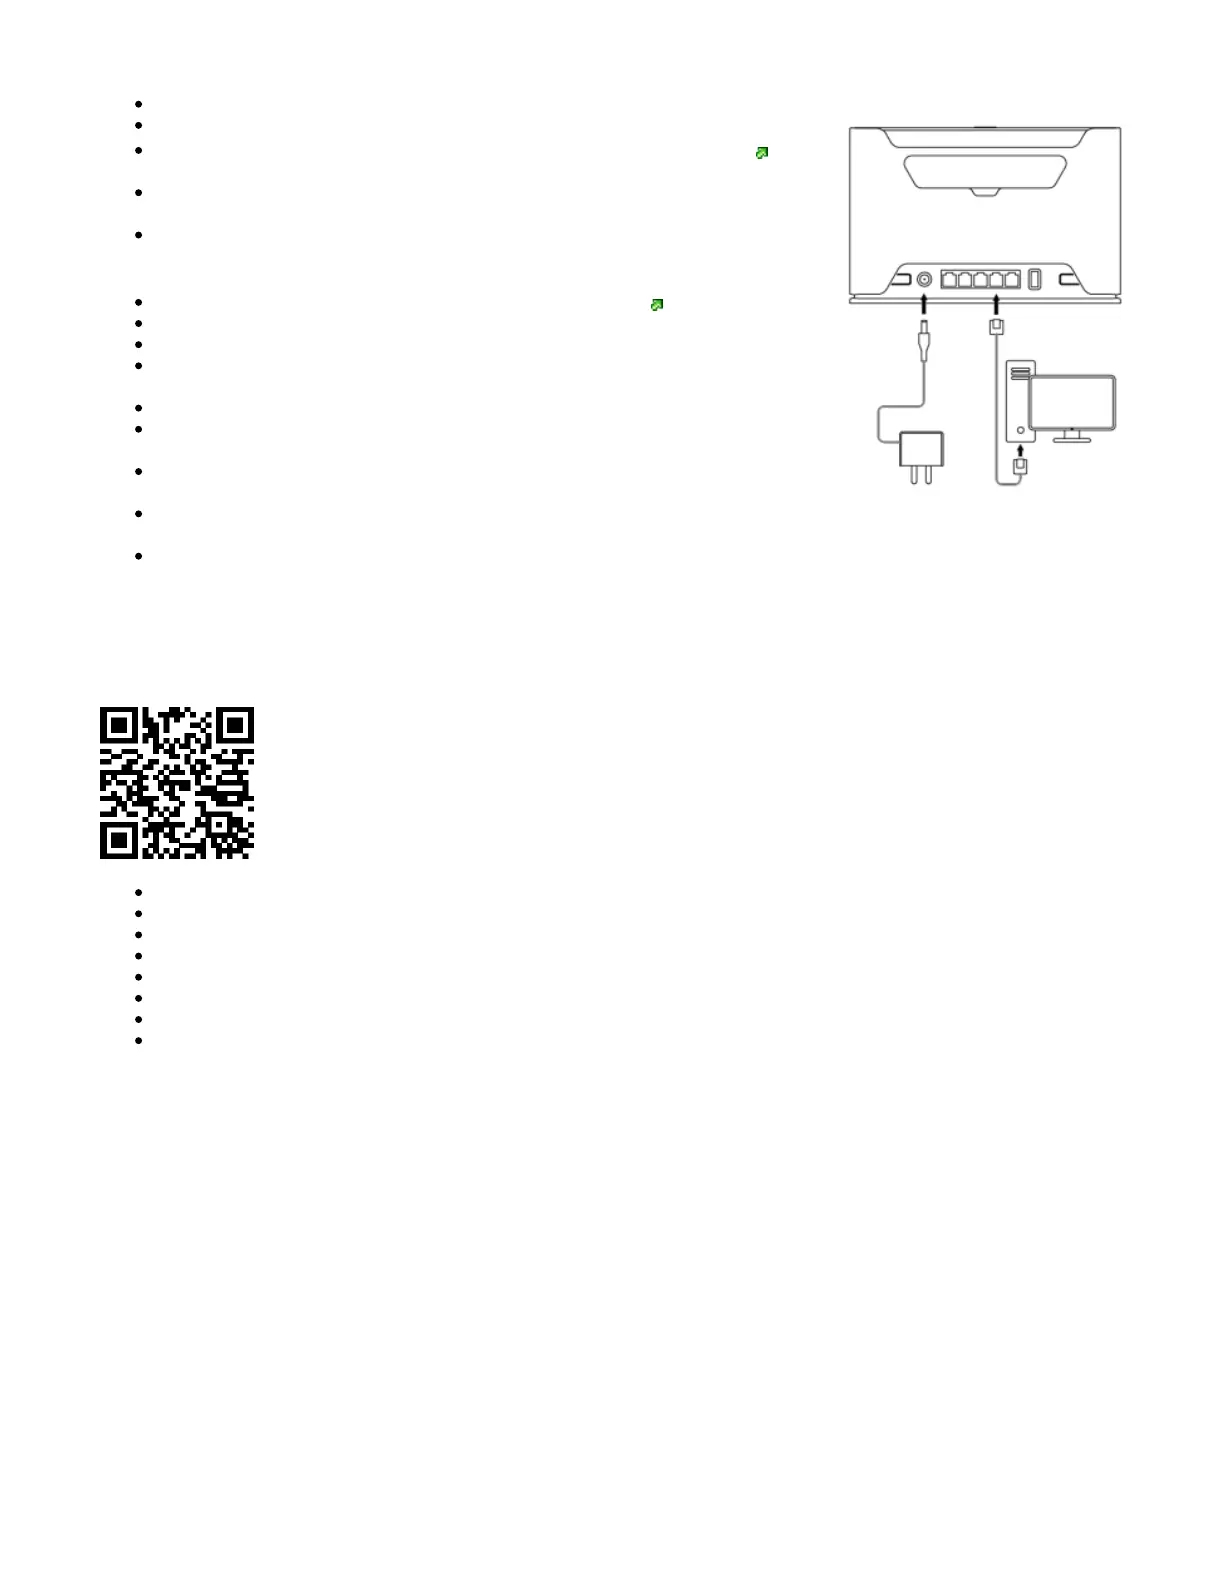
Connect your computer to one of the Ethernet ports;
Connect the power adapter to the DC jack;
Once the device is powered on and PC connected to the device, open in your https://192.168.88.1
web browser to start the configuration;
User name: a and there is no password by default you will be logged in automatically to the
dmin
Quick Set screen;
We recommend clicking the "Check for updates" button on the right side and updating your
RouterOS software to the latest version to ensure the best performance and stability, Must have a
valid SIM card inserted;
To manually update the device, please go to https://mikrotik.com/download
Choose ARM packages for this device and download them to your PC.
Upload downloaded packages to the WebFig "Files" menu and reboot the device.
Updating your RouterOS software to the latest version will ensure the best performance, stability,
and security updates.
To personalize your wireless network, SSID can be changed in the fields "Network Name";
Choose your country on the left side of the screen in the field "Country", to apply country regulation
settings;
Set up your wireless network password in the field "WiFi Password" the password must be at least
eight symbols;
Set up your router password in the bottom field "Password" to the right and repeat it in the field
"Confirm Password", it will be used to log in next time;
Click on the "Apply Configuration" to save changes.
Connecting with a mobile app
Use your smartphone to access your router through WiFi.
Insert the SIM card and power on the device.
Scan QR code with your smartphone and choose your preferred OS.
Connect to the wireless network. SSID starts with MikroTik and has the last digits of the device's MAC address.
Open application.
By default, the IP address and user name will be already entered.
Click Connect to establish a connection to your device through a wireless network.
Choose Quick setup and the application will guide you through all basic configuration settings in a couple of easy steps.
An advanced menu is available to fully configure all necessary settings.
Expansion slots and ports
 Loading...