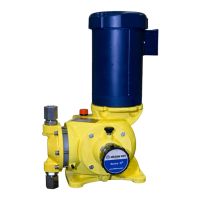
Check Valves
Milton Roy Company recommends that check valve balls, seats, gaskets, and o-rings be replaced on a
annual basis. If highly corrosive material (acids, slurries, etc.) is being pumped, some applications may
require more frequent replacement.
To determine if check valves need maintenance, disassemble the check valves following the instructions in the
"Corrective Maintenance" section. Inspect the ball check and seat for chemical or physical damage. The ball
should be perfectly round and free of pits, mars, or scratches. The seat should retain a sharp edge where the ball
contacts for proper sealing. If the seat edge is worn or damaged, or has any pits, mars, or scratches, it should be
replaced. If the ball and/or seat is excessively damaged, the replacement schedule should be shortened
accordingly. If the ball and seat are both in good condition, the replacement schedule can be lengthened.
Complete instructions for replacing worn check valve parts are given in the "Corrective Maintenance"
section.
CORRECTIVE MAINTENANCE
CAUTION:
Before carrying out any servicing operation on the metering unit or pipes, disconnect electrical power
from the pump, and take the necessary steps to ensure that the harmful liquid they contain cannot
escape or come into contact with personnel. Suitable protective equipment must be provided. Check
that there is no pressure before proceeding with dismantling.
Cleaning Fouled Check Valves
Check valve assemblies are designed to be self cleaning and should seldom need servicing. Fouled
check valves can usually be cleaned by pumping a solution of mild detergent and warm water (if compatible
with liquid being pumped) for 15 minutes, followed by flushing with water.
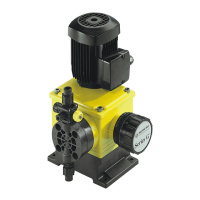
Check Valve Replacement
General
Before beginni ng work on the valve assemblies, make sure the shut-off valves are closed and that
pressure has been bled from the system. When replacing the valves, take care to systematically change
their O-rings and /or gaskets. Take care to properly assemble the valve assemblies; the ball must be placed
on the sharp edge of the seats.
Check valves are supplied in two different configurations: plastic and stainless steel. Be sure to refer to
the appropriate instructional set below.
CAUTION:
Be sure to follow instructions carefully and refer to the appropriate figure when reassembling check
valves. If check valve cartridges are installed incorrectly, one of the following will occur: (a) immediate
severe damage to pump mechanism, (b) no pumping, (c) reverse pumping action (from discharge line
into suction line).
GBGB00800080~GB~GB15001500 Liquid End Plastic Check Valves: DisassemblyLiquid End Plastic Check Valves: Disassembly
Refer to Figure 6-3 ~ 6-10
1. Unscrew the union nut (435). The union end (445) is held in place by the union nut and will separate
12
 Loading...