F3 Service Manual
Page 63
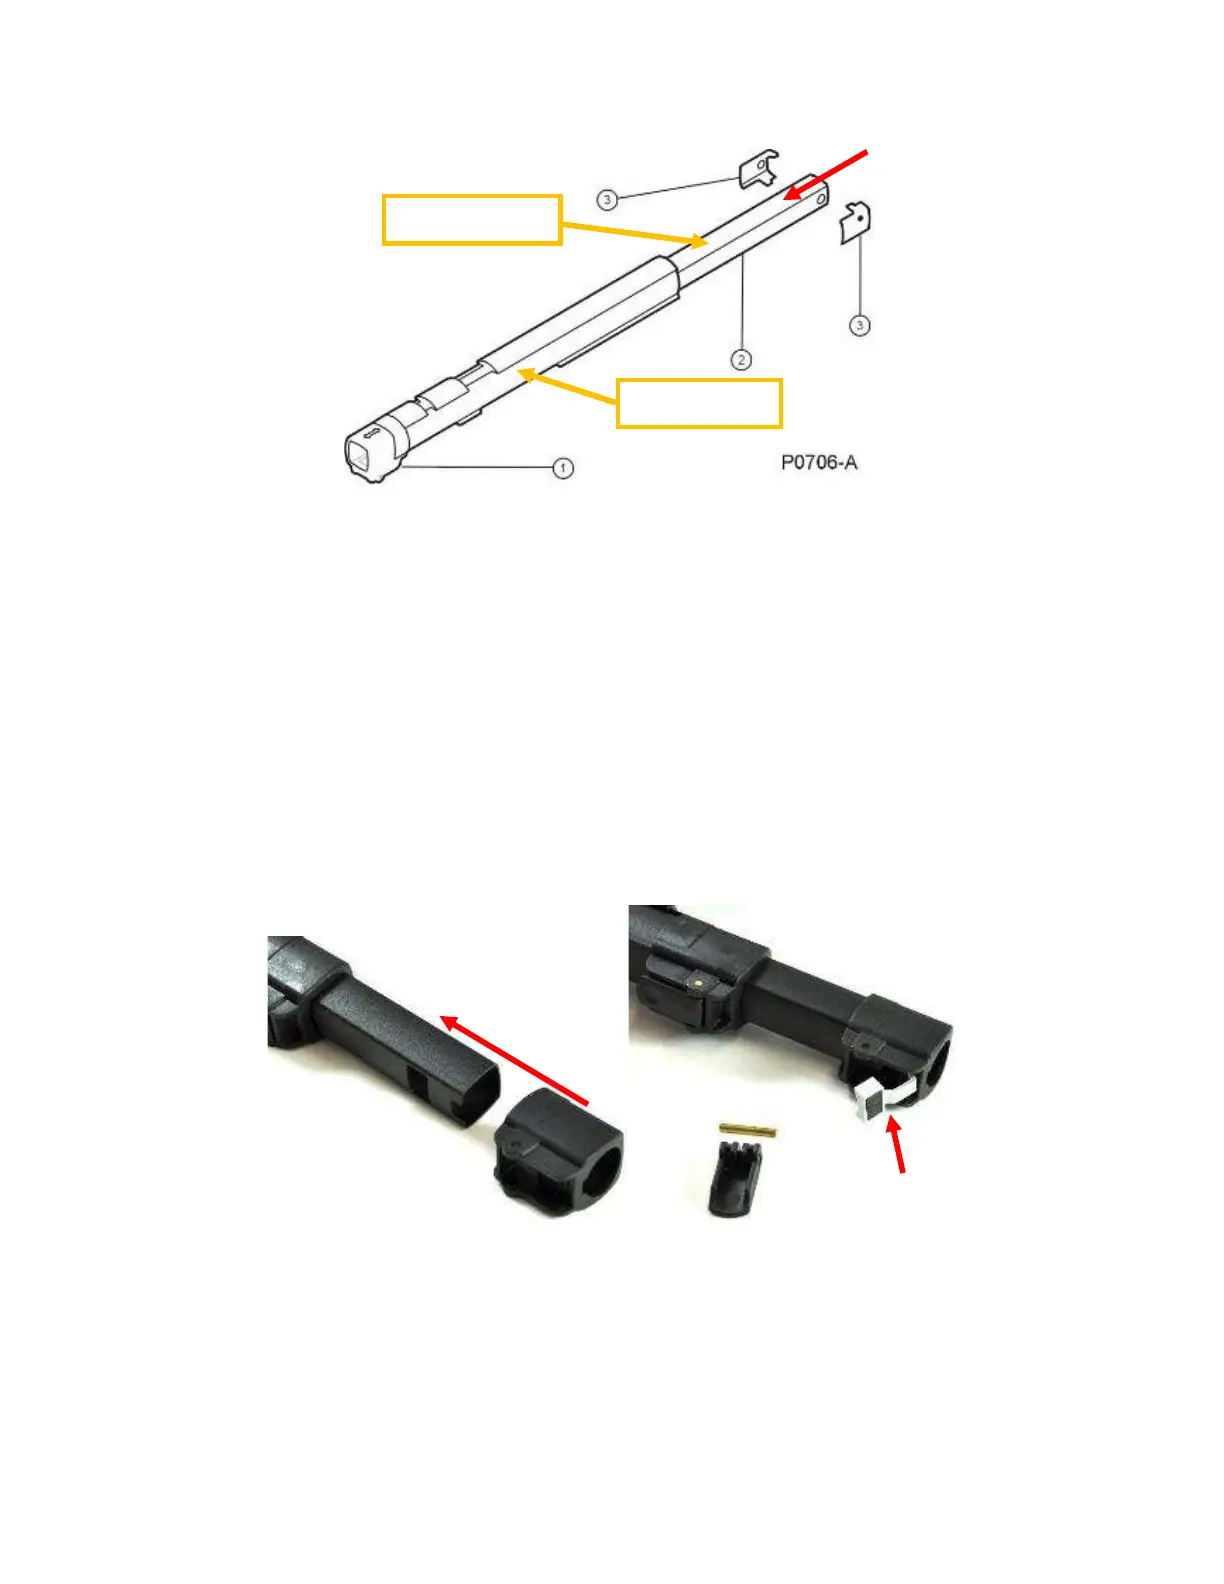
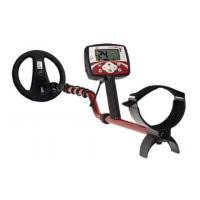
Using Figure 66 as a guide, attach the two collars (Part 3) to the rear of the
middle shaft.
Figure 66: Middle Shaft.
Slide the middle shaft into the rear of the upper shaft with the square hole facing
down.
Open the camlock upper and feed the middle shaft through the camlock upper
then close the camlock.
Align the camlock body middle so that its square hole lines up with the hole in
the middle shaft then press the camlock body onto the middle shaft. Shown in
Figure 67.
Place the tail of the pressure block middle into the recess in the front of the
camlock body and push the pressure block into the square hole.
Figure 67: Reassembling Camlock Middle.
Position the cam lever and then press pin cam lever into place. Shown in Figure
68.
NOTE
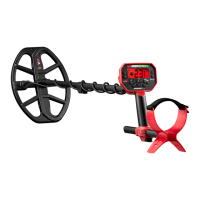
Upper Shaft
Middle Shaft