minnkotamotors.com | 7
©2019 Johnson Outdoors Marine Electronics, Inc.
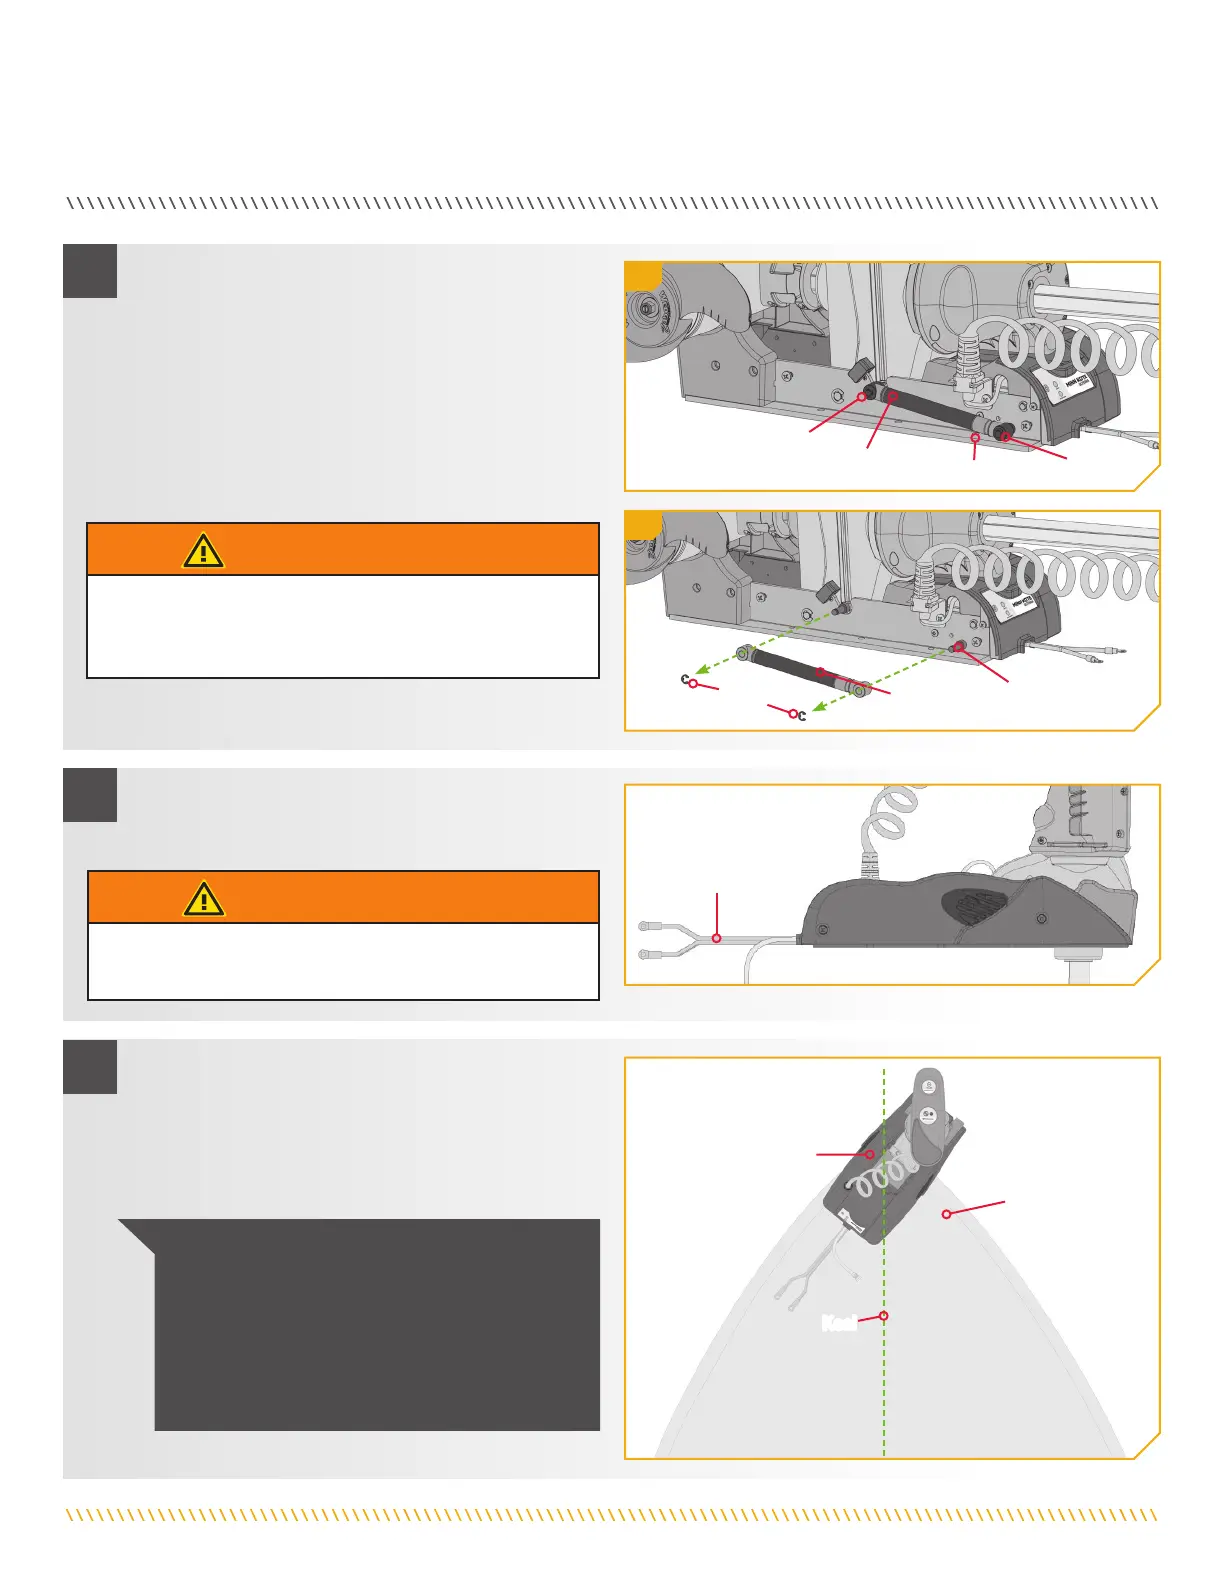
INSTALLING THE RIPTIDE ULTERRA
e. Under the Left Sideplate, the Extension Damper
obstructs access to the left front Mounting Hole.
f. Using a small Screw Driver, remove the two
5/16" e-clips holding the Extension Damper in place.
Once the e-clips are removed, slide the Extension
Damper off the Damper Pins to expose the left rear
Mounting Hole. Set the two e-clips and Extension
Damper in a safe place so they are not misplaced
before they are reassembled later in the installation.
g. Make sure the Power Cables from the battery
are disconnected, or that the breaker, if equipped,
is “off”.
E-clips
Extension
Damper
Extension
Damper
E-clip
E-clip
Mounting Hole
Power Cables
Deck of
Boat
Keel
Mount
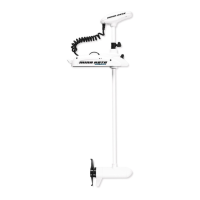
h. Place the motor on the bow of the boat. Place the
motor as close to the centerline or keel of the boat
as possible. The motor can be installed on either the
Port or Starboard side of the boat based on personal
preference. Reviewing the mounting considerations
at the beginning of the installation section.
Damper Pins
NOTICE: The Emergency Strap (Item #16) is used
for Manually Stowing the Ulterra. The Emergency
Strap is not secured during installation. Store it on
your boat along with a #2 Philips screwdriver in the
event that you would need to manually stow the
motor. To learn how, please refer to the "Manually
Stowing the Ulterra" section of the Owner's Manual.
3
4
5
3e
3f
WARNING
Do not deploy the motor until it is fully mounted to the boat.
Illustrations are for reference only. Deploying your motor
before it is mounted to the boat may cause injury.
WARNING
Make sure the motor is mounted on a level surface and is
not connected to a power source.
 Loading...