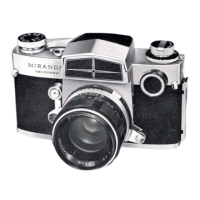
6. Setting The Shutter Speed:
1. Turn the shutter speed dial in either direction until the desired number clicks into place indicated by
the white line on the camera body in this example 1/125th of a second, (fig 11).
2. Accurate shutter speed cannot be obtained by the in-between setting of the shutter speed dial. Set the
shutter speed so that the desired number clicks into place.
Note:
At the "B" setting the exposure meter cannot be used.
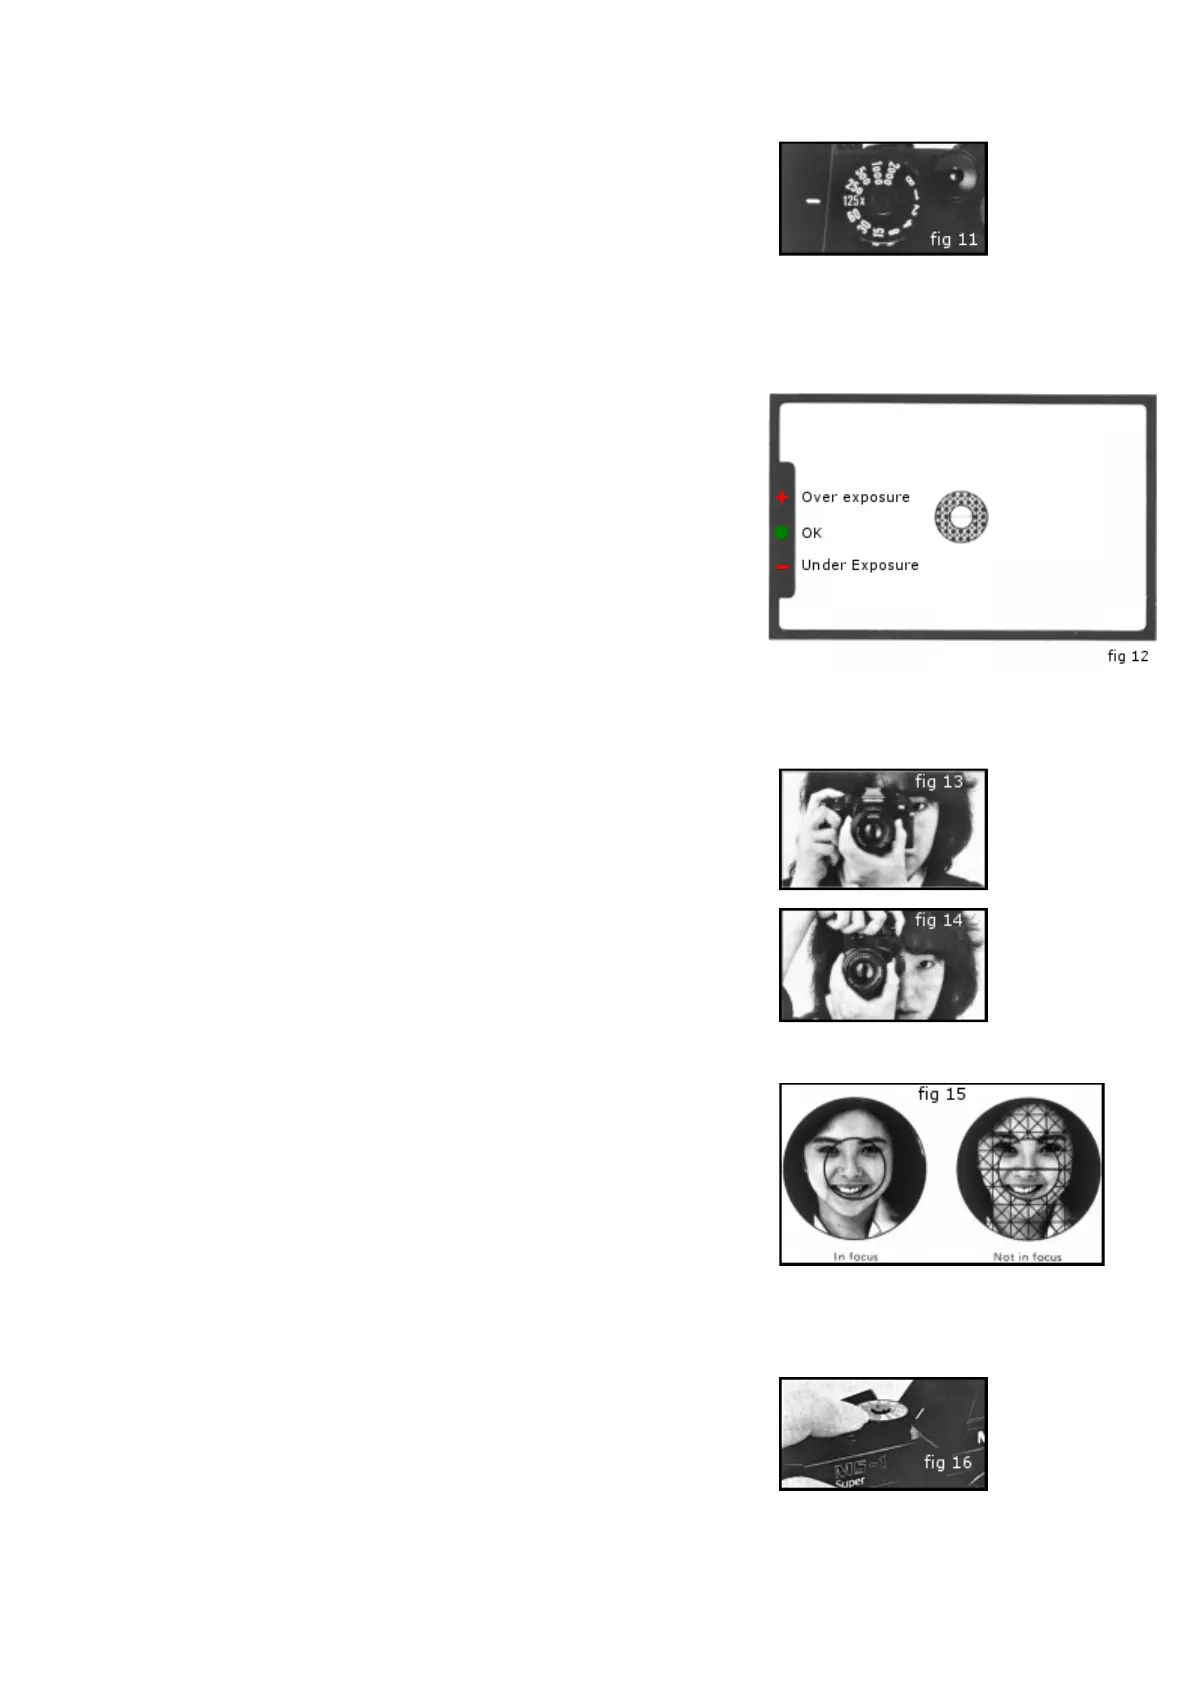
7. Setting The Exposure:
1. To take an exposure reading wind the film advance lever.
2. Switch the meter on by gently pressing the shutter release button halfway down.
3. When one of the LED's located at the left side of the viewer is lit, (fig 12) the meter circuit is
powered by the batteries.
4. When the red warning light, (+) lights it indicates over-exposure. In this case the aperture ring of the
lens should be turned clockwise or the shutter speed set to a higher speed until the green LED lights.
5. When the red warning light, (-) lights it indicates under-exposure. In this case the aperture ring of the
lens should be turned anti-clockwise or the shutter speed set to a slower speed until the green LED
lights.
6. Recommended shutter speed is obtained when the green LED lights.
8. Holding The Camera:
1. Rest the camera in a comfortable position in your left palm so that you can turn the lens focusing
ring with your fingers.
2. Hold the camera body lightly with your right forefinger lightly on the shutter button, the right arm
should be relaxed, (fig 13 & 14).
3. Press your left elbow against your body and the camera against your face whilst looking through the
viewer to help established the camera.
Note:
Always use a tripod when using slow shutter speeds or telephoto lenses!
9. Focusing The Camera:
Focusing is taken from a small round area in the centre of the view finder screen.
The inner circle is a split image range-finder and is surrounded by a micro prism.
The split image range-finder divides the image horizontally.
When the two halves are aligned exactly correct focusing has been obtained.
The outer micro prism shows a broken, shimmering image when out of focus and becomes clear and
sharp when correct focus is obtained, (fig 15).
Eye cups, eye correction lenses and view finder magnifiers can be employed to assist focusing and are
available at most good camera stores.
10. Releasing The Shutter:
When the shutter button is pressed fully down the aperture is stopped down, the mirror flips up and the
shutter opens to expose the film, (fig 16).
If the shutter speed is slower than 1/30th of a second, camera shake tends to occur. Hold the camera
securely in this state and press the shutter release button slowly.
A tripod and shutter release cable can be employed when using slow shutter speeds.
 Loading...