FA-1025T Installation and Operation Manual
1
Introduction
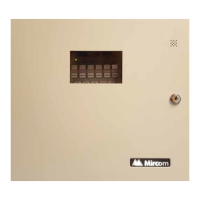
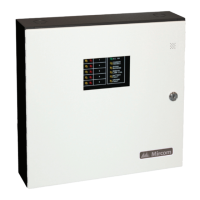
The FA-1025T is a supervised five-zone 24VDC Fire Alarm Control Panel. The panel is ULC listed
and meets all performance and operational requirements of ULC. The FA-1025T provides the
following features:
• Five Class B detection zones
• Two Class B signal zone, 1.7A
• DIP switch selectable signal circuit outputs such as Temporal or Steady
• Alarm and trouble relay contacts
• Remote trouble and AC On indication
• Remote supervised alarm annunciation
• Individual zone silence/disconnect switch
• Buzzer silence switch
• Subsequent alarm operation
• LED indicators for zone alarm and trouble, A.C. On, Battery Fault, Ground Fault, Common
Trouble, Signal Trouble and Signal Silenced
Mechanical Installation
The panel can be surface or flush mounted. Refer to Figure 1 on page 5 for dimensions.
Surface Mounting
1. Mark the location of the four mounting holes.
2. Install the top two screws into the wall and place the panel over the screws.
3. Install the bottom screws and tighten down all four screws.
Flush Mounting
1. Make the wall cut-out according to the panel dimensions.
2. Remove the control panel door.
3. Mount the flush mounting trim (model FA-102TR) to the back box using the screws and nuts
provided with the flush mounting kit.
4. Re-install the door on top of the flush trim. The cam lock may require a minor adjustment in
order to compensate for the flush trim.
Function Selection
The following jumpers are available for function selection. Refer to Figure 2 on page 6 for location.
• JW1: Cut for resettable +24V DC supply.
• JW2: Cut to make auxiliary relay disconnectable.
• JW3: Cut for normally open trouble contacts.
• JW4: Cut for normally closed trouble contacts.
• JW5: Cut for non-latching alarm zone 4.
• JW6: Cut for non-latching alarm zone 5.
 Loading...