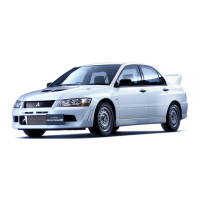
Range of view of rear-view camera
How to use the rear-view camera
When
you place the gearshift lever in the “R” posi-
tion with the ignition switch in the “ON” position,
the view behind the vehicle will automatically ap-
pear on the screen of the MITSUBISHI Multi Com-
munication System (MMCS) or the inside rear-
view mirror. When you move the gearshift lever to
any other position, the screen will return to its orig-
inal indication.
CAUTION
l
The
rear-view camera has a special lens
that can make objects shown on the
screen appear to be closer or further
away than they actually are.
NOTE
l
Because
the rear-view camera has a special
lens, the lines on the ground between parking
spaces may not look parallel on the screen.
l
In the following situations, the screen indica-
tion may be difficult to see. There is no ab-
normality.
• Low light (nighttime)
• When
the light of the sun or the light
from a vehicle’s headlamps shines direct-
ly into the lens
l
If the camera is hot and is then cooled by
rain or a car wash, the lens can mist up. This
phenomenon does not indicate a malfunction.
l
It is not possible to fully see obstacles when
the lens is dirty. If the lens becomes contami-
nated by water droplets, snow, mud or oil,
wipe off the contamination, taking care not
to scratch the lens.
l
Please observe the following cautions. Ignor-
ing them could lead to a camera malfunction.
• Do not subject the camera to physical
shock.
• Do not apply wax to the camera.
• Do not splash the camera with boiling wa-
ter.
• Do not disassemble the camera.
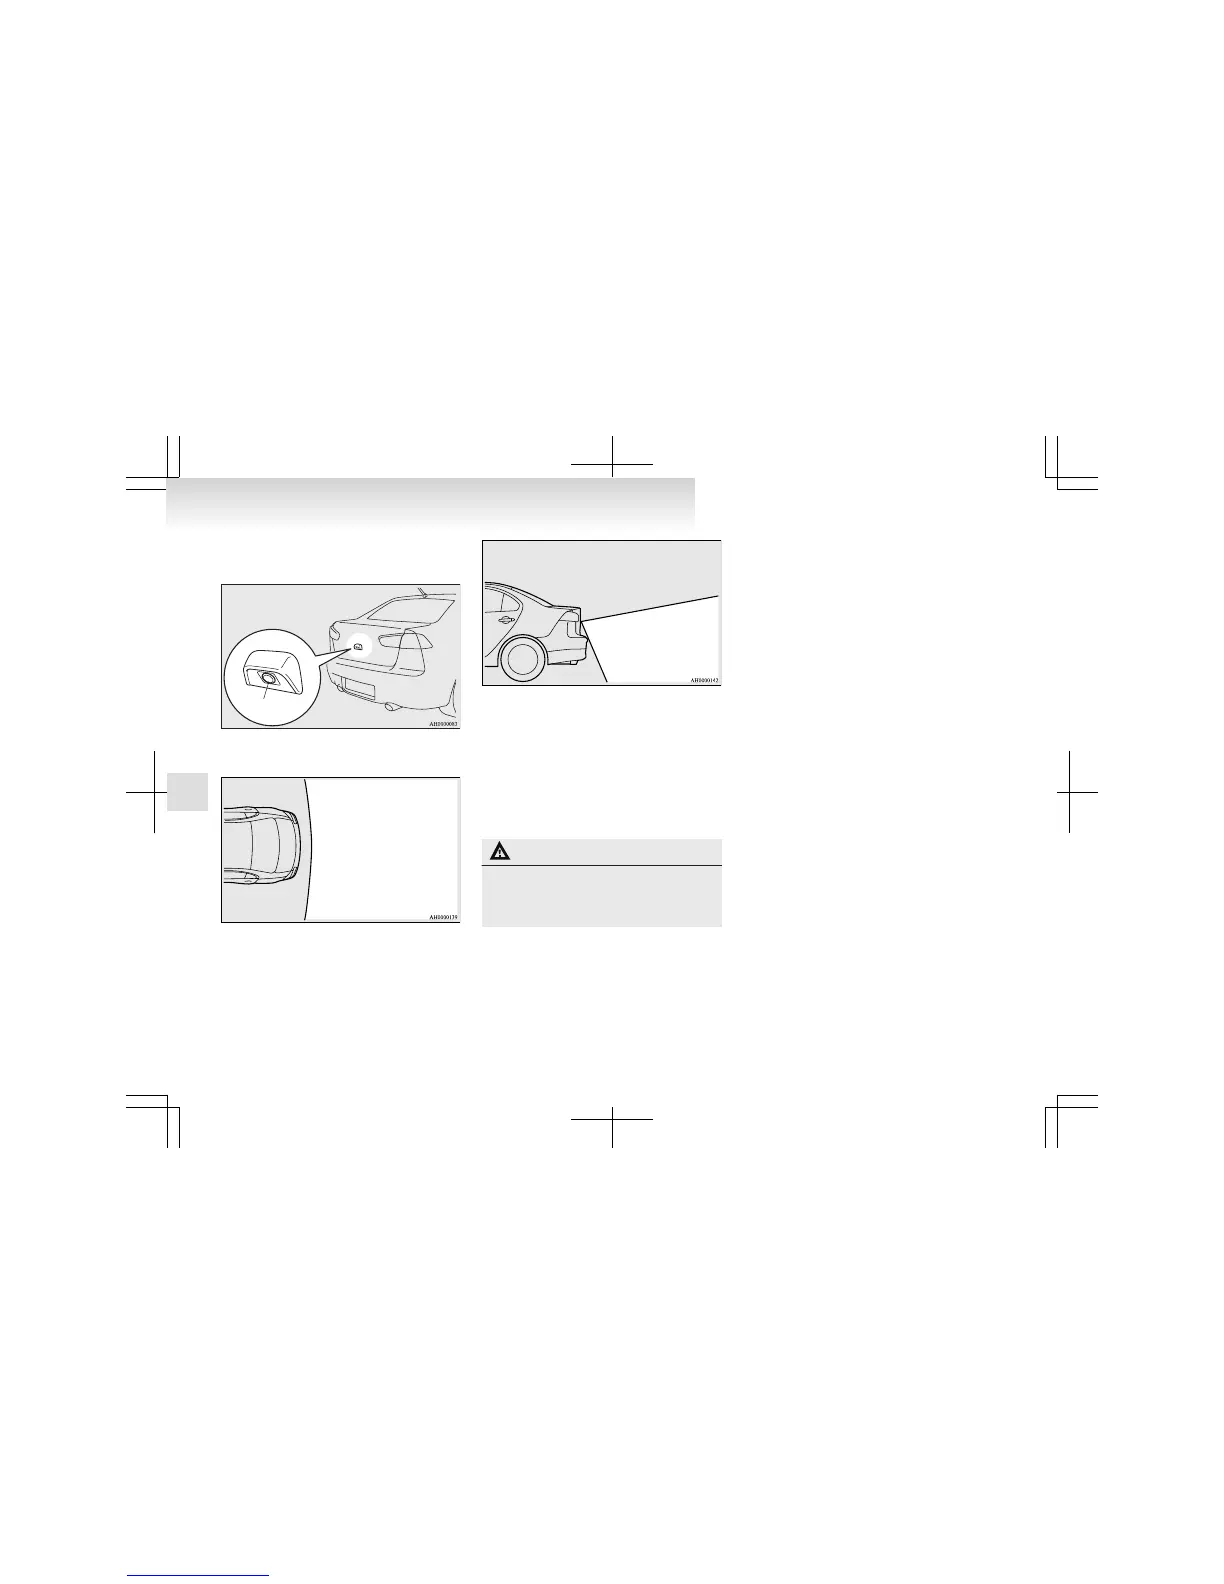
Reference lines on the screen
Reference lines and upper surface of the rear bump-
er (A) are displayed on the screen.
l
Red line (B) indicates approximately 50 cm
behind the rear bumper.
l
Two Green lines (C) indicate approximately
20 cm outside of the vehicle body.
l
Short transverse lines (1 to 3) indicate dis-
tance from the rear bumper.
Starting and driving
4-44
4
 Loading...