Page 31 mrcool.com
Refrigerant Piping Connection
NOTE
IMPORTANT
1
1
2
2
The coupling of the outdoor unit uses tapping rings,
if you disconnect and reconnect the refrigerant
pipes, it could cause it to leak. This will also void the
warranty.
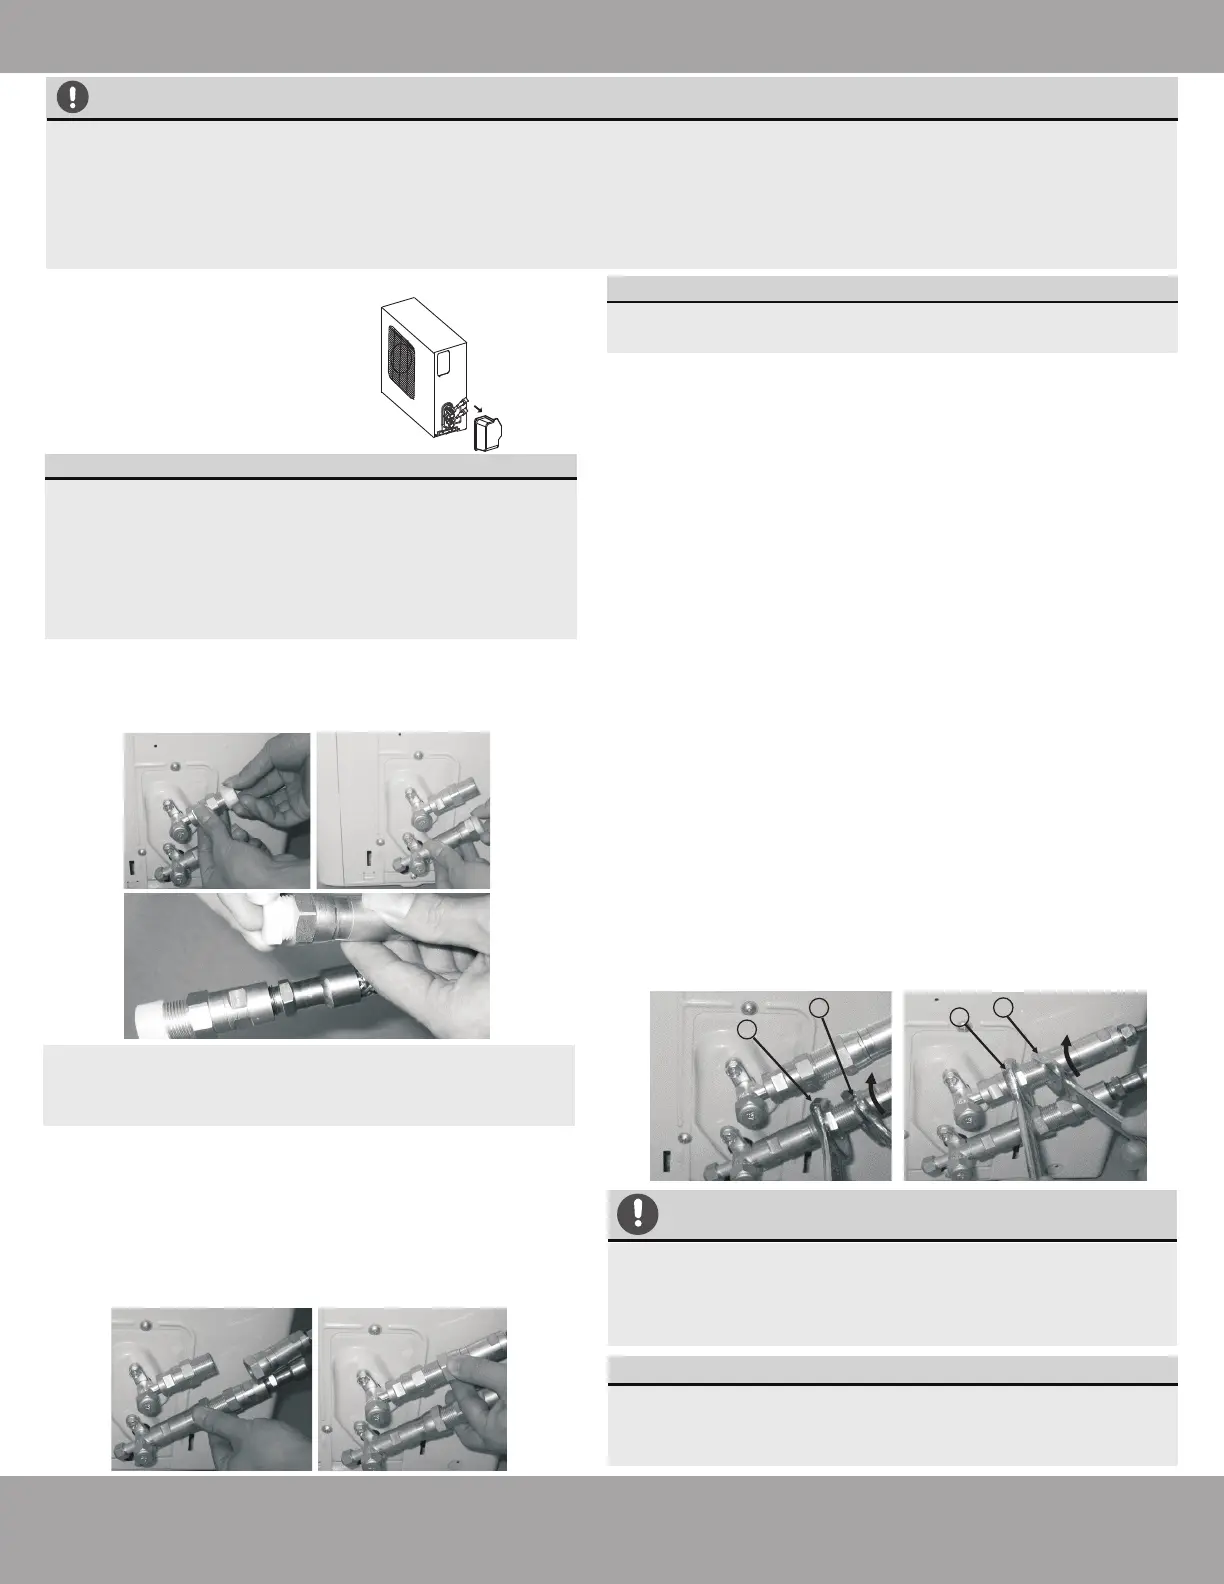
Step 4: Connect Line Set to the Outdoor Unit
IMPORTANT:
Before you continue, it is essential that you read
the following instructions carefully.
NOTE:
Keep excess refrigerant hose coiled. Wrap with
protective tape and store behind the condenser in a
horizontal position (flat with the ground).
IMPORTANT:
If you are using a 24K or greater capacity air
handler with a 4-zone or 5-zone condenser, a line
set adapter kit (included) needs to be installed on
the outdoor unit before the next steps can be
completed. Please refer to the Installation Steps
for Line Set Adapter Kit section on the next page
and complete before continuing.
2. Do not remove the plastic seals from the outdoor
unit piping connectors and corresponding
refrigerant pipes (line set to be attached) until
immediately before you connect them.
NOTE: Ensure the adapters attached to the
outdoor valves have been tightened properly
before attempting to connect the line set.
3. Align the refrigerant pipes so they line up with the
corresponding valves and have enough slack.
NOTE: The refrigerant pipes must be
connected to the valves with as little stress as
possible. Unscrew the plastic seals and place the
screw connector of the refrigerant line just onto
the threads of the outdoor unit, tightening the first
few threads by hand.
1. First remove the water
tray on the outdoor
unit as shown in the
illustration to the right.
4. Using the first image below as a guide, starting with
the bottom screw connector, you will now tighten the
line set to the outdoor unit. Using two appropriate
sized open-ended wrenches (depending on the
dimensions of the connector), or adjustable crescent
wrenches, place one of the wrenches on the nut
marked “1”, and the other wrench on the nut marked
“2,” Now, turn the wrench on nut “2” in the direction of
the rotational arrow, while holding the other wrench in
place, as seen in the first image below. Continue to
tighten the connector until snug. NOTE: work quickly
and make sure the screw connectors do not
become crooked as you tighten them.
*If an HVAC torque wrench is available: Once the
connector is snug, using the torque wrench, tighten
the connector to the specified torque rating, listed in
the table on the next page (based on the
pipe/coupling size).
*If an HVAC torque wrench is NOT available:
Using the two wrenches you used to tighten the
connector, once the connector is snug, then turn the
wrench slightly beyond that point to torque the
connector, but do not overtighten it.
5. Repeat the same process for the top screw connector,
using the second image below as a guide. Then, repeat
all of these steps for every line set for all of the other
air handlers.
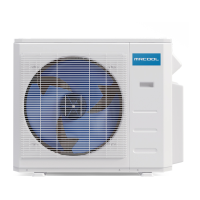
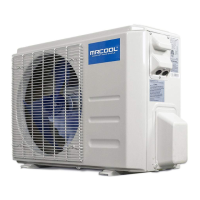
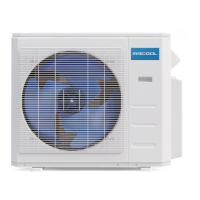
The connection ports on the outdoor condenser are labeled A,B,C,D,E, etc. The capacities of the air
handlers you use will determine which ports they should be connected to. The largest capacity air
handler should be connected to the “A” port. Then, the next largest capacity air handler should be
connected to the “B” port and so on. To distinguish the connectors to be connected to the indoor units
and outdoor unit, the refrigerant pipe connectors have been labelled “A”, “B”, “C”, “D”, and “E”. Ensure
the marks on the connectors match the indoor units and outdoor unit respectively during connection.
 Loading...