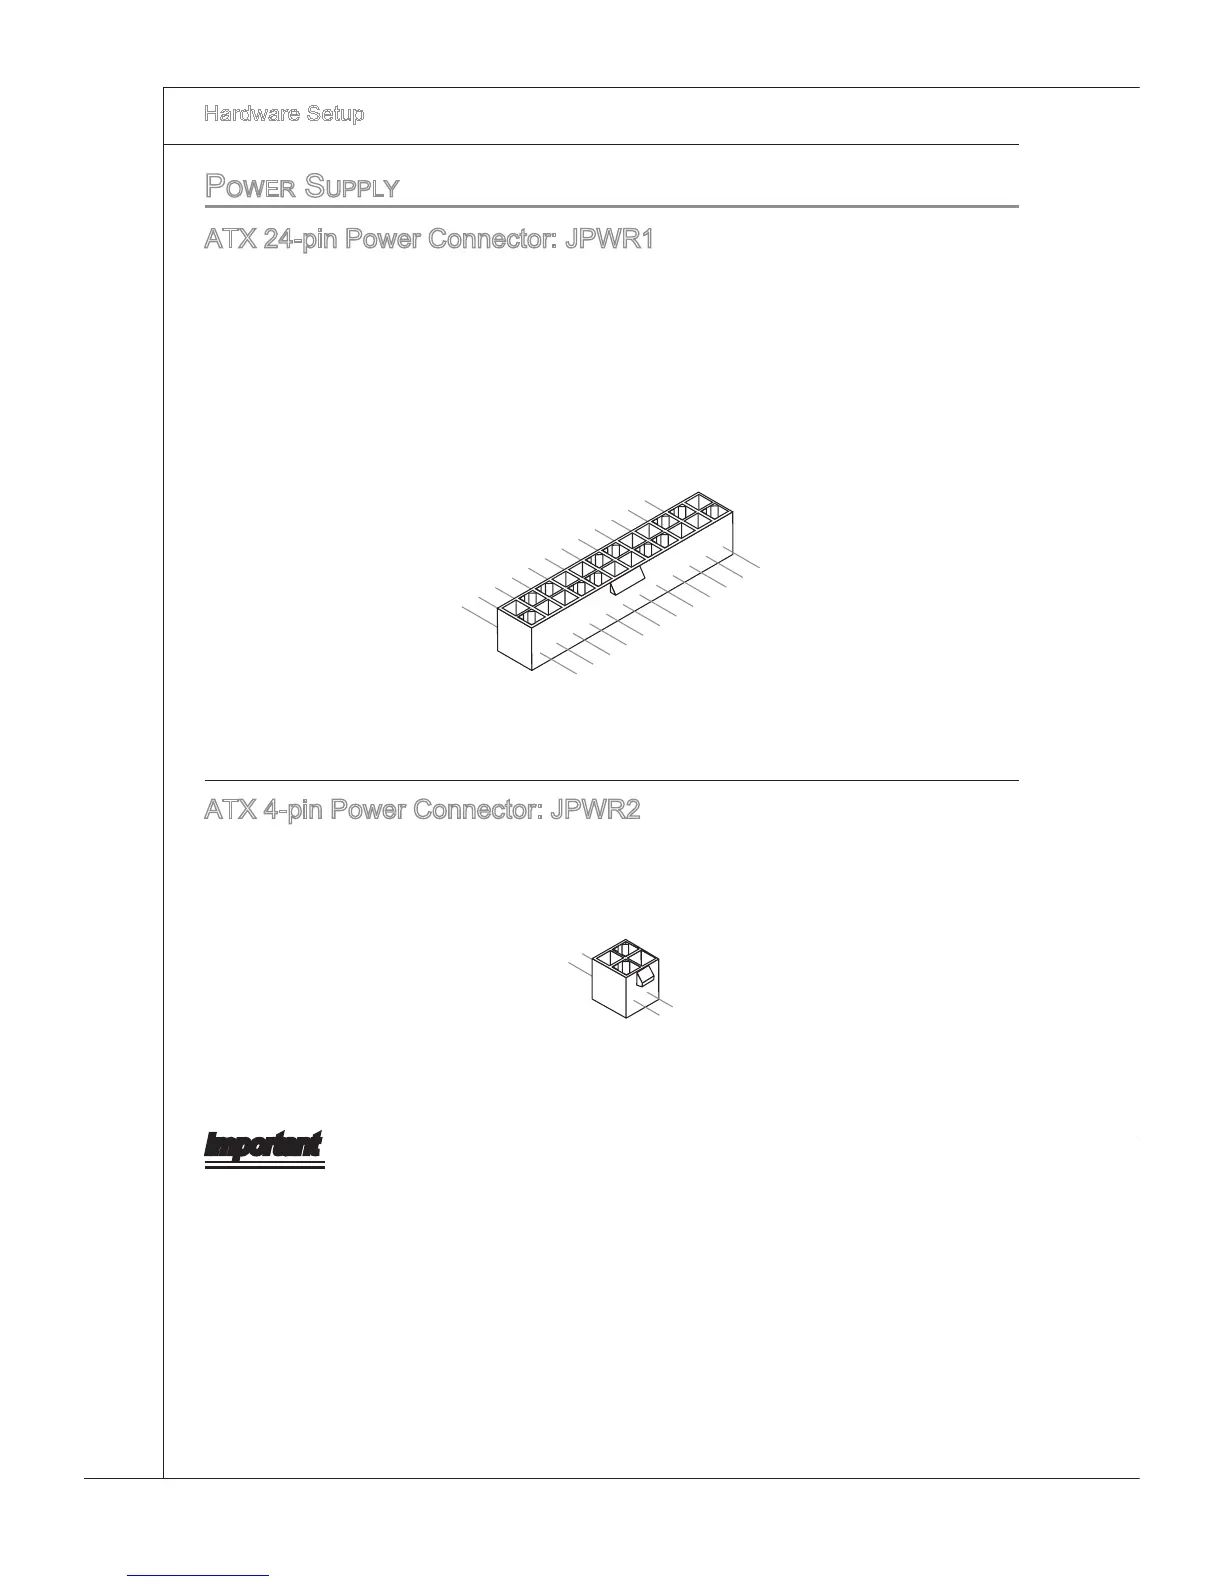
EasyManuals Logo
Home>MSI>Motherboard>MS-7596 (v1.x)

MSI MS-7596 (v1.x) User Manual

MSI MS-7596 (v1.x)
108 pages
To Next Page IconTo Next Page
To Previous Page IconTo Previous Page
Page #24 background imageLoading...
Page #24 background image
2-8
Hardware Setup
MS-7596
Hardware Setup
MS-7596
power SuppLy
ATX 24-pn Power Connector: JPWR1
Ths connector allows you to connect an ATX 24-pn power supply. To connect the ATX
24-pn power supply, make sure the plug of the power supply s nserted n the proper
orentaton and the pns are algned. Then push down the power supply 󰘰rmly nto the
connector.
You may use the 20-pn ATX power supply as you lke. If you’d lke to use the 20-pn
ATX power supply, please plug your power supply along wth pn 1 & pn 13.
13.+3.3
V
1.+3.3
V
14.-12V
2.+3.3
V
15.Ground
3
.Ground
16.PS-ON
#
4.+5
V
17.Ground
5
.Ground
18.Ground
6.+5
V
19.Ground
7
.Ground
22.+5
V
10.+12V
20.Res
8.PW
R O
K
23.+5
V
11
.+12V
21.+5
V
9.5VSB
24.Ground
12.+3.3
V
ATX 4-pn Power Connector: JPWR2
Ths connector s used to provde power to the CPU.
4.+12V
2
.Ground
3.+12V
1
.Ground
Important
Make sure that all the connectors are connected to proper ATX power supples to
ensure stable operaton of the manboard.

Questions and Answers:

Question and Answer IconNeed help?

Do you have a question about the MSI MS-7596 (v1.x) and is the answer not in the manual?

MSI MS-7596 (v1.x) Specifications

General IconGeneral
BrandMSI
ModelMS-7596 (v1.x)
CategoryMotherboard
LanguageEnglish

Related product manuals