 Loading...
Do you have a question about the MSI Z87-G43 Series and is the answer not in the manual?
| Chipset | Intel Z87 |
|---|---|
| Form Factor | ATX |
| Socket | LGA 1150 |
| Memory Slots | 4 |
| Memory Type | DDR3 |
| Max Memory | 32 GB |
| PCIe x16 Slots | 2 |
| PCIe x1 Slots | 2 |
| SATA Ports | 6 x SATA 6Gb/s |
| Audio | Realtek ALC892 |
| RAID Support | RAID 0, 1, 5, 10 |
| Multi-GPU Support | AMD CrossFireX |
| Memory Standard | DDR3-1066/1333/1600/1866/2000/2133/2200/2400/2600/2666/2800/2933/3000 (OC) |
| USB 3.0 Ports | 4 |
| USB 2.0 Ports | 8 |
| LAN | Realtek RTL8111G |
Essential guidelines to ensure safe operation and handling of the equipment.
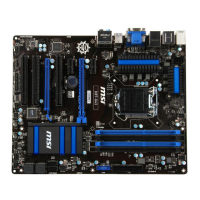
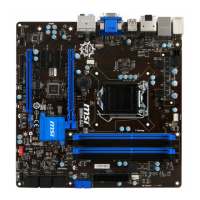
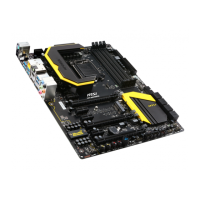
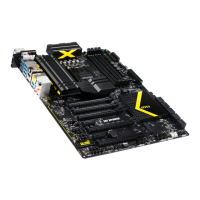
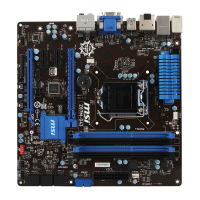
Detailed technical specifications of the motherboard.
Instructions for installing the CPU and its associated heatsink.
Visual steps for installing the CPU onto the motherboard socket.
Visual steps for installing RAM modules into the DIMM slots.
Visual steps for mounting the motherboard inside the computer case.
Visual steps for connecting power supply cables to the motherboard.
Visual steps for installing a graphics card into a PCIe slot.
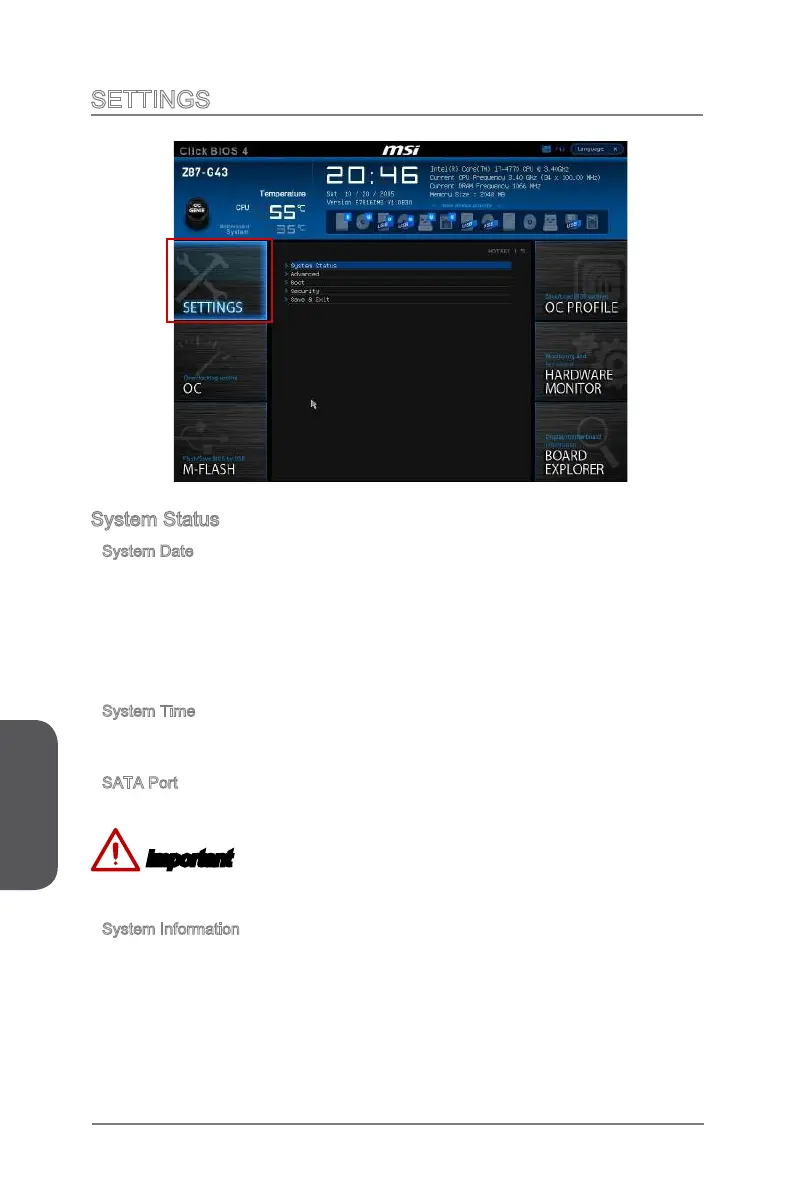
Methods for accessing and entering the system's BIOS setup utility.
Advanced settings for tuning CPU, DRAM, and system frequencies.
Procedure for updating the system BIOS using a USB flash drive.
Real-time monitoring of system temperatures, fan speeds, and voltages.
Instructions for accessing and using the Intel RAID configuration utility.
Steps for creating, deleting, and resetting RAID volumes.
Procedure for handling and rebuilding degraded RAID arrays.
Guide to enabling system acceleration using Intel Rapid Storage Technology.
Step-by-step guide for installing the Intel Small Business Advantage software.