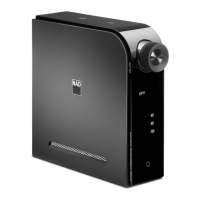
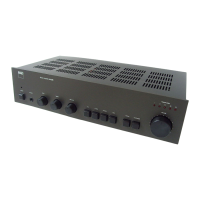
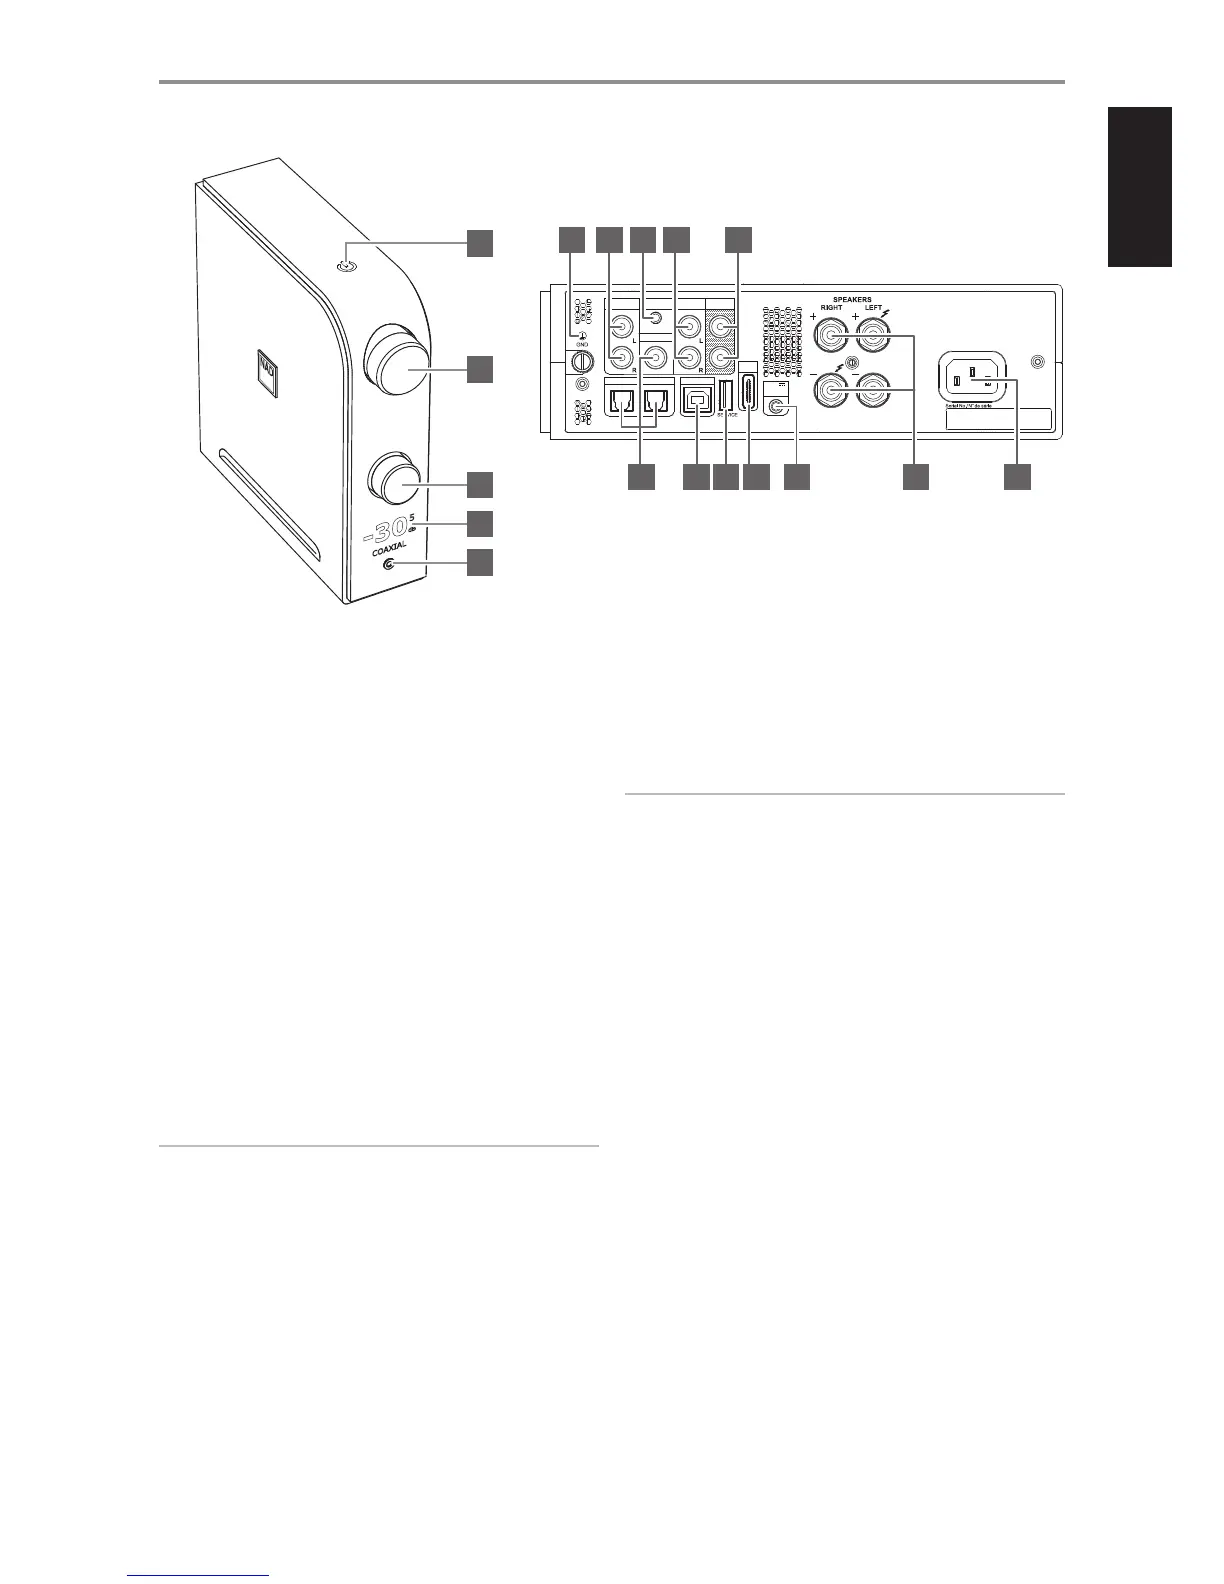
1 o (STANDBY)
• With the corresponding end of the mains power cord connected
to the AC mains input of the D 3045 and the plug connected to a
mains power source, press o (Standby) to switch ON the D 3045
from standby mode. The Standby indicator will turn from amber to
bright color.
• Press and hold o (Standby) until D 3045 switches back to standby
mode.
2 VOLUME
• Rotate Volume knob clockwise or counterclockwise to adjust audio
level.
• Rotating the Volume knob will automatically restore audio from
mute mode.
3 SOURCE
• Rotate clockwise or counterclockwise to select desired Source.
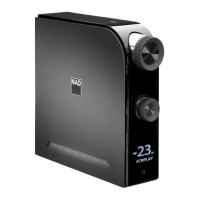
4 DISPLAY
• Sources, audio level and other indicators are shown.
• Display follows the orientation of the unit - vertical or horizontal
view.
IMPORTANT NOTE
Display will temporarily turn o if there is no user interface interaction
within 5 minutes. Restore display by sending a remote control command
or rotating any of the controls.
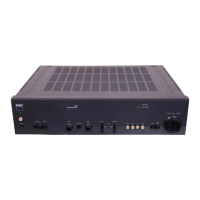
5 PHONES
• Use the 3.5 mm stereo jack socket for headphone listening.
• Specially designed low noise headphone circuitry can accommodate a
wide range of phones, even 600 Ohm studio models.
• Adjust headphone audio level by rotating the VOLUME control
clockwise or counterclockwise.
• Ensure that the volume control is turned to minimum (fully
counterclockwise) before connecting or disconnecting
headphones. Listening at high levels can damage your hearing.
• Inserting a headphone jack into this socket automatically switches
o the loudspeakers.
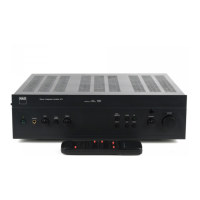
6 GROUND TERMINAL
• If a separate earth ground is necessary, use this terminal to
ground your D 3045. The D 3045 can be connected to ground by
connecting a ground lead wire or similar to this terminal. After
insertion, tighten the terminal to secure the lead.
NOTES
• Consult with a licensed electrician to properly locate or correctly
install a grounding conductor in your home. NAD is not responsible
for any malfunction, damage or costs associated with the installation,
connection or grounding of your D 3045.
• The grounding wire is not supplied with your D 3045.
7 PHONO (MM)
• Input for a Moving Magnet (MM) phono cartridge only. Connect the
twin RCA lead from your turntable to this input if you are using a
Moving Magnet cartridge.
8 LINE 1
• Connect to corresponding analog output of other audio devices
using a 3.5mm stereo plug to RCA connector adapter (not
supplied).
9 LINE 2
• Connect to corresponding analog output of a CD player,
preamplier, processor or other applicable devices using RCA-to-
RCA stereo cable (not supplied).
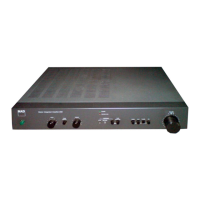
IDENTIFICATION OF CONTROLS
5
+12V
TRIGGER
IN
LINE 1
PHONO
(MM)
COAXIAL
LINE 2
PRE / SUB
OUT
OPTICAL 1 OPTICAL 2
HDMI
ARC
100-120V~60Hz / 220-240V~50Hz
COMPUTER
6 7 8 9 10
11 12 13 14 15 16 17
1
2
3
4
5
 Loading...