Chapter 1 GPIB Hardware
GPIB Hardware Guide 1-4 ni.com
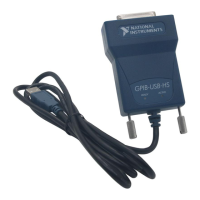
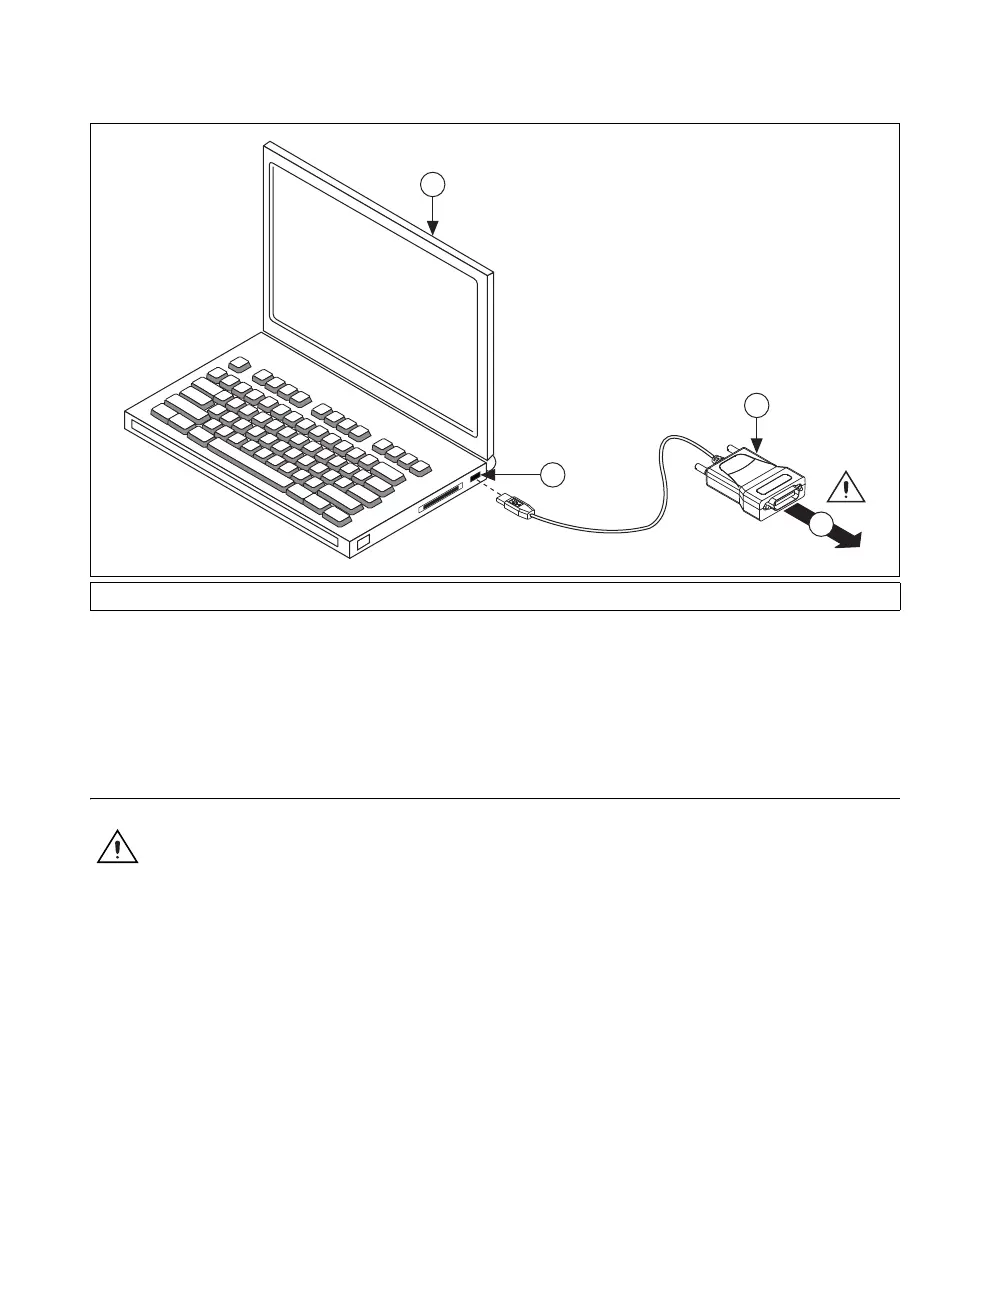
Figure 1-2. Installing the GPIB-USB Interface
The GPIB hardware installation is now complete.
NI PCIe-GPIB, NI PCIe-GPIB+, PCI-GPIB, PCI-GPIB+,
PCI-GPIB/LP, and PCI-8232
Caution Electrostatic discharge can damage several components on your GPIB board. To
avoid such damage in handling your board, touch the antistatic plastic package to a metal
part of your computer chassis before removing the board from the package.
Follow these steps to install your interface:
1. Make sure that your computer is powered off. Keep the computer
plugged in so that it remains grounded while you install the GPIB
hardware.
2. Remove the top cover (or other access panels) to gain access to the
computer expansion slots.
3. Find an unused expansion slot in your computer. Your PCI card can
be plugged into either a 3.3 V or 5 V, 32- or 64-bit PCI slot. Your PCI
Express card can be plugged into a x1, x4, x8, or x16 PCI Express slot.
1PC 2 USB Connector 3 GPIB-USB Interface 4 To GPIB Devices
 Loading...