© National Instruments Corporation 7 Set Up Your MXI-Express x1 System
Hardware Installation
The following are general instructions for installing the MXI-Express x1
cards. Consult your computer user manual or technical reference manual
for specific instructions and warnings.
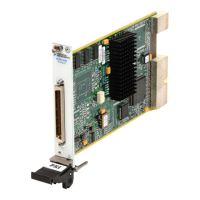
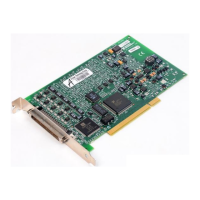
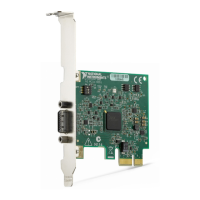
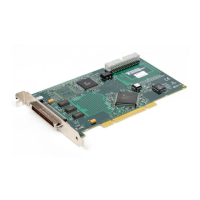
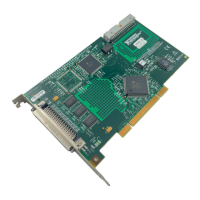
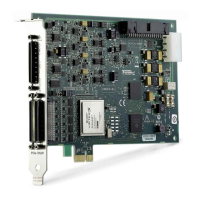
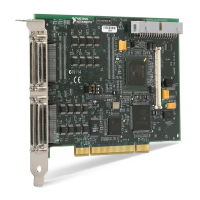
Installing an NI PCI-8361 or NI PCIe-8361/8362 Host Card
Complete the following steps to install the NI PCI-8361 or NI PCIe-8361/
8362 in your computer.
1. Power off your computer.
Caution To protect both yourself and the computer from electrical hazards, your computer
should remain off until you finish installing all hardware as instructed.
2. Remove the top cover or access port to the PCI or PCI Express
expansion slots.
3. Touch the metal part of the power supply case inside the computer to
discharge any static electricity that might be on your clothes or body.
4. Unplug the computer and wait 30 seconds to allow the energy stored
in the computer’s power supply to fully dissipate.
5. Select any available PCI slot for the NI PCI-8361 or PCI Express
(x1 or wider) expansion slot for the NI PCIe-8361/8362.
Note The BIOS or motherboard may not support the NI PCIe-8361/8362 in a slot
intended for a graphics card.
6. Locate the metal bracket that covers the cut-out in the back panel of the
computer for the slot you have selected. Remove and save the
bracket-retaining screw and the bracket cover.
7. Line up the NI PCI-8361 or NI PCIe-8361/8362 with the slot on the
back panel, as shown in Figure 1. Slowly push down on the top of the
NI PCI-8361 or NI PCIe-8361/8362 until its card-edge connector is
resting on the expansion slot receptacle. Using slow, evenly distributed
pressure, press the NI PCI-8361 or NI PCIe-8361/8362 straight down
until it seats in the expansion slot.
8. Reinstall the bracket-retaining screw to secure the NI PCI-8361 or
NI PCIe-8361/8362 to the back panel rail.
9. Replace the computer cover.
10. Plug the computer back in.
 Loading...