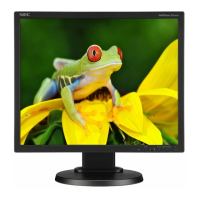
English-9
English
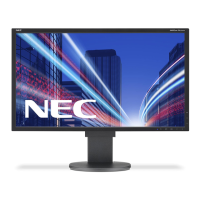
Flexible Arm Installation
This LCD monitor is designed for use with a fl exible arm.
To prepare the monitor for alternate mounting purposes:
• Follow the instructions provided by the manufacturer of the display mount.
• To meet the safety requirements, the mounting stand must be able to support the weight of the monitor and be UL-certifi ed.
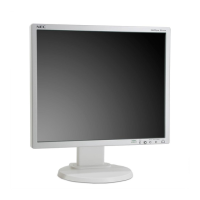
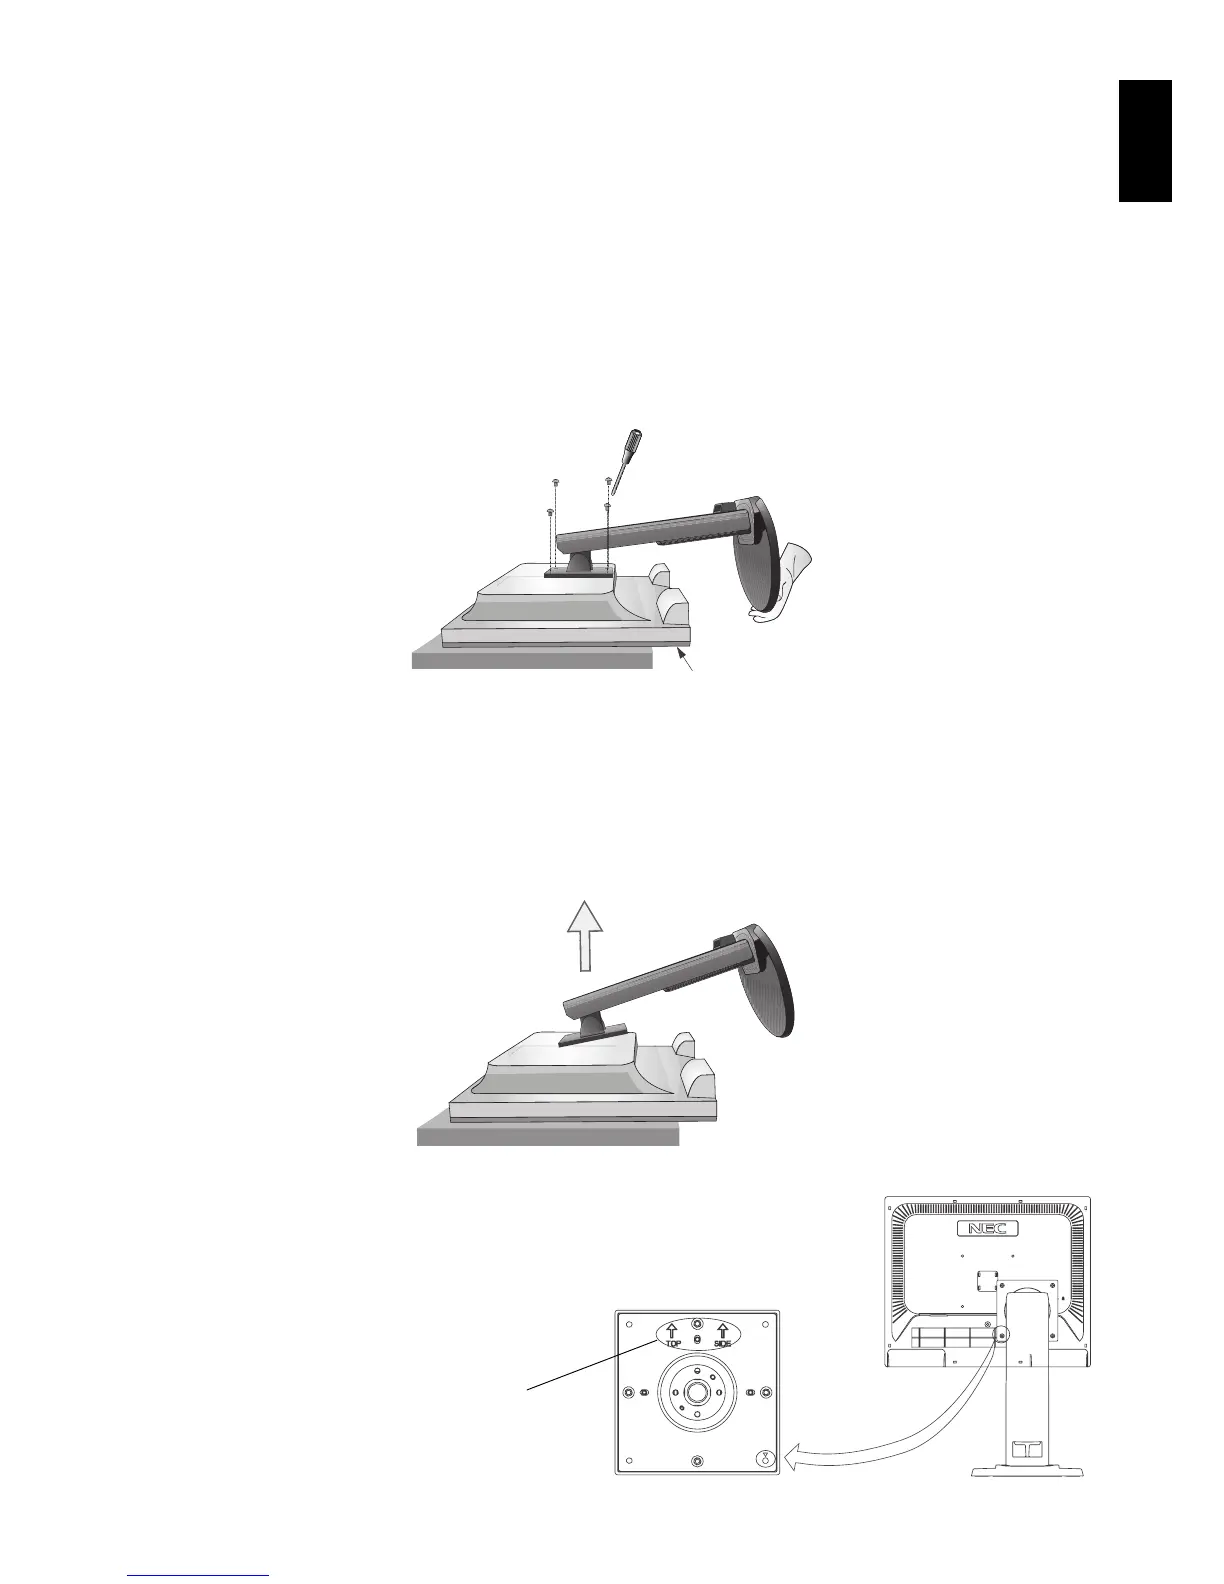
Remove Monitor Stand for Mounting
To prepare the monitor for alternate mounting purposes:
1. Disconnect all cables.
2. Place a hand on each side of the monitor and lift up to the highest position.
3. Place monitor face down on a non-abrasive surface (Figure S.1).
NOTE: Handle with care when the monitor is facing down, avoiding so damage to the front control buttons.
Figure S.1
Control buttons
4. Remove the 4 screws connecting the stand to the monitor (Figure S.1).
NOTE: In order to avoid stand drop, when removing screws, please support stand with your hand.
5. Remove the stand (Figure S.2).
6. The monitor is now ready for mounting in an alternate manner.
7. Connect the cables to the back of the monitor.
NOTE: Handle with care when removing monitor stand.
Figure S.2
8. Reverse this process to re-attach stand.
NOTE: Use only VESA-compatible alternative mounting method.
Handle with care when removing stand.
NOTE: Match “TOP SIDE” mark on stand to top side of the
monitor head when re-attaching stand.
“TOP SIDE” mark
Please match top side
of the monitor
 Loading...