8. Click the Apply button.
The reserved address is entered into the table.
The reserved address is not assigned until the next time the computer contacts the
router’s DHCP server. Reboot the computer, or access its IP configuration and force a
DHCP release and renew.
Edit a reserved IP address
To edit a reserved address entry:
1.
Launch a web browser from a computer or mobile device that is connected to the
router network.
2.
Enter http://www.routerlogin.net.
A login window opens.
3. Enter the router admin user name and password.
The user name is admin. The password is the one that you specified the first time
that you logged in. The user name and password are case-sensitive.
The BASIC Home page displays.
4. Select ADVANCED > Setup > LAN Setup.
The LAN Setup page displays.
5. Select the radio button next to the reserved address that you want to edit.
6. Click the Edit button.
The Address Reservation page displays.
7. Change the settings.
8. Click the Apply button.
Your settings are saved.
Delete a reserved IP address entry
To delete a reserved address entry:
1.
Launch a web browser from a computer or mobile device that is connected to the
router network.
2.
Enter http://www.routerlogin.net.
A login window opens.
3. Enter the router admin user name and password.
User Manual60Manage Network Settings
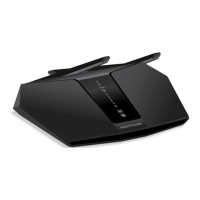
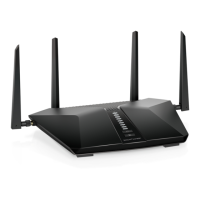
Nighthawk AX5 5-Stream WiFi Router
 Loading...
