CONNECTING THE SPEAKERS
• “XO” (Crossover) means the Main outputs are high-pass typically for
use with sub. Advanced settings are set to default.
• The “User” position is used for advanced settings (patch, delay, EQs,
user limiter) set up from Nexo Dory remote control software. See
dedicated Dory manual.
Note that using the mains speakers in XO mode will increase
maximum output level of the Main speaker while producing less low
end.
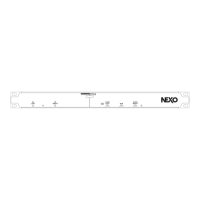
Front panel indicators
On each input a green signal LED will light if a signal is fed into the
controller, from any input, analog, AES or Dante
tm
(optional).
A center red clip LED will inform the user that at least one analog input
of the controller is clipping: reduce then audio source level to prevent
distortion.
On each output a green signal LED will light if a signal is fed into the
DTD though the amplifier feedback input.
On each output a yellow signal LED will light if the controller is limiting
its output to protect the speaker.
Connecting the speakers
Please refer to the Nexo speaker set user manual for proper
connection.
Starting up the system
Before powering the DTD, be sure all amplifiers are OFF and that the
audio source is muted.
• Power ON all audio equipment before the DTD, eventually wait for
boot up.
• Power ON the DTD controller and check on the screen that the
correct speaker setup is selected. Use Nexo Dory software, available
on our website
nexo-sa.com to select the proper speaker setup if
needed.
• Power ON the power amplifiers and set the output volume to – 20
dB
• Send some audio signal into the system and check that the sound is
outputting from the speakers (check left/right and sub output).
• If everything seems OK turn slowly all the attenuator to the 0 dB
position.
The system is now ready to be used.
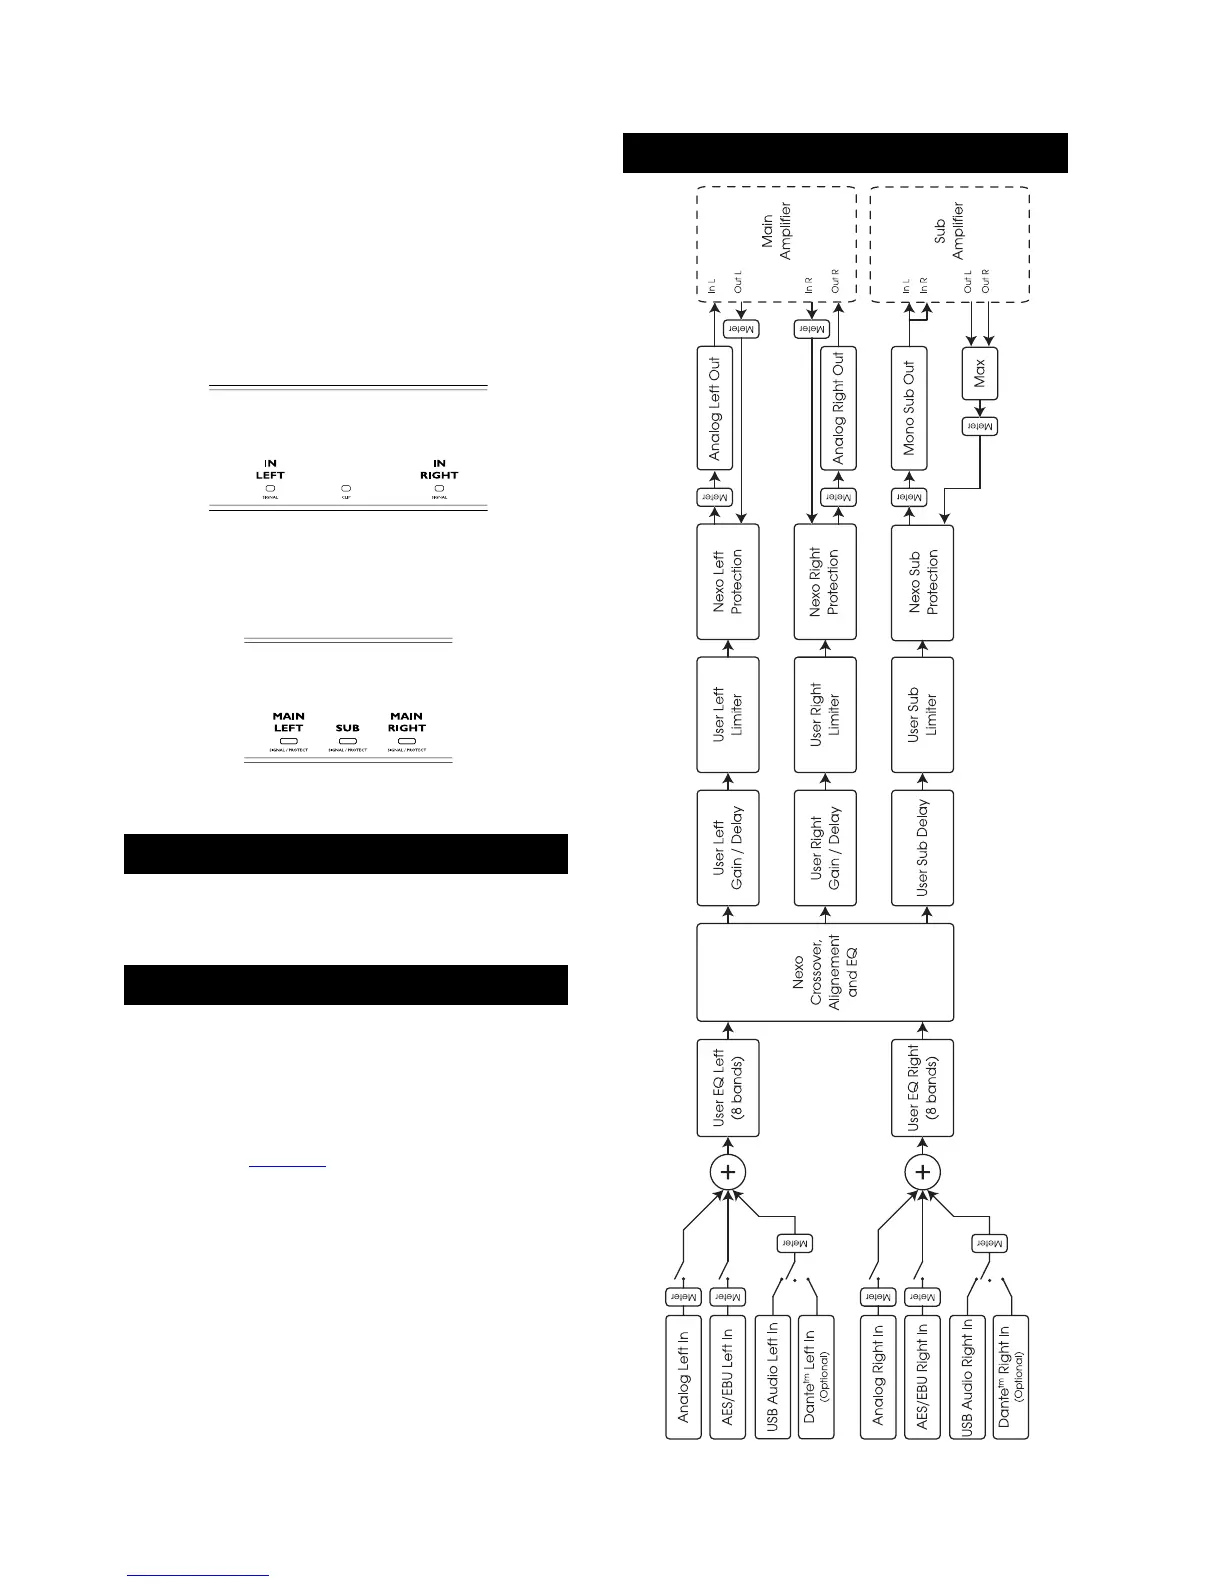
Block Diagram
PAGE 6 OF 16
 Loading...