 Loading...
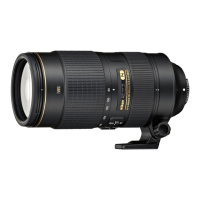
Do you have a question about the Nikon AF VR Zoom-NIKKOR 80-400mm f/4.5-5.6D and is the answer not in the manual?
| Focal Length | 80-400mm |
|---|---|
| Maximum Aperture | f/4.5-5.6 |
| Lens Mount | Nikon F |
| Optical Design | 17 Elements in 11 Groups |
| Diaphragm Blades | 9 |
| Image Stabilization | Yes |
| Filter Size | 77 mm |
| Maximum Reproduction Ratio | 1:4.8 |
| Autofocus | Yes |
| Format Compatibility | 35mm Film / Full-Frame Digital Sensor |
| Angle of View | 30° 10' to 6° 10' |
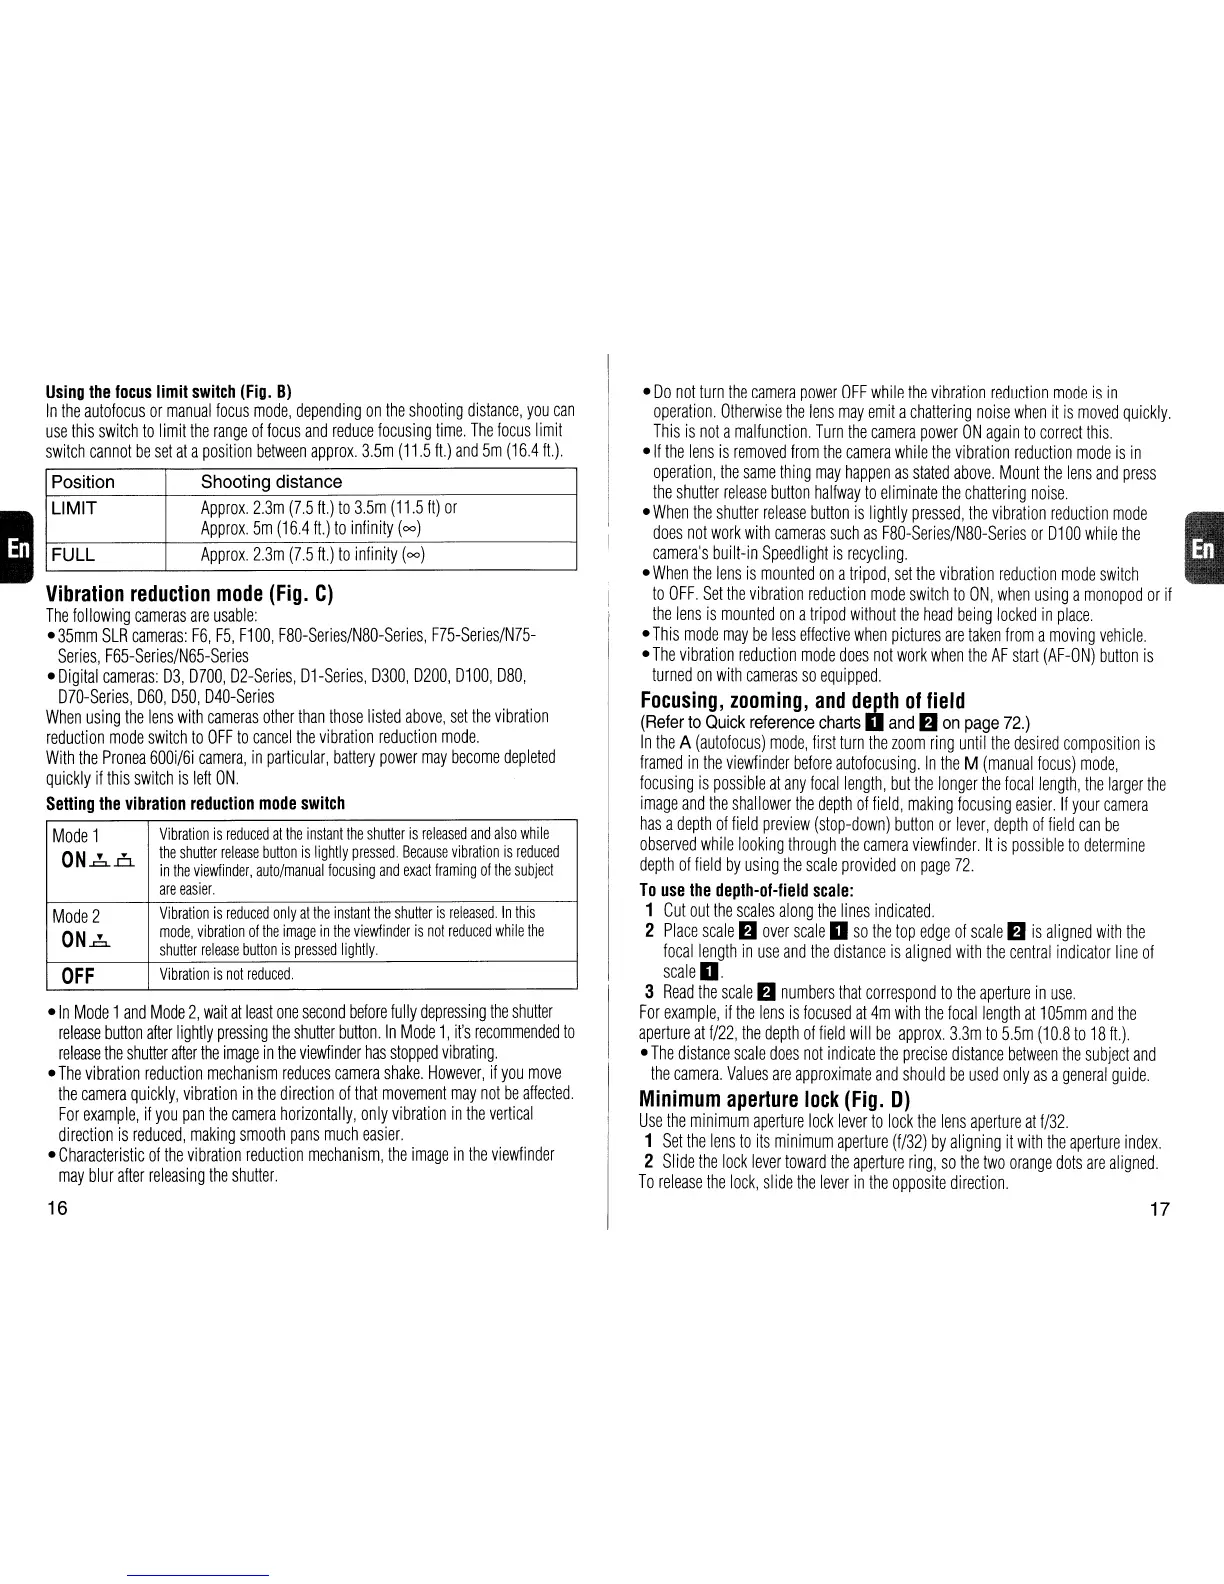
| Minimum Focus Distance | 7.5' / 2.3 m |