3
Using NS6 with Serato DJ
Looping
Serato DJ lets you create up to 8 loops per track
with the choice between Manual or Auto Loops.
You can choose whether you have 4 loops (and 4
Cue Points) or 8 loops (and 8 Cue Points) shown
on the screen.
To switch between Manual Loop Mode and Auto
Loop Mode, press NS6's MODE button on the
desired Deck.
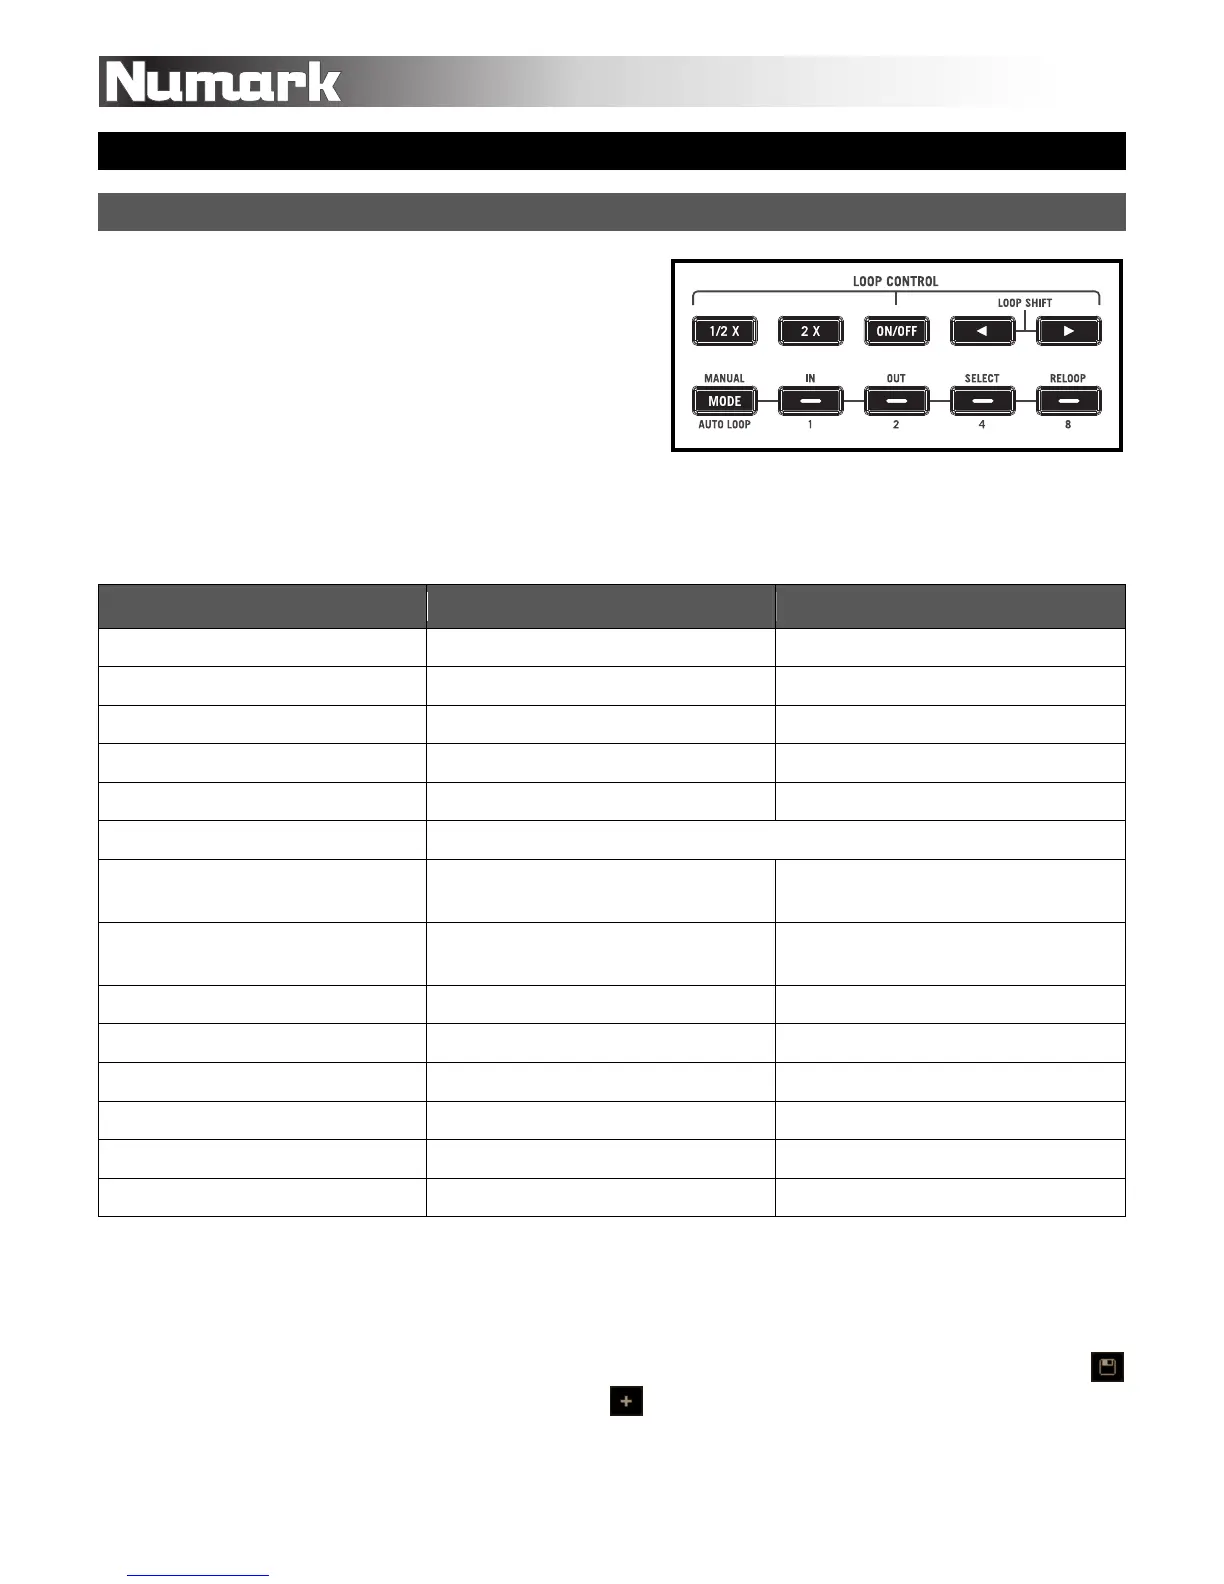
NS6's controls perform the following looping functions in Serato DJ, depending on the mode:
NS6 Controls Manual Loop Mode Auto Loop Mode
1/2 X Halve loop length Halve loop length
2 X Double loop length Double loop length
ON / OFF Activate/deactivate loop Activate/deactivate loop
W (LOOP SHIFT LEFT) Shift loop left Shift loop left
X (LOOP SHIFT RIGHT) Shift loop right Shift loop right
MODE (MANUAL / AUTO LOOP) Switch between Manual Loop and Auto Loop Modes
IN / 1
Loop inactive: Set Loop In Point
Loop active: Adjust Loop In Point
Activate/deactivate 1-bar Auto Loop
OUT / 2
Loop inactive: Set Loop Out Point
Loop active: Adjust Loop Out Point
Activate/deactivate 2-bar Auto Loop
SELECT / 4 Scroll through saved loops Activate/deactivate 4-bar Auto Loop
RELOOP / 8 Reloop (activates and jumps to loop) Activate/deactivate 8-bar Auto Loop
SHIFT + IN / 1 Trigger 16th-note Loop Roll No function
SHIFT + OUT / 2 Trigger 8th-note Loop Roll No function
SHIFT + SELECT / 4 Trigger quarter-note Loop Roll No function
SHIFT + RELOOP / 8 Trigger half-note Loop Roll No function
Notes:
• We recommend using NS6's PLATTERS to adjust the Loop In and Loop Out Points of a
Manual Loop.
• You can save a loop to the next available "loop slot" in the software. To do this, click the
button in the Manual/Auto loop tab, or click on an available loop slot. Your loops will be
saved to the file and will be recalled the next time you load it, even if the file has been moved
or renamed.
NS6 loop control
 Loading...