11 Measurement Procedure
34 / 60 Instruction Manual Easyfield® (GA/15000/XXXX/EN 1219 Rev01)
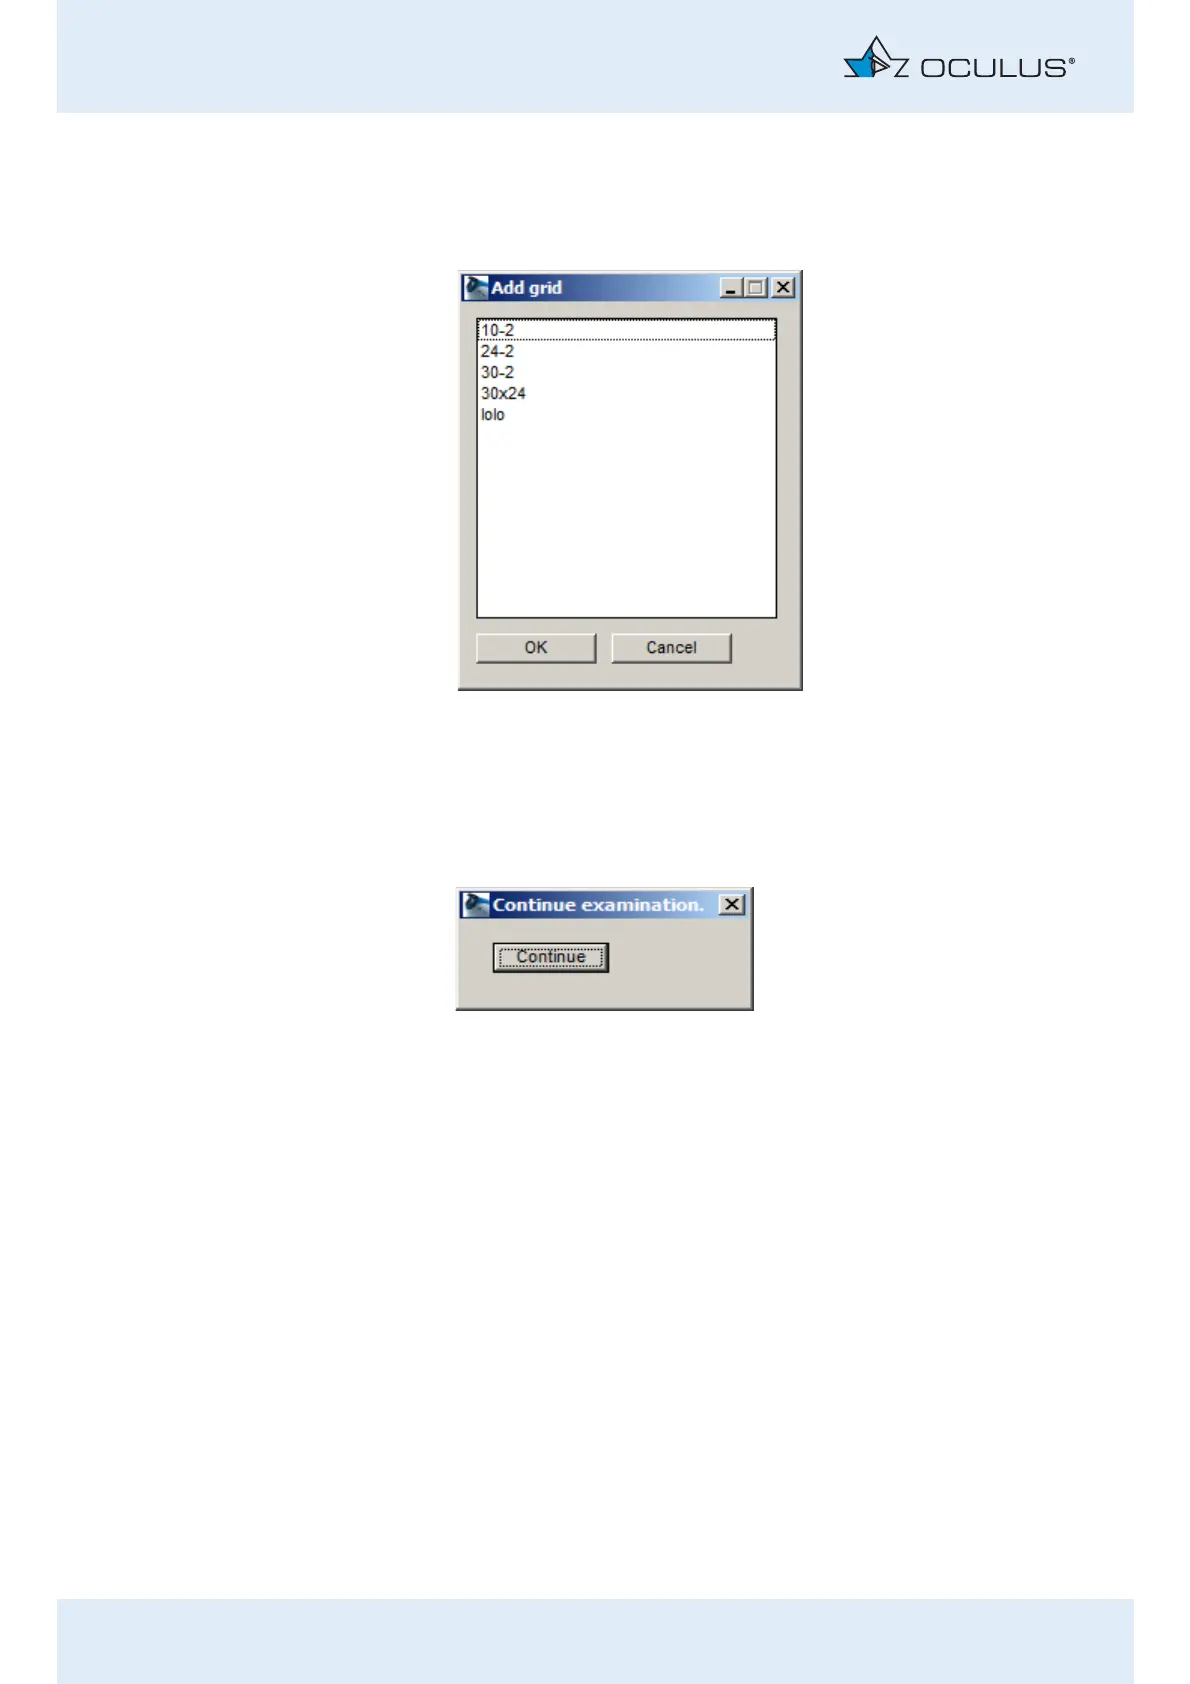
Press the [Add grid] button to add a predefined grid of test points.
In this case, an additional dialog appears in which you can select the
test point grid:
Use the above options to define the points in the map that are to be
tested during the re-examination.
Finally, click on the [Finish] button.
The following dialog will be displayed:
If you previously took the corrective lens out of the holder, re-insert it
now.
Tell the patient that you are now going to continue with the
examination.
Press the [Continue] button and, if applicable, confirm that you have re-
inserted the corrective lens in the confirmation dialog box that then
appears.
The examination is resumed.
After finishing the re-examination, a dialog box appears, asking whether
you want to save the examination results (fig. 11-12, page 32).
Fig. 11-14: Selection of the grid that is to be added for re-examination purposes
Fig. 11-15: Dialog "Continue examination"
 Loading...