BEFORE
USE
Observe the
following
procedures
carefully:
a
Operation_~
~
_
CD
Since the microscope
is
a precision
instrument,
always handle
it
with
care, and avoid
abrupt
motions
or
shocks.
(:i)
Avoid
exposure to
direct
sunlight, high temperature and
humidity.
dust and
vibration.
C~)
Before
bulb
or
fuse
replacement, unplug the power cord
from
the
AC
outlet.
(~}
A Iways ground t
he
microscope to preven t electric hazard.
®
Only
use
the tension adjustment ring
for
altering the tension
of
the coarse adjustment knobs.
@)
Be
careful
not
to soil
lens
surfaces
with
dust,
fingerprints, etc.
Q)
Be
certain the voltage selector switch on the
base
plate
of
the microscope
is
set
to
conform
with
the local
line voltage before
use.
(CHS
only)
* Specifications
of
the electrical components
differ
from
others than the
equipment
with
120 V
of
supply
circuit,
as
the
equipment
is
in
compliance
with
the requirements
of
Underwriters Laboratories. Also, the
equipment
is
not
needed
to
select voltage,
fJ
Maintenance
and
Storage
(I)
Use
a clean brush
or
lens tissue paper to clean the lens surfaces.
If
the lens surfaces are soiled
with
oil or
fingerprints, wipe them
off
carefully
with
gauze moistened
with
a small
amount
of
a cleaning
medium
(alcohol and ether
3:7),
or
xylene.
(2)
Do
not
use
organic solutions
(e.g.
thinner, xylene, ether,
alcohol)
to
wipe
painted surfaces
or
plastic parts
of
various components. They should be cleaned
with
a neutral detergent.
C~)
Never disassemble each componen t
of
the microscope for repair
yourself.
since the integrated performance
may
be
impaired.
CiJ
When
not
in
use,
the microscope should
be
covered
with
the dust cover provided
or
contained in a storage
case, and kept in a place free
from
humidity
and mold.
,.----------------
,--
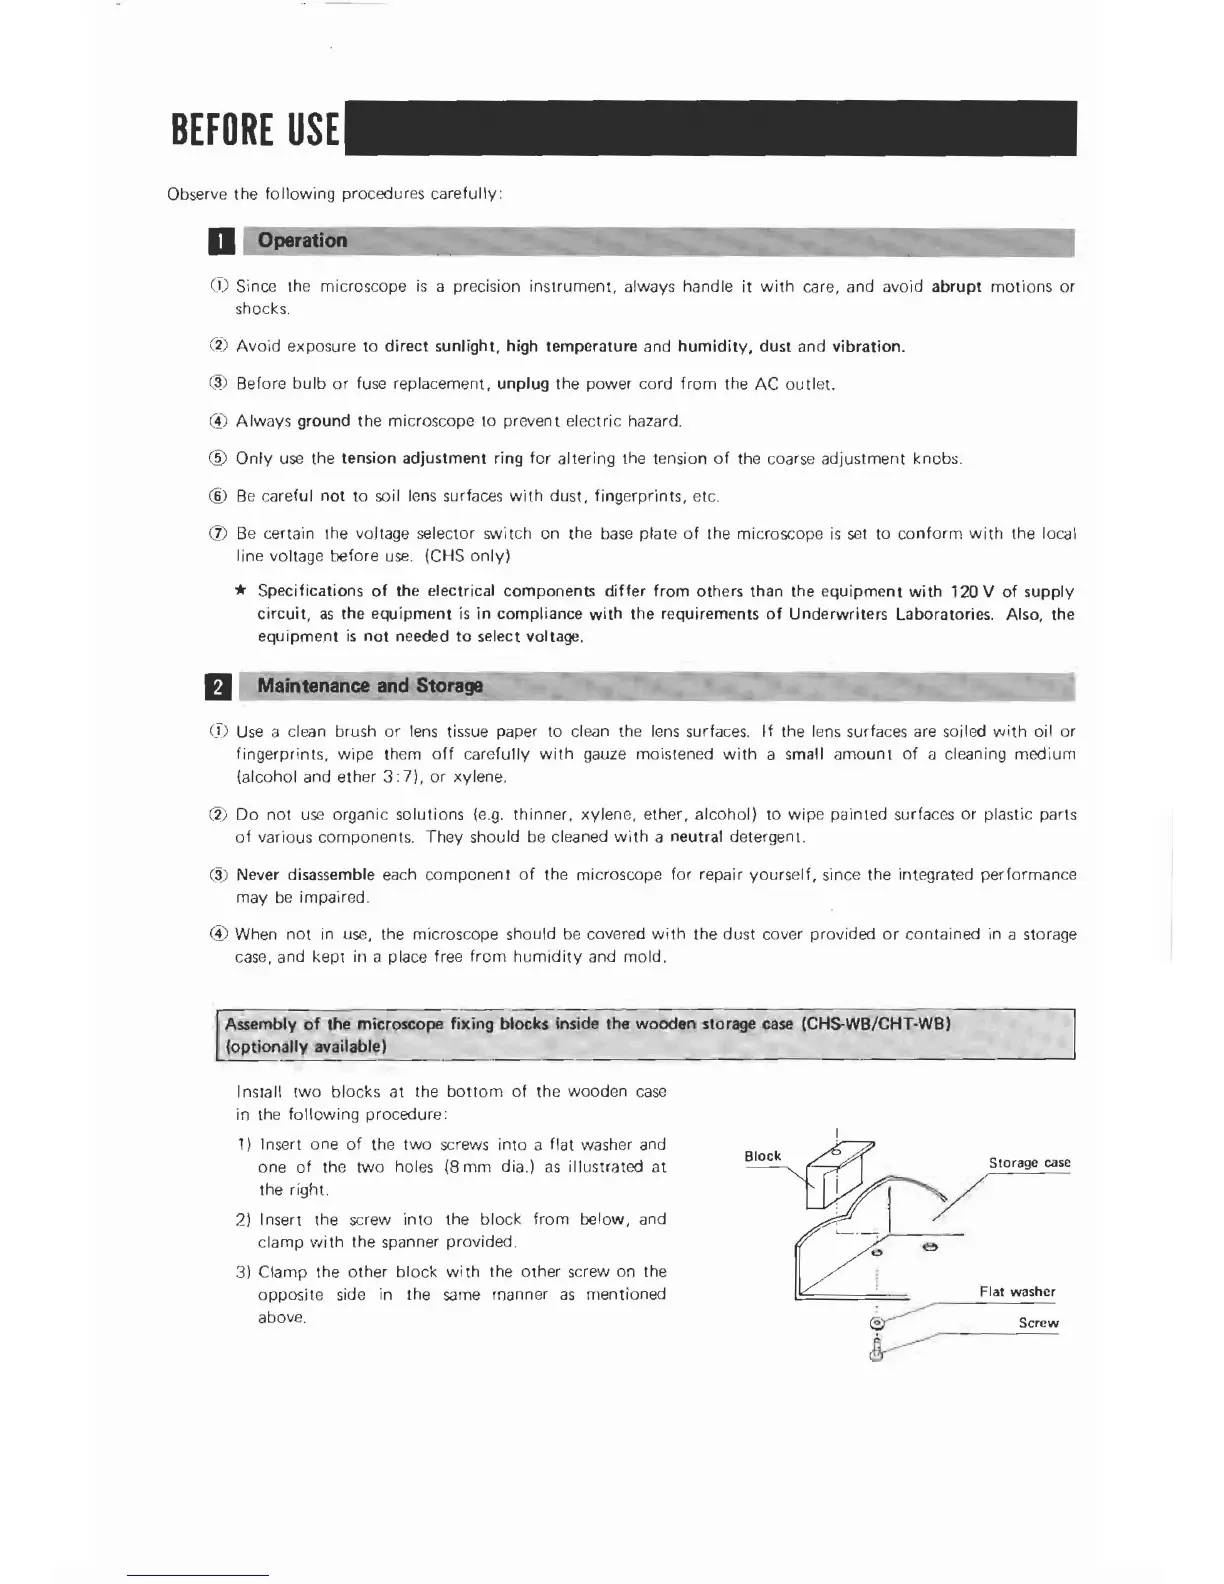
Flat
washer
Screw
~---
Inslal\
two
blocks
at
Ihe
bottom
of
the wooden
case
in the
following
procedure:
1} Insert one
of
the
two
screws
into
a flat washer and
one
of
the
two
holes (8
mm
dia.)
as
illustrated
at
the right.
2)
Insert the screw
into
the
block
from
below, and
clamp
with
the spanner provided.
3)
Clamp
the
other
block
wi th the other screw
On
the
opp~i
te
side in the
same
rnanner
as
mentioned
above.
 Loading...