2-5
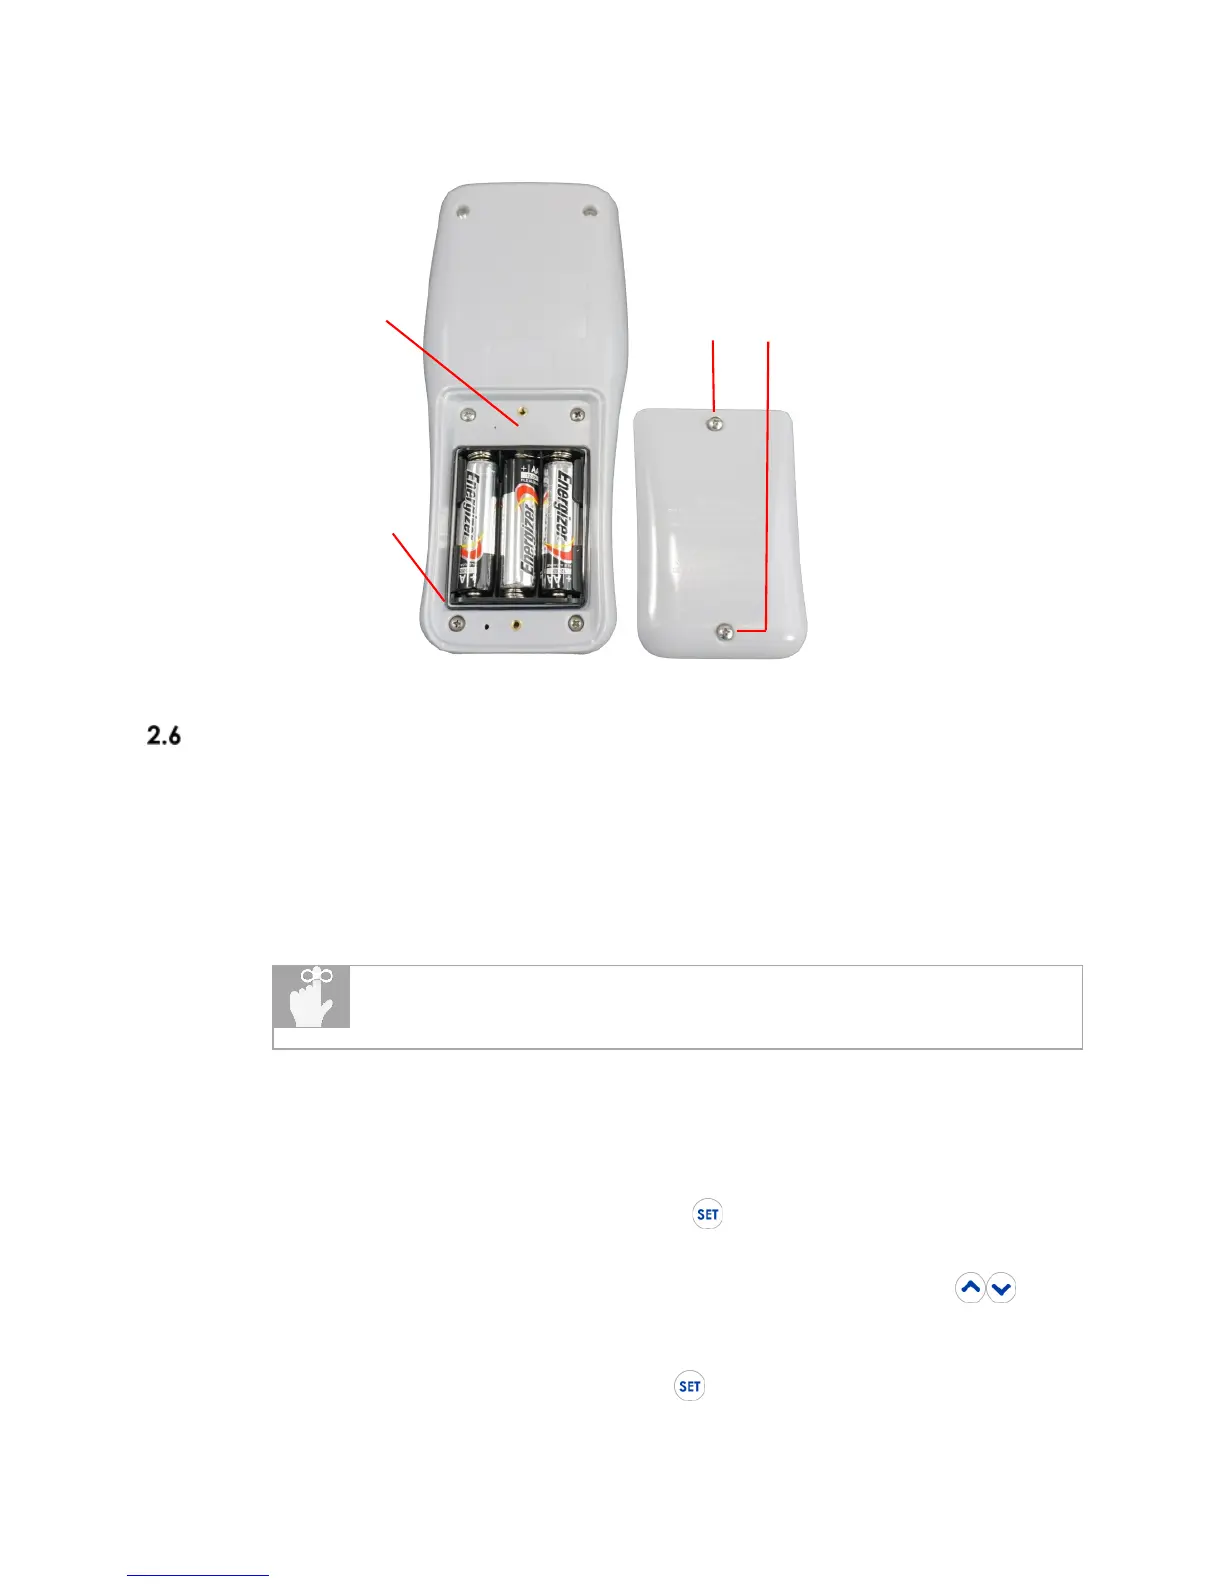
7. At initial power on after battery replacement, allow approximately 30 seconds for
instrument to stabilize.
Figure 1: Battery Installation
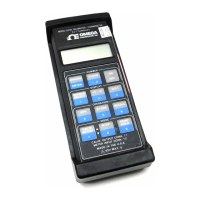
Making Your First Temperature Measurement
Omega’s 900 Series Digital Handheld Thermometers are designed for easy operation, while
still providing a feature-rich experience via the intuitive user interface.
To get started making temperature measurements right away, follow these steps:
1. Perform Section 2.5, Battery Installation and Replacement;
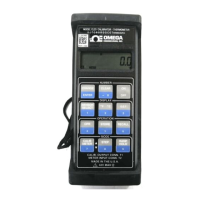
2. Connect a compatible temperature probe to the Channel 1 and/or Channel 2 input
connector located at the top of the instrument;
To ensure best measurement accuracy, allow several minutes for the
thermocouple probe and connector to thermally stabilize after
connection to the instrument.
3. The instrument will immediately display a temperature measurement for the
connected channels. However, to ensure valid and best accuracy measurements,
continue to Step 4 below;
4. Set the desired measurement parameters as follows:
a. Enter the Setup Menu by pressing , hold the key down for
approximately 1.5 seconds, and then release it;
b. The active thermocouple type is flashing on the display. Use to
select the thermocouple type of the connected temperature probe (E, J,
K, or T);
c. Momentarily (do not hold) press to save your selection and move to
the next parameter;