12
CONCRETE WALL INSTALLATION
Place unit on the wall at desired height making sure its level, then mark the holes for drilling.
This mount was designed to be used on two di erent types of walls. One being a wood stud wall and the other being a solid
concrete wall. Below is the pilot hole sizes for both types of walls. You’ll also notice this information printed on the WALL
HARDWARE pack.
Locate and mark one wood stud. Wood studs are usually 16" apart. A stud nder is a great tool to use; however, they aren’t
always 100% accurate. A great way to verify a stud location is to tap a thin nail into the wall where you think the stud is. Do
this a number of times to verify the center and edges of the stud.
Place unit on the wall at desired height aligning holes with studs and making sure its level, then mark the holes for drilling.
WOOD STUD INSTALLATION
2. ATTACHING THE WALL PLATE TO THE WALL
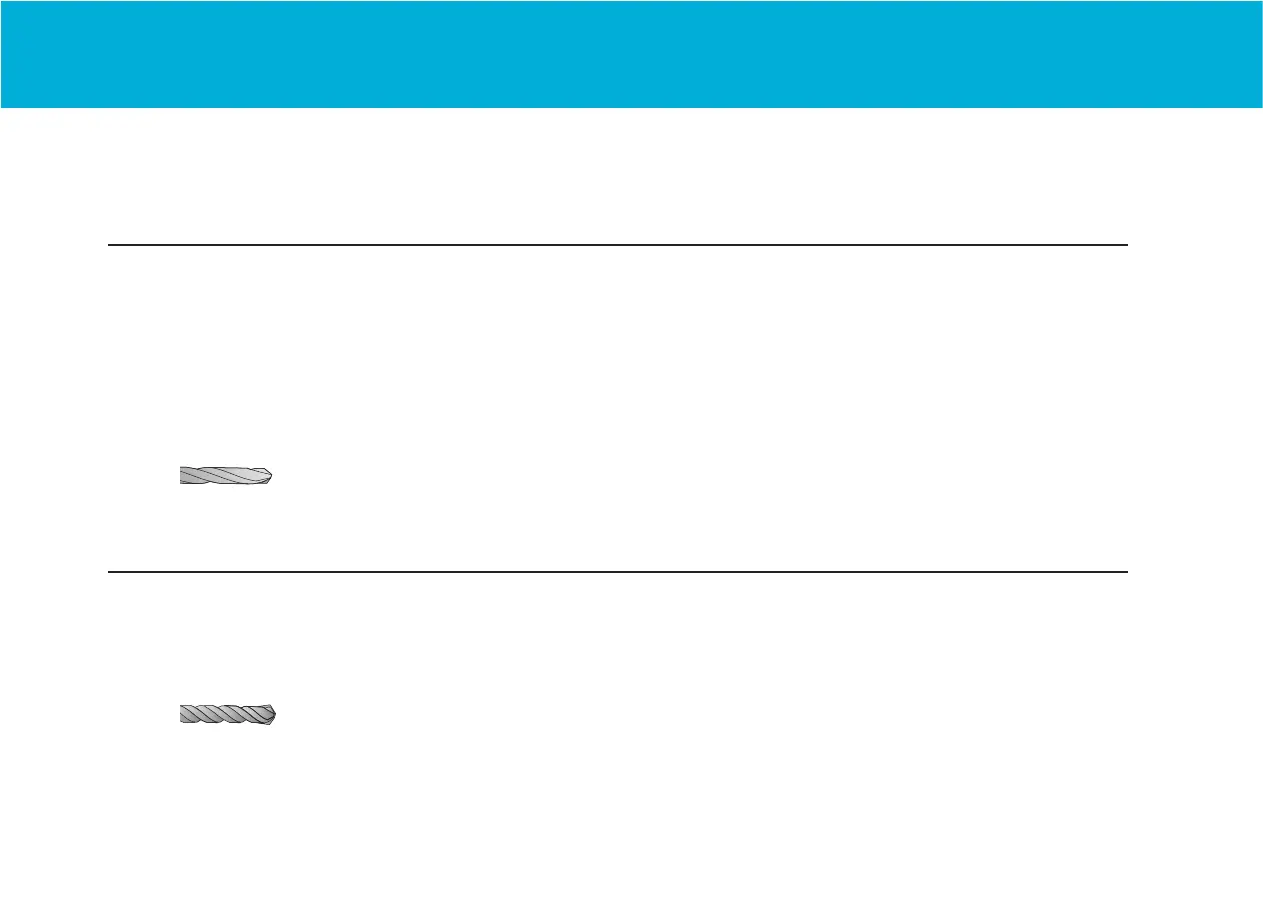
WOOD
CONCRETE
Ø 7/32" (5,5 mm)
Ø 3/8" (9,5-10 mm)
 Loading...