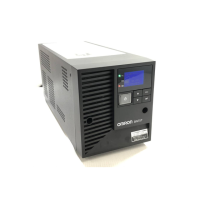
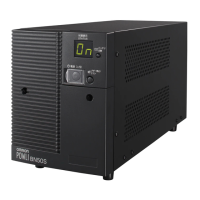
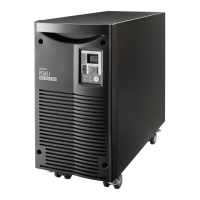
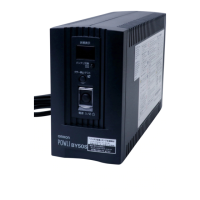
BN75R/BN150R/BN300R
2
10
When performing rack installation, ensure that the UPS is supported and
stabilized by using both the support angles and the table clamps that
were included.
When connecting an additional battery unit, be sure to place the battery
unit in a position lower than the main unit.
●
When installing on a rack, make sure that the UPS is supported by the each unit individually.
●
When installing on a rack, make sure to use the support angles and table clamps included with
the product. Without the support angles, the front clamp alone cannot support the weight of the
UPS.
●
The mass of each unit: BN75R: Approx. 13.5kg BN150R: Approx. 21.5kg
BN300R: Approx.
32kg
In a case where the UPS is to be mounted on a rack, place it on the lower
part of the rack.
●
Dropping it may result in injury.
Be sure to use the supplied mounting screws.
●
Use of long screws other than those supplied for case mounting may damage inside the unit.
●
Screws other than those supplied may not be strong enough to support the UPS, causing it to fall.
2-2-1. Rackmount installation (EIA /JIS 19-inch rack/server rack)
Caution
Note: BN75R cannot be mounted on JIS racks.
●
Rack mounting procedure
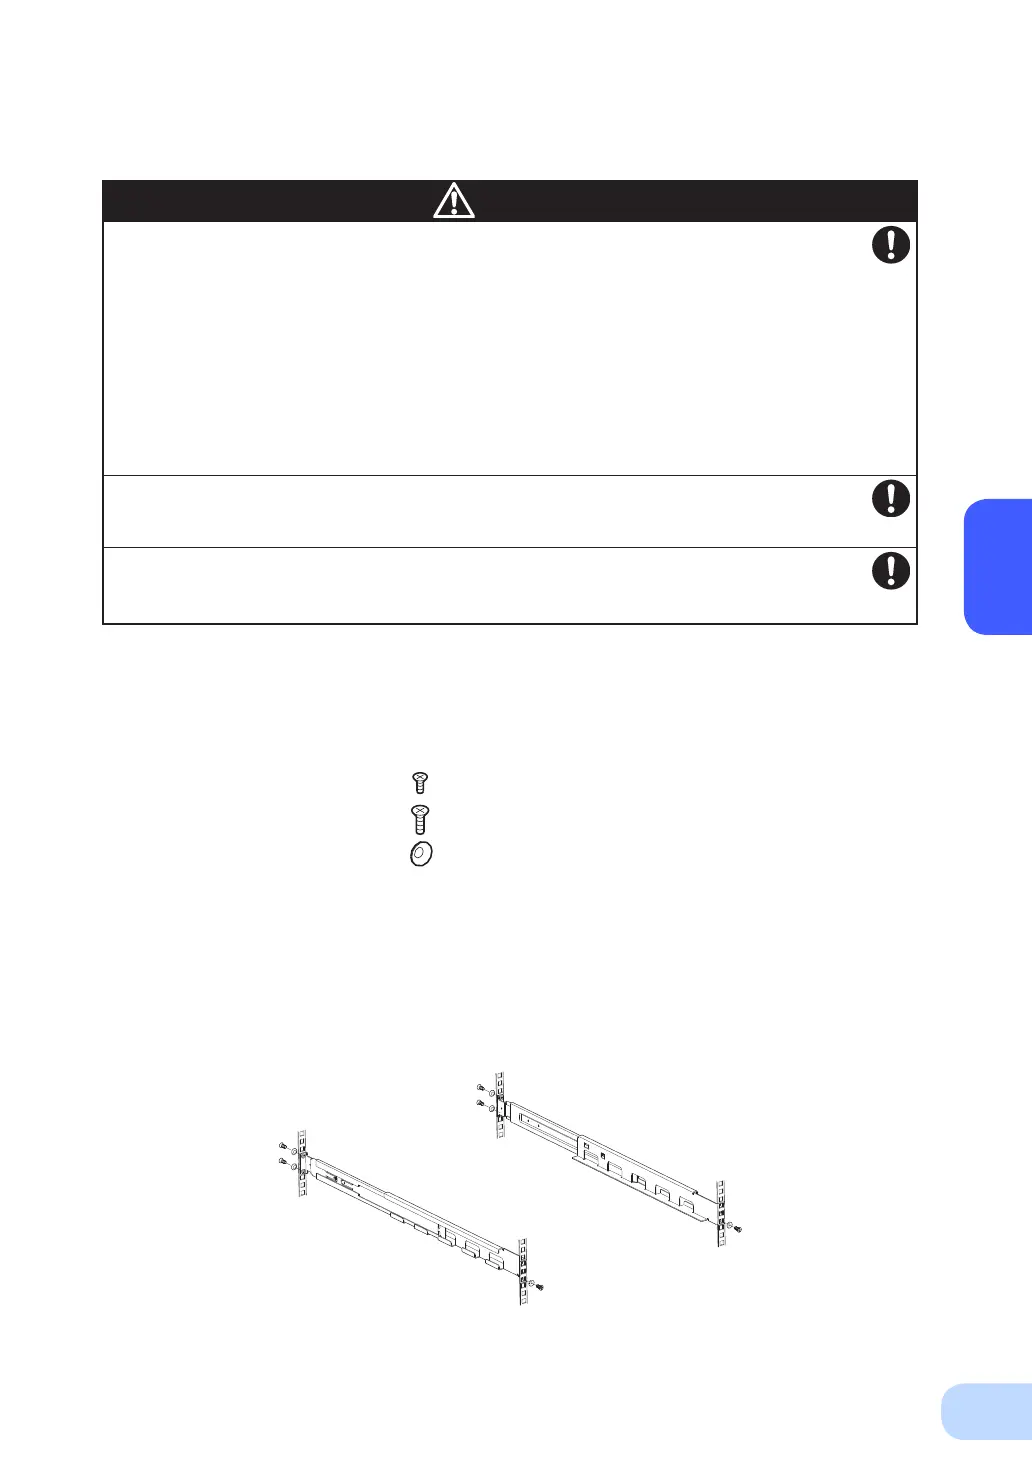
(1) Adjust the length of rack rails to suit the rack. The extension range of the rack rails is 465 to
1000mm.Usethe6includedEIArackwashersand6EIArackxingscrews(M5)tosecurely
fasten the front (the side displaying “L” or “R”) and the back of the rack rails, so that the rack
will be sandwiched between them.
①
①
<BN75R>
●
Items included in the 19-inch rack support angle mounting bracket set
Rack rail (extendable) L .................. 1
Rack rail (extendable) R .................. 1
Ears ................................................ 2
Ear screws (M4) .............................. 4
EIA rack fixing screws (M5) ............ 8
EIA rack washers.............................. 8
 Loading...