88
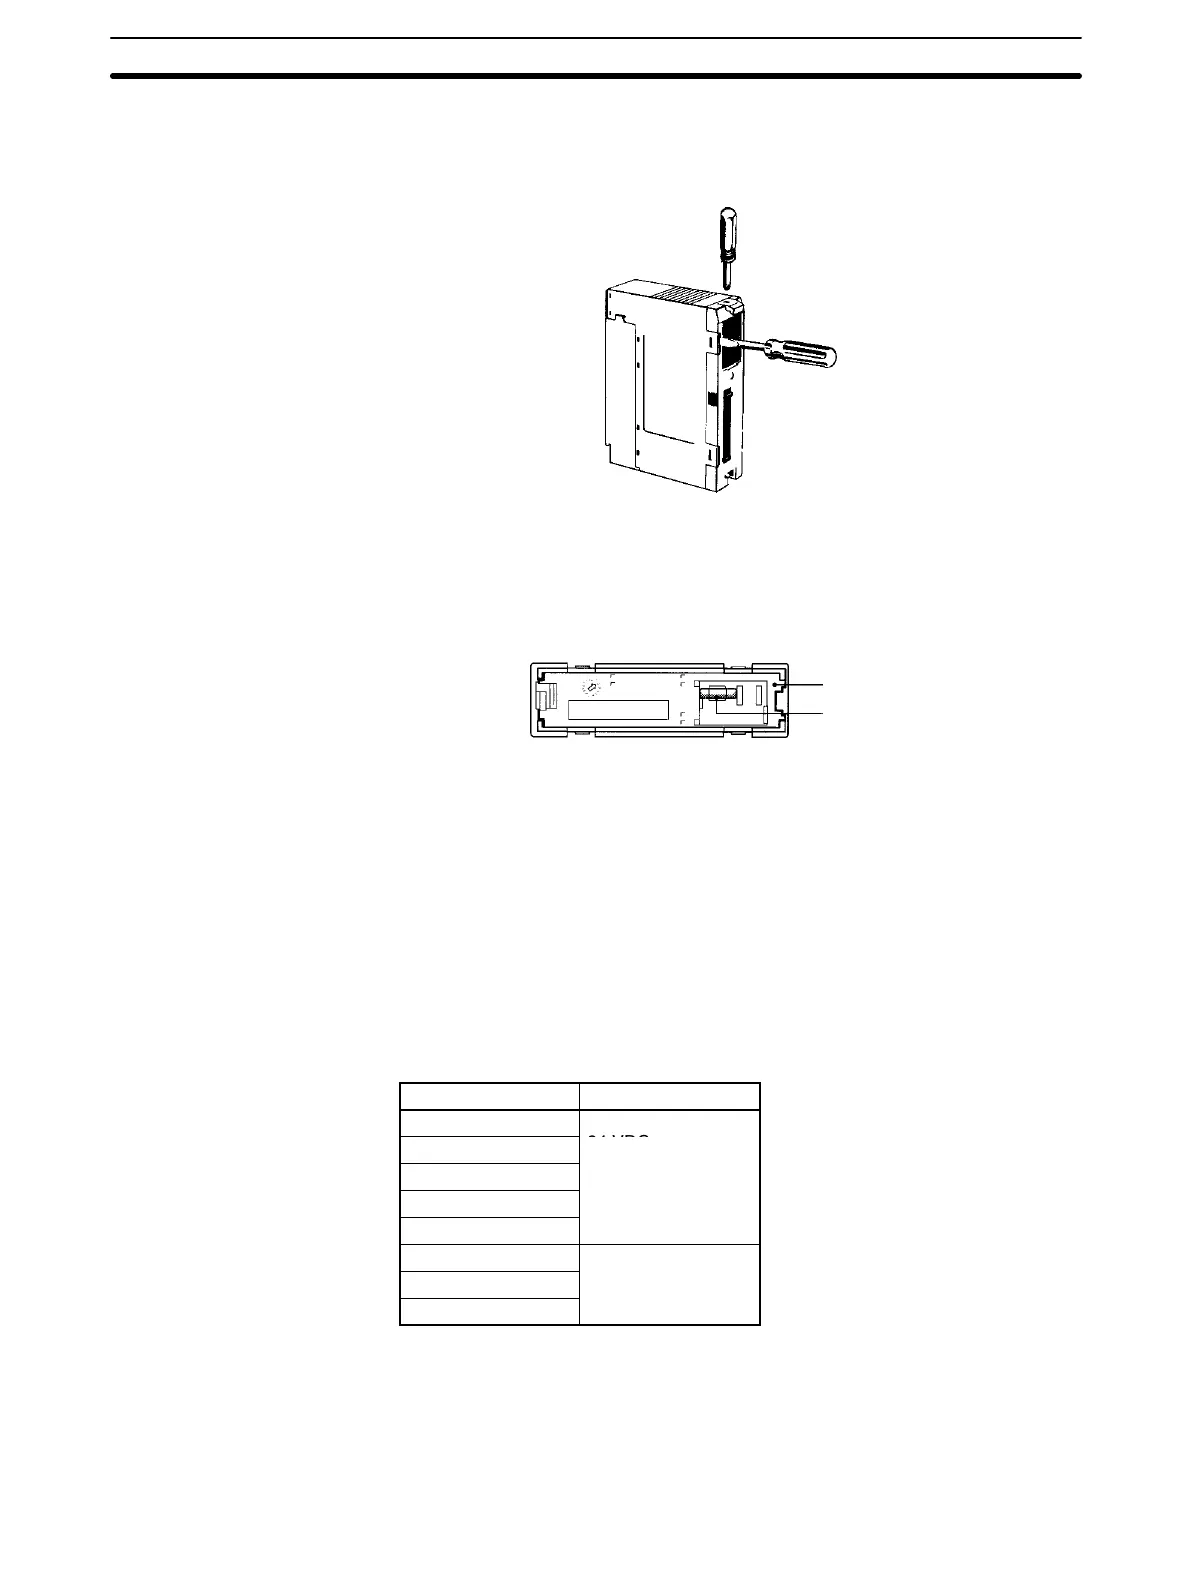
4. Using a Phillips screwdriver, remove the screw from the top of the Unit.
5. Using a flat-blade screwdriver, detach the case from the Unit.
(4)
(5)
6. Pull out the printed circuit board.
7. Insert a new fuse. A spare fuse is provided inside the rear of the case when
the Unit is delivered.
Rear of the case
Spare fuse
8. Reassemble in reverse order of assembly.
Note 1. Use UL or CSA approved fuses if the UL or CSA standards must be satis-
fied. For further details, consult the fuse manufacturer.
2. Fuses in High-density I/O Units cannot be replaced by the user. Refer to
your OMRON dealer for service.
5-2-2 Replacing Relays
Replacement Relay The following Output Units provide relay sockets that allow the Relays to be
replaced if they should go bad. Use the Relay listed in the table.
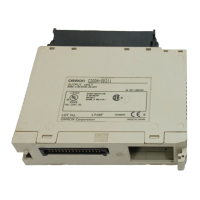
Output Unit Relay
C200H-OC221
G6B-1174P-FD-US
C200H-OC222
24 VDC
C200H-OC223
C200H-OC224
C200H-OC225
C200H-OC222V G6R-1, 24 VDC
C200H-OC224V
C200H-OC226
Use the following procedure to replace a Relay.
1, 2, 3... 1. Turn OFF the power to the PC.
2. Detach the terminal block by unlocking the lock levers at the top and bottom
of the terminal block.
Inspection and Maintenance
Section 5-2
 Loading...