35
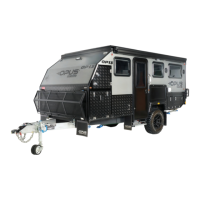
Ensure both quick-release valves are closed on the canopy legs and all 5 on your OPUS main tent then press the AIR compressor button on
the control panel and wait for the canopy to inflate.
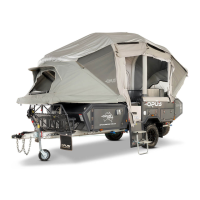
Keep an eye out for obstructions and when the canopy is starting to form, feel free to help guide the air beams to assist an easy flow of air
through them and form final canopy structure.
Once your canopy has inflated, you may find that the position of the AIR poles needs adjusting so that the canopy is fully tensioned. There
are black straps between the beams on the main tent section, which will help to ensure the optimal placement of the beams. You can then
peg the corners and guide ropes of the AIR canopy to the ground to secure your position.
STEP 8
STEP 9
STEP 10
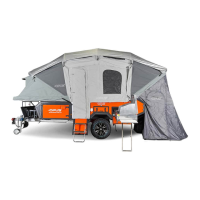
CLOSE AIR VALVES
open transfer valve
VELCRO CENTER BEAM
DON’T FORGET...
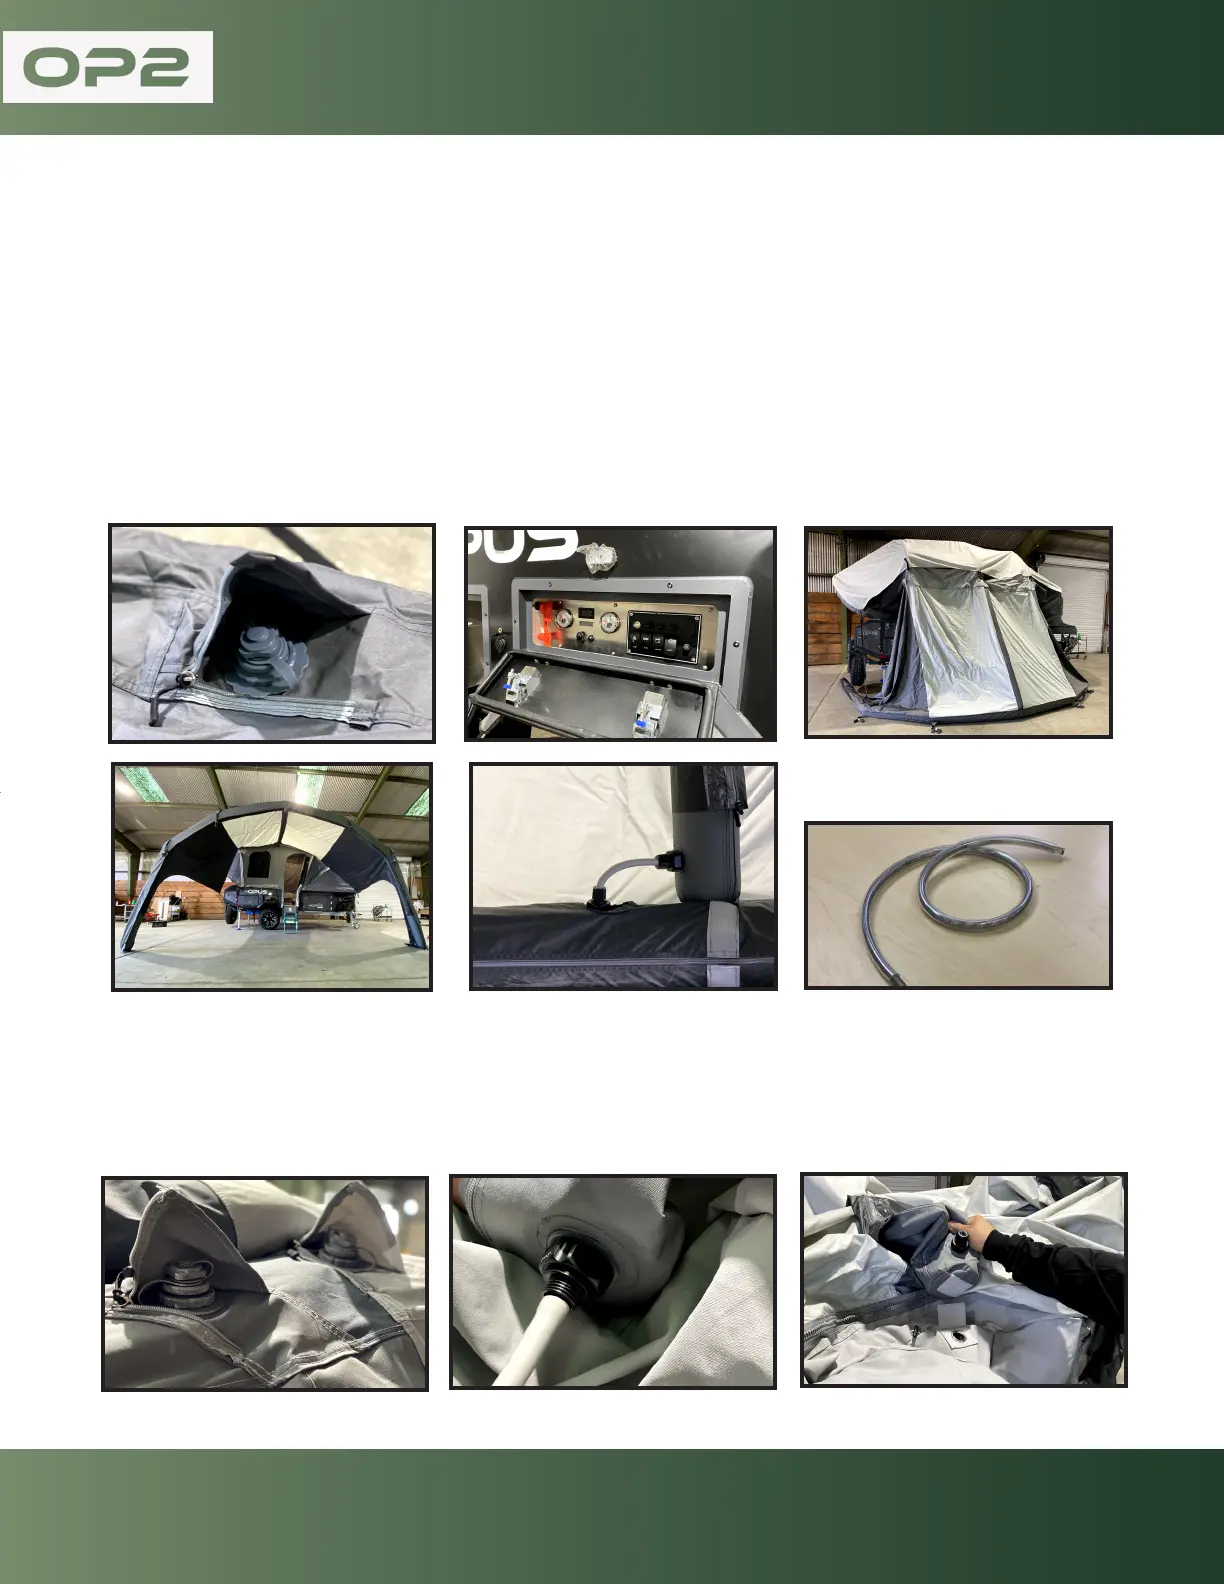
PRE 2021 OP2 CANOPY ADAPTOR
Contact info@opuscamper.us if your OP2 was delivered prior to
2021. You will require a longer cross filling tube as shown.
 Loading...