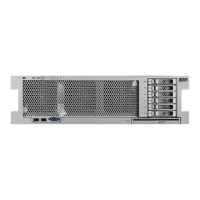
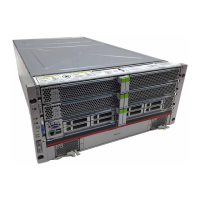
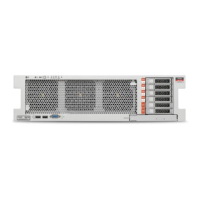
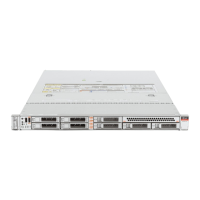
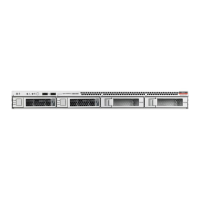
Remove a Power Supply
Servicing Power Supplies 135
■
Fault LED on the faulty power supply
1.
Determine if the System Service Required LEDs are lit on the front panel or the
rear I/O module.
See “Interpreting LEDs” on page 29.
2.
From the front of the server, check the power supply Fault LEDs to identify
which power supply needs to be replaced.
When the power cord is connected to the server, the associated AC power connector is lit
(green), indicating that the power cord is connected to an AC wall socket and is supplying
power to the AC power connector.
3.
Remove the faulty power supply.
See “Remove a Power Supply” on page 135.
Related Information
■
“Remove a Power Supply” on page 135
■
“Verify the Power Supply” on page 138
Remove a Power Supply
The power supplies are hot-service components that can be replaced at any time. For the
location of the power supplies, see “Front Panel Components (Service)” on page 14.
Caution - This procedure requires that you handle components that are sensitive to electrostatic
discharge. This discharge can cause server components to fail.
1.
Locate the power supply in the server that you want to remove.
■
See “Front Panel Components (Service)” on page 14 for the locations of the
power supplies in the server.
■
See “Determine Which Power Supply Is Faulty” on page 134 to locate a
faulty power supply.
2.
Go to the rear of the server and locate the AC power connector at the rear of the
server that supplies power to the faulty power supply.
See Broken Link (Target ID: Z400022C1500027).
3.
Disconnect that power cord.
 Loading...
