IMPORTANT: This timer contains a Rain Sensor Bypass Switch.
If the rain sensor switch is in the “on” position and no sensor is
connected the sprinkler timer will not operate.
Station Advance
When the sprinkler timer is operating, press NEXT to end watering
at the current station and move on to the next station.
Timer Off
Turn the Rotary Dial to the OFF position. This prevents the sprin-
kler timer from watering in Automatic and Manual modes.
Rain Delay
Rain delay allows you to delay your sprinkler timer from watering
for a set period of time. Delay settings are 24, 48, and 72 hours.
ACTIVATE THE “RAIN DELAY” FUNCTION:
1. Ensure the rotary selector is on the AUTO position.
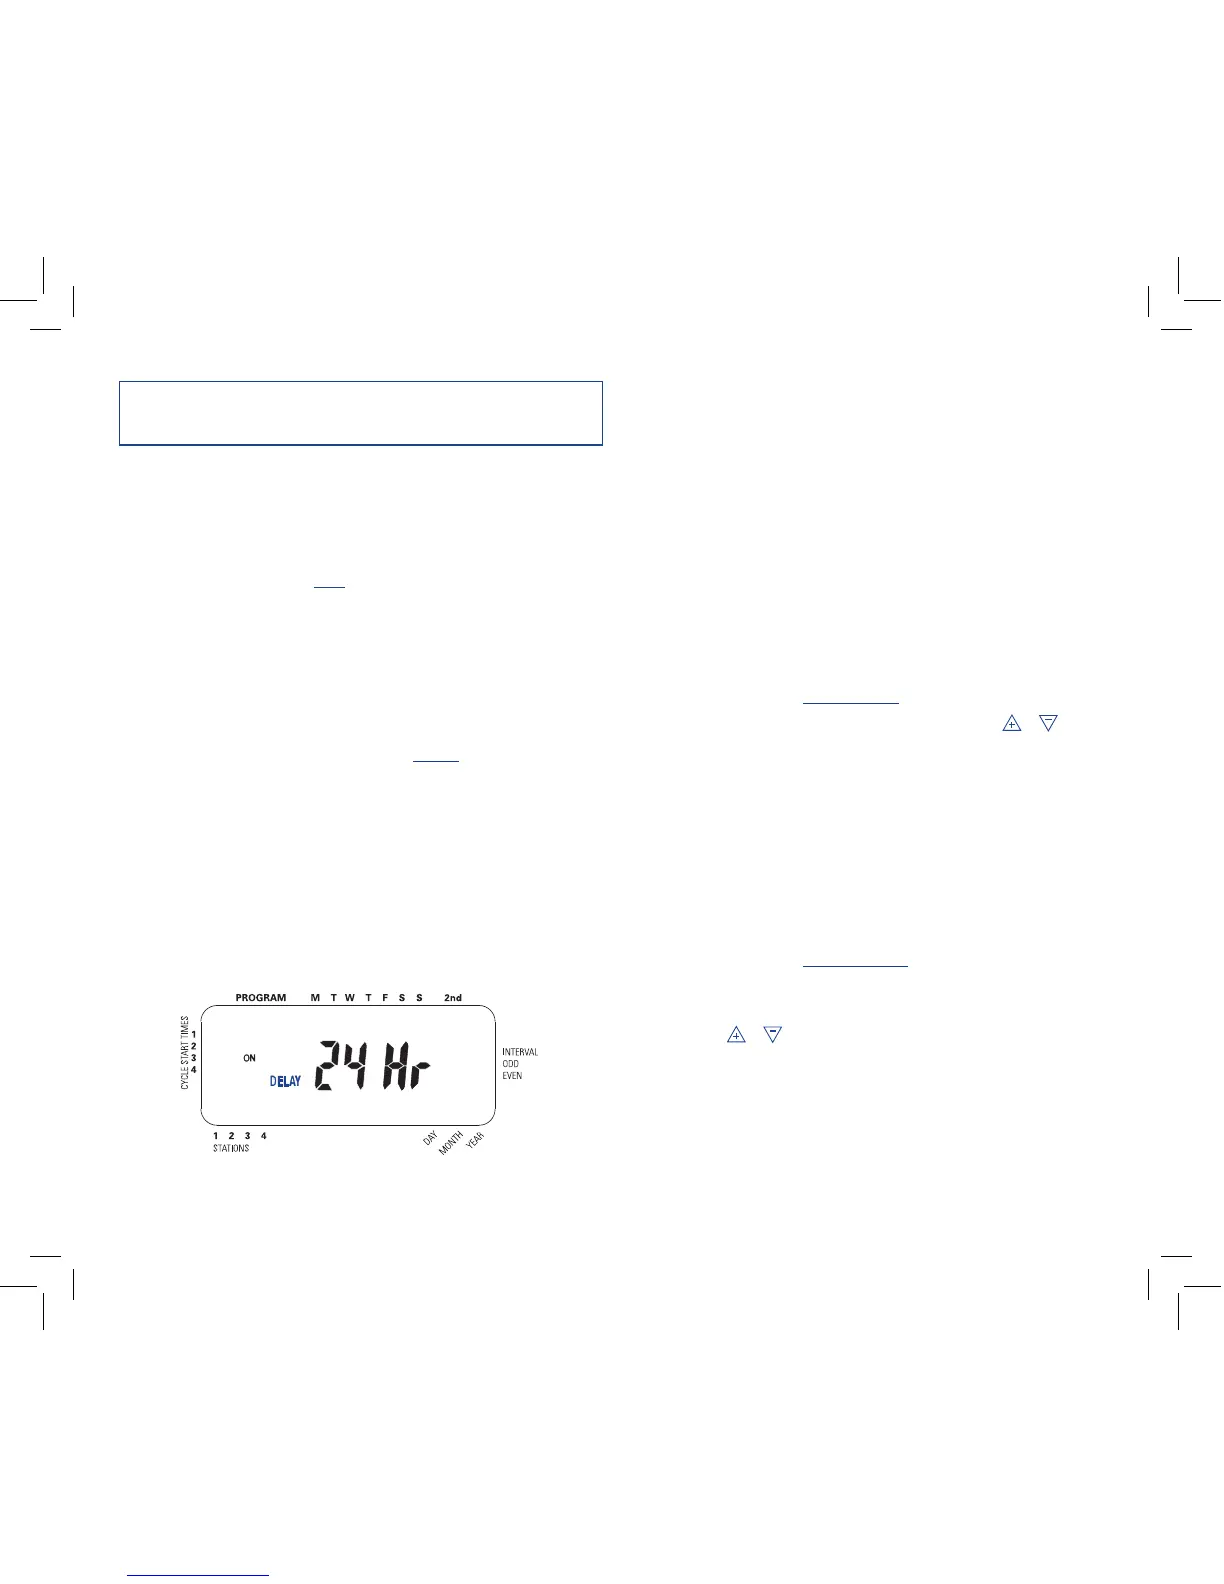
2. Press the RAIN DELAY button to automatically delay water-
ing for 24 hours. [See Figure 8]
3. If a longer Rain Delay is desired, press and release the RAIN
DELAY button to increase or decrease the setting.
4. Press ENTER or wait 10 seconds and the selected Rain Delay
will begin.
5. The CLEAR button stops the Rain Delay and scheduled
watering will resume.
At the end of the selected Rain Delay amount of time, automatic
watering resumes.
While in rain delay mode, the sprinkler timer will display the
remaining hours. No other buttons, besides CLEAR, will be accept-
ed while the sprinkler timer is in the rain delay mode.
Water Budgeting
Water Budgeting is a simple way to adjust your watering duration to
match seasonal watering needs. Water Budgeting works by increas-
ing or decreasing watering duration for all stations in all programs.
Adjustment range is from 10% to 200% by increments of 10%. The
default value is 100%.
TO SET BUDGETING:
1. Turn rotary dial to BUDGETING position.
2. To increase or decrease the percentage, press the or
button.
3. Press ENTER to save setting.
Multiple Start Times
Multiple Start times allow “Program A” and/or “B” to cycle through
each Station/zone and repeat the program again (up to four times)
on the days programmed. This is useful for preventing damage to
newly seeded lawns and to prevent water waste from run-off on
sloped areas. To Set Multiple Start Times
1. Turn rotary dial to START TIMES position for “Program A”
or “B”.
2. Press NEXT until the curser blinks at “Cycle Start Time 2”.
3. Use the or key to enter the time you want the program
to begin watering again and press ENTER.
4. Repeat step 3 to program a third and fourth start time if
needed.
5. To delete a start time press NEXT until the curser blinks by
the start time and press CLEAR.
Figure 8: LCD Display with Rain Delay
10
 Loading...