12
advance to watering for station 3; using the or key, set
the manual watering duration to five minutes; press ENTER).
Note: After the MANUAL key has been pushed, if a selection is not made
within 60 seconds the display returns to the time of day.
• To halt or discontinue manual watering, press the CLEAR key
once. The timer will revert to your original automatic watering
schedule.
Section 6: Sprinkler Timer Installation
Before installation please have the following items and tools.
• Phillips Screwdriver
• Wire Strippers
Installing the sprinkler timer in 5 easy steps
1. Selecting a Location
2. Mounting the Sprinkler Timer
3. Activating the Battery
4. Connecting Valve Wires to Sprinkler Timer
5. Connecting Electrical Power
1. Selecting a Location
Select a location with the following criteria:
• Near a power source (if hard wiring) or electrical outlet (appli-
cable only to U.S. retail timers)
• A location, where operating temperatures are not below 32° or
above 158° Fahrenheit (0 degrees or above 70 degrees Celsius
• A location, with at least 9” of space to the left of the sprinkler
timer box for the door to swing open after installation
Note: Sprinkler timers are weather-resistant to UL-50 and ETL
®
Listings, but should not be placed in areas where continuous water
could cause damage.
• A location without direct sunlight
• Access to sprinkler wire (from valves)
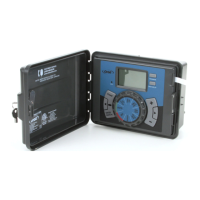
Caution: Do not open the Sprinkler Timer when it is raining.
If you are installing this timer in an outdoor location please rotate
the thumb lock clockwise (latching the door closed) to prevent dam-
age to the timer from rain. [See Figure 12a] To unlock please rotate
the thumb lock counterclockwise. To prevent tampering, a keyed
lock may be used (keyed lock not included).
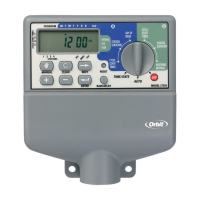
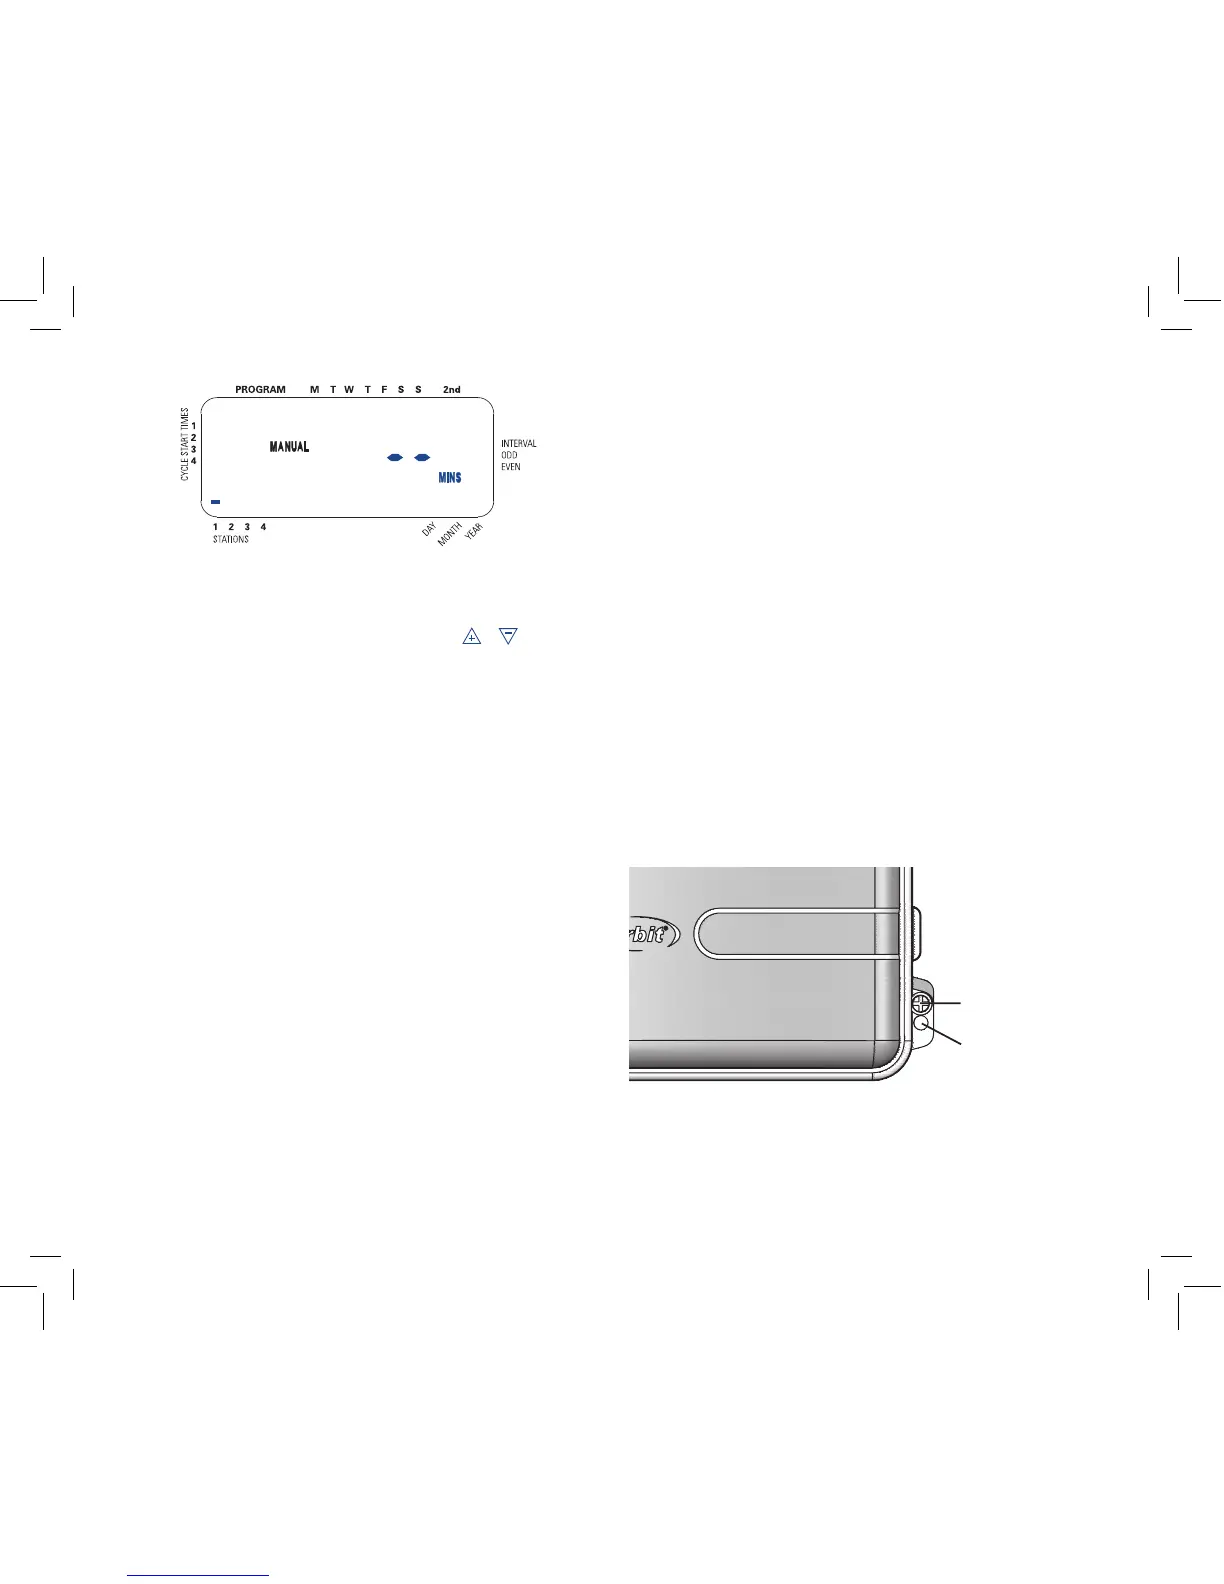
Figure 11: Manually Running Individual Stations
Figure 12a: Latching the door with the Thumb Lock
 Loading...